It all starts in the woods nearby. We have purchased a lot of trees. Spruce and Larches to build ourselves a Tiny House.
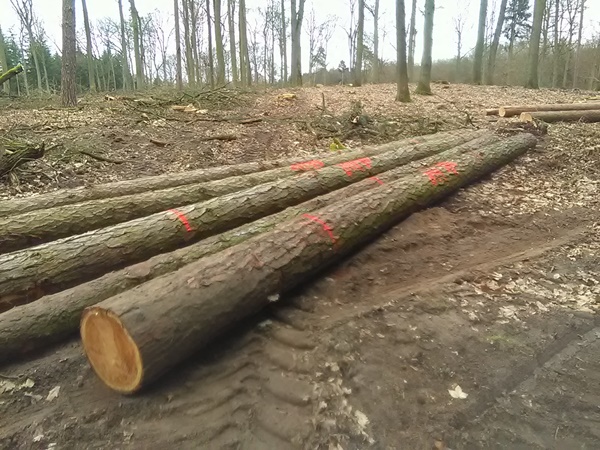
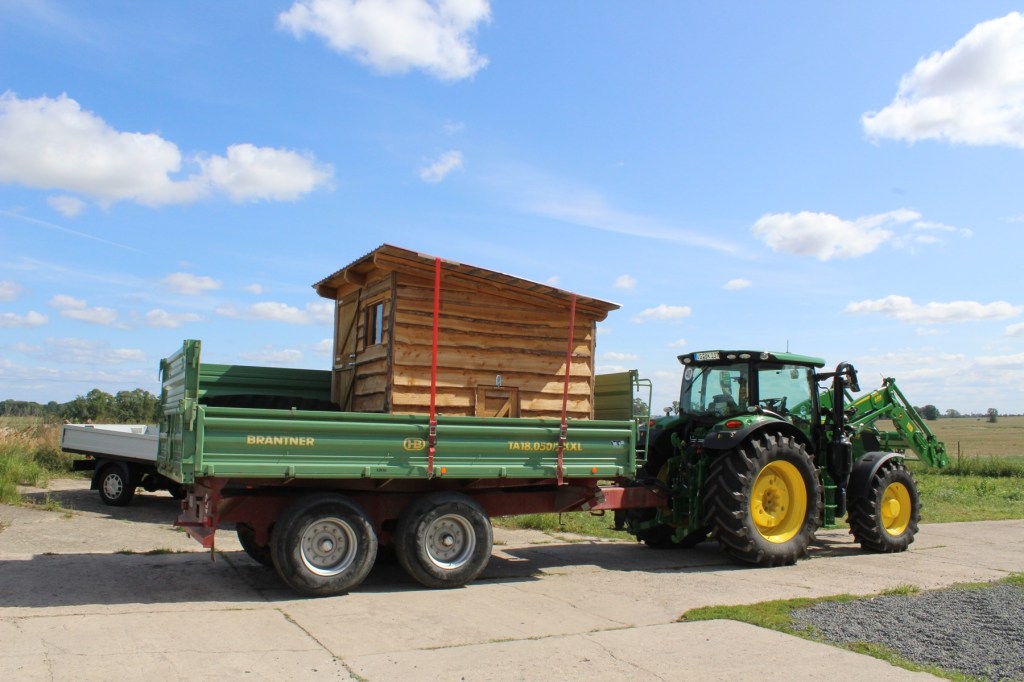
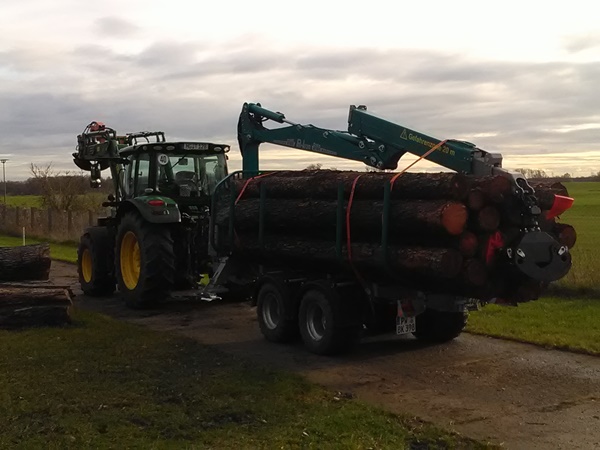
We picked the trees up from the woods with our tractor and logging trailer and brought the trees to our property.


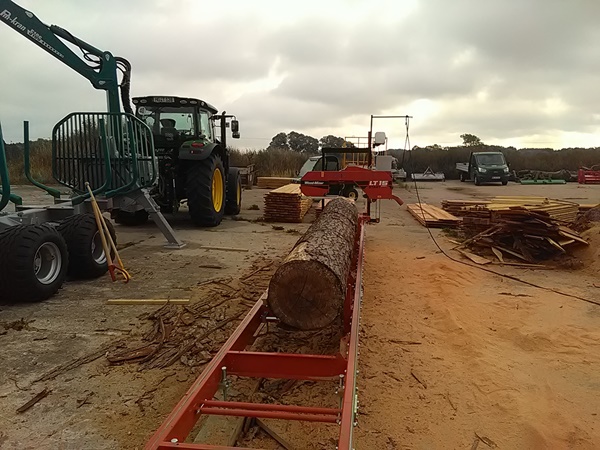
Obviously the trees need to be sawn to beams and planks in order to be able to build our Tiny House. Good thing we have a saw mill, so we could do that our selves. We have sawn stacks and stacks of wood. You’d be surprised how much wood is needed to build a small house.


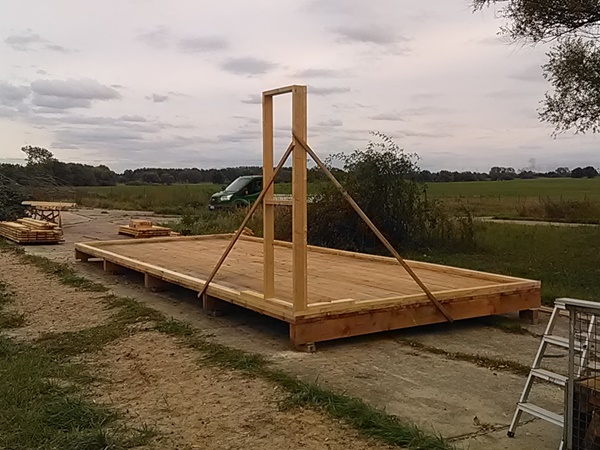
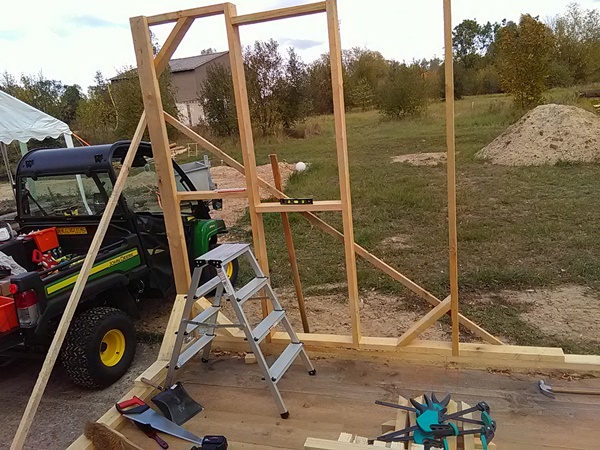
Of course we started of the build with the floor. Measuring out and leveling out the beams took a lot of time, but that is worth it. When the floor is perfect, it is much easier to build up the rest of the Tiny House.

The Beams and construction boards are out of Larchwood. Larchwood has a lot of resin in it, so it is very durable. This makes Larchwood the perfect material for the outside of a building.

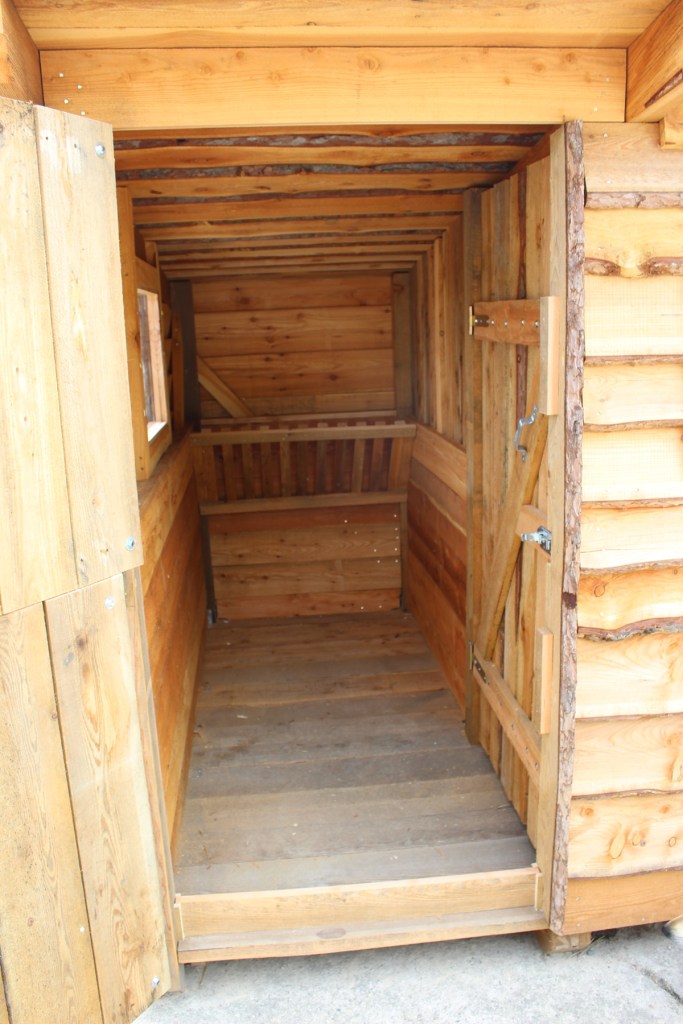
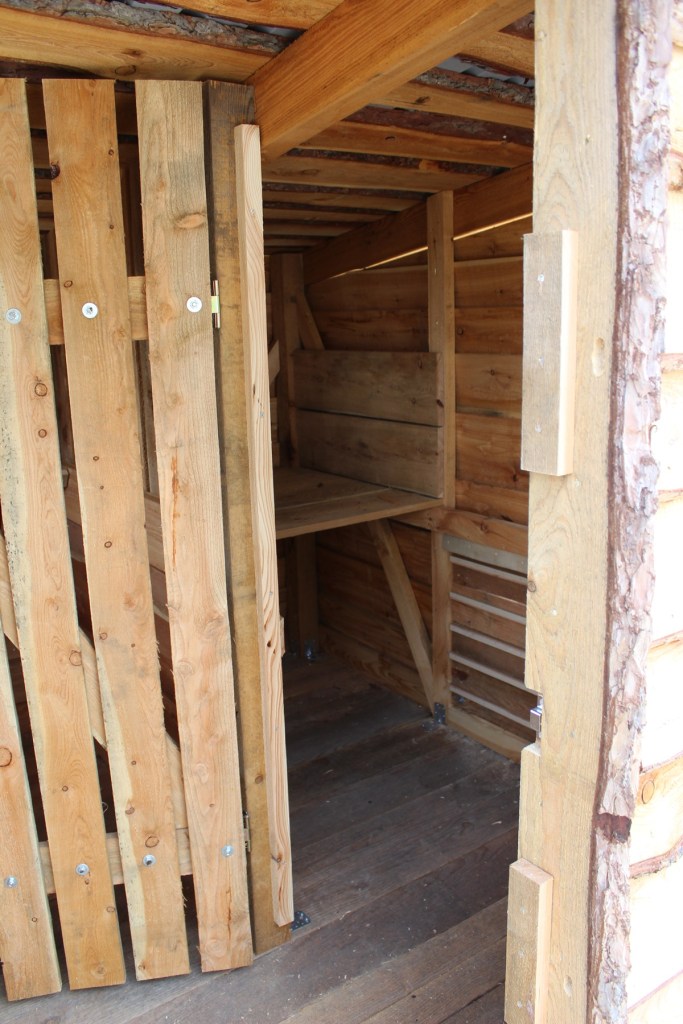
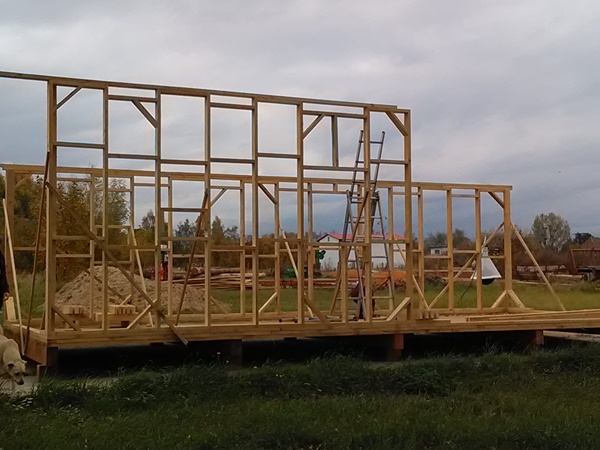
On this substructure we build with Spruce wood for the walls. We started with a smaller beam on the floor going all the way around. Then we started building up the walls. For stability we added a number of bracings. I just let the pictures speak for themselves.

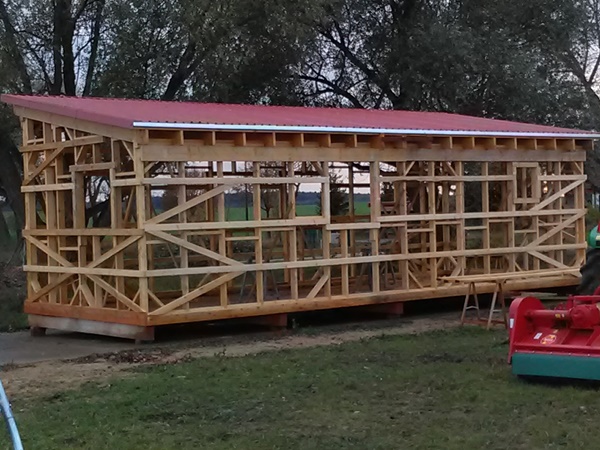
For a strong roof (we can have lots of snow here) we put up high beams with short connection beams in between. On these beams we put planks and on the planks we put spacerplanks for mounting the metal sheeting, to finish up the roof.


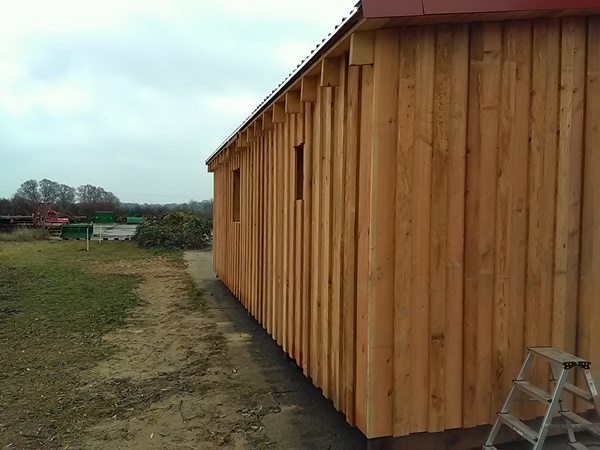
Next thing we finish up the outside so we can work sheltered from the elements. We added small horizontal beams to create an airspace between the Larchwood siding and the wall construction.

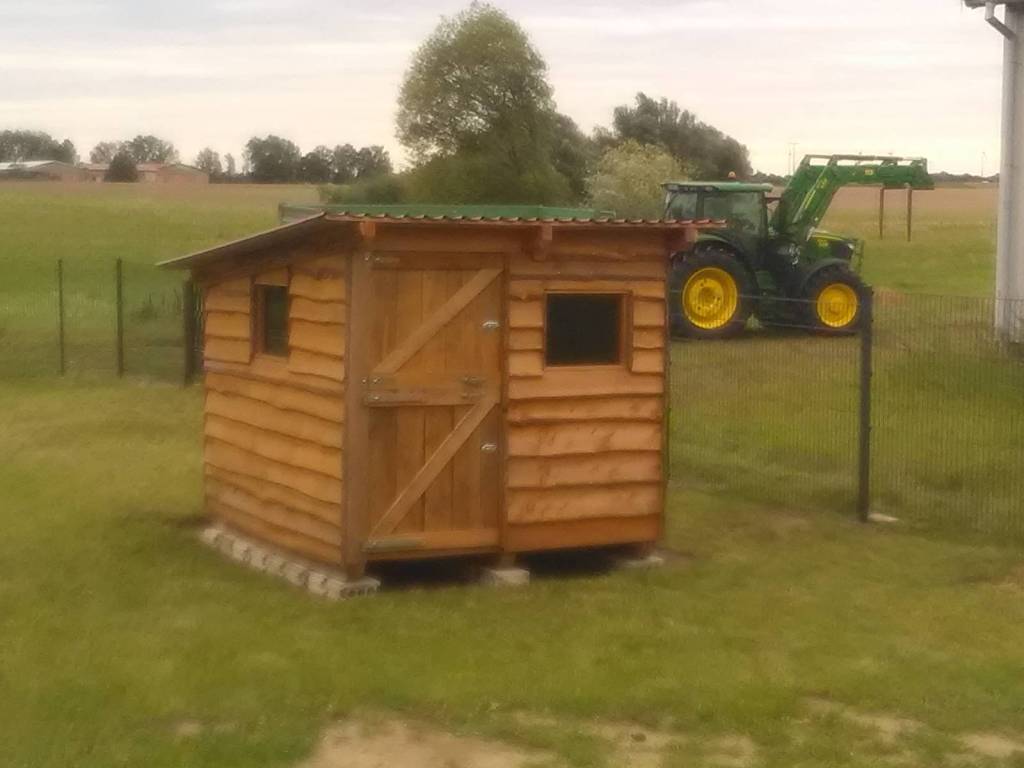
The siding is made out of 20 cm and 10 cm wide Larchwood planks. We start by putting on the wider planks with a spacing and then we cover this spacing with the smaller planks, so they overlapp on to the wider planks. We love the looks of this.
That’s it for the moment. Should you have any questions, just let us know.
Next time we are going to let you in on our insulation and secret of this Tiny House.