I had nicely calculated how many onion sets I would need for the field I planned to plant onion sets and ordered the next bigger available size, so I would have enough. Apparently the onion sets where a little smaller this year and since they are sold after weight we got way to many onion sets. So what to do with them?
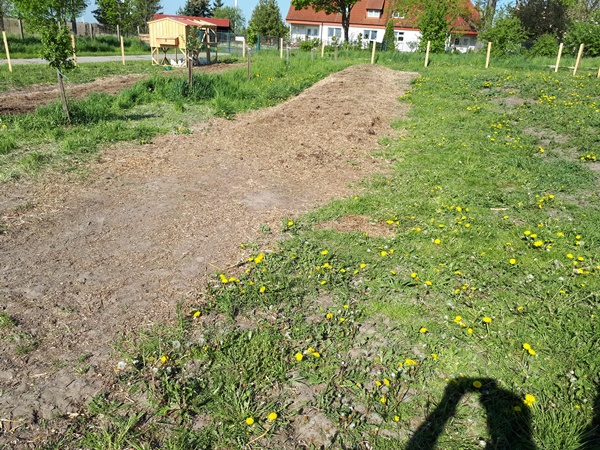
Create more garden beds of course. Around our pond we have space. This will be our garden 1. The last few years we have had our sheep there, but since the pasture is not really good (mainly weeds and not really grass) we have arranged a pasture somewhere else for them, where they are really happy. Partially the soil in this pasture is not too bad and with the sheep enriching the soil in the past there should be enough nutrients at hand.
But how to prep the new garden beds?
After going over different options, the best possibility for us in this case is using a disc harrow. After only one pass, the soil in the new forming beds looked like this.
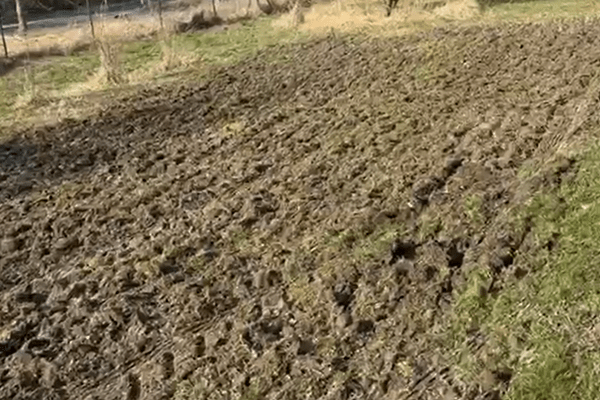
This was done 21st of March and then, after a little over a week, it was worked with the disc harrow a second time. After some waiting time where the bare lying roots of all the weeds and grass could dry out in the sun we rotary tilled the beds to loosen the soil. Obviously this does not kill off all off the grass and weeds and things keep popping up, so we worked the soil with the disc harrow again before we planted the onions.
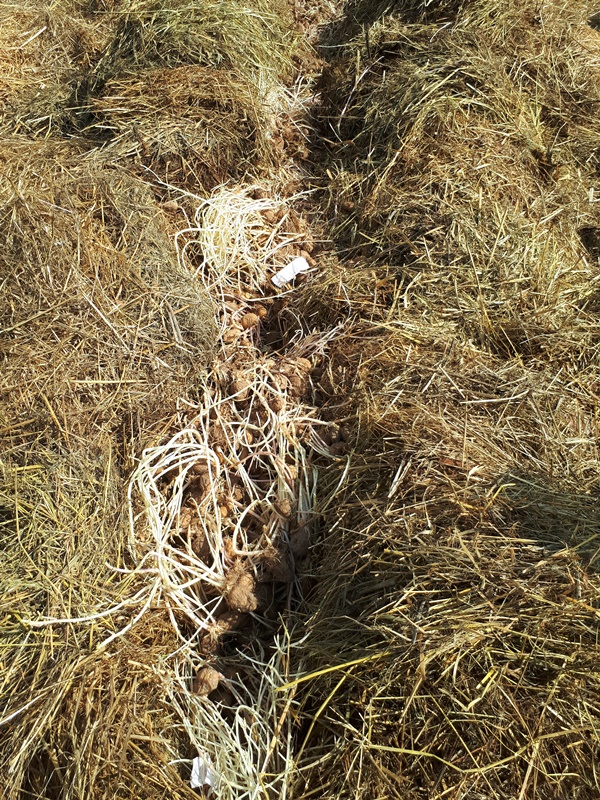
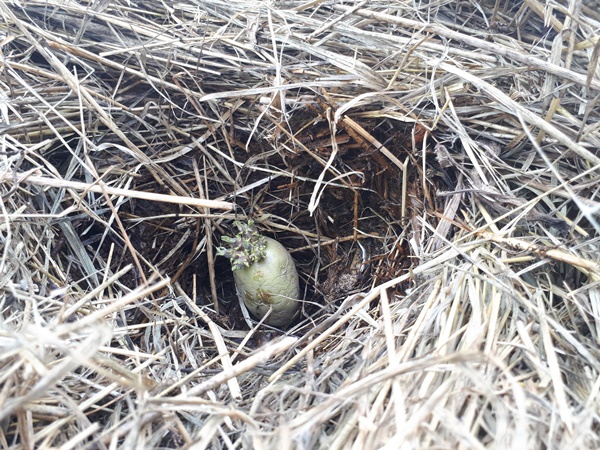
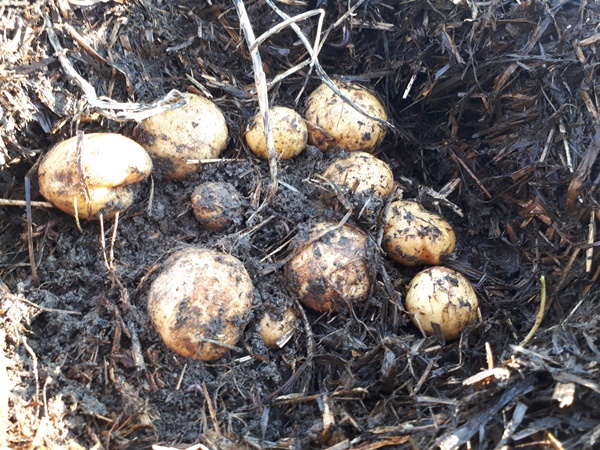
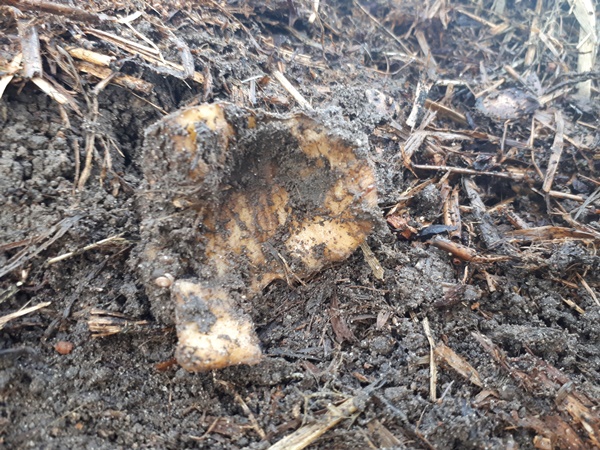
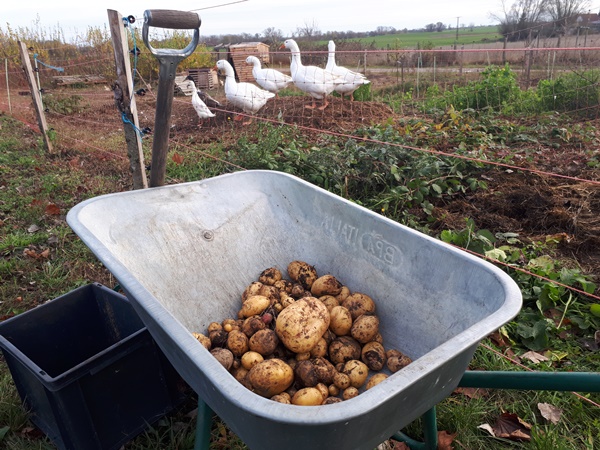
We now are at the second half of April and planted a part of the onion sets in the field we bought them for. While doing so we noticed that a great part of the onion sets are bad. They are dried in and some are even mouldy, so before we planted the onion sets in our new garden beds, I went through all of the onion sets and sorted the good once for planting. I am glad I did. We only had enough left for the bigger garden bed out of the 3 new prepped garden beds. Now this field is nicely filled with onions as for the other field looks ratter empty as you will see in an upcoming post about that field.
Planting the onion sets
Since we have bigger plans for the future we have purchased a used planter for planting seedlings for behind the tractor. With this planter we also planted the onion sets and this worked well. The planter is ratter old and is only able to plant 3 rows now, since there are too little buckets for planting the seedlings/ onion sets and one part out of four, needed in the planting process, is missing. This means with one pass we plant 3 rows of onion sets about 25 cm apart with the onion sets about 15 cm apart in the row. Normally onions can be planted closer together, but with me and the kids sitting on the planter while my husband drove the tractor, the planting of the onion sets was not physical demanding and a lot of fun.
Since the garden bed is not exactly flat, the planting did not work well all the way. After the planting was done I went around with a rake and covered the onion sets that where exposed.

This garden bed has a lot of weed pressure, so we have been going through and picking the bigger weeds by hand and hoeing to take out the smaller weeds. The soil is clayey and gets hard easily, so the hoeing is needed to keep the surface of the soil open so the rainwater can soak into the ground.
In the spring I made a small bucket of stinging nettle manure to use in the greenhouse, but I decided to use it for these onions first, since they are on a spot where the sheep did not really get to much the previous years. Since onions need “food” and we did not bring any compost here, I hope that this gives the onions an extra boost.

We are having a wet and ratter chilly spring with some warmer days, which the onions seem to like, while they are looking good so far.