Fighting the couch grass

How too??…
Will sheet mulching do the trick?

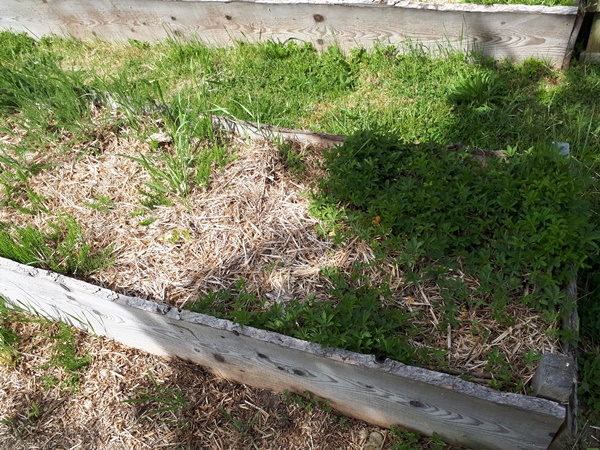
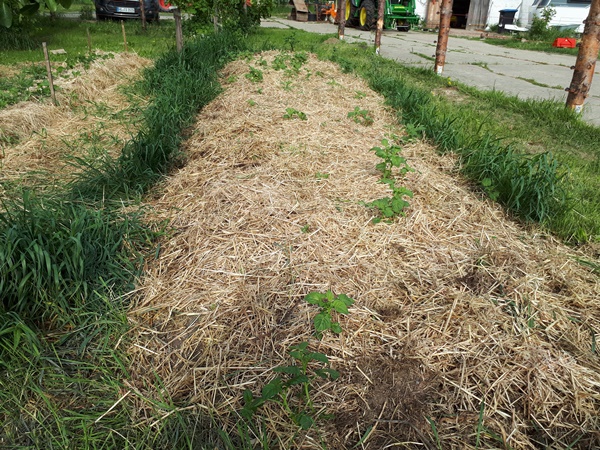
Well that is the question on hand. The pressure of the couch grass on our property is overwhelming. It is not everywhere a problem, but where we have created garden beds we have a hard time getting rid of it. 3 years ago we created 3 hügelbeds, not really aware of the couch grass and what it exactly does. Obviously the grass, among other “weeds”, started to grow into the beds. This is how the hügelbeds looked like last fall.

Hügelbeds with couch grass grown into

Hügelbed to no-dig bed

After harvesting the volunteer potatoes that grew here last year, I restructured the hügelbed on the left side to a no-dig bed by flattening out the soil, putting the old mulch as a border around it and put new hay as mulch on top again, link. After a while I needed to ad some more mulch to the border. Wind had blown some away and rain had pushed it down, so the soil wasn’t covered any more. But that was no big deal. More problematic was all of the couch grass growing there, link.

We pulled out all of the couch grass as far as we could get it done, put card board down and put a big layer of straw on top.

Sheet mulching around a no-dig garden bed

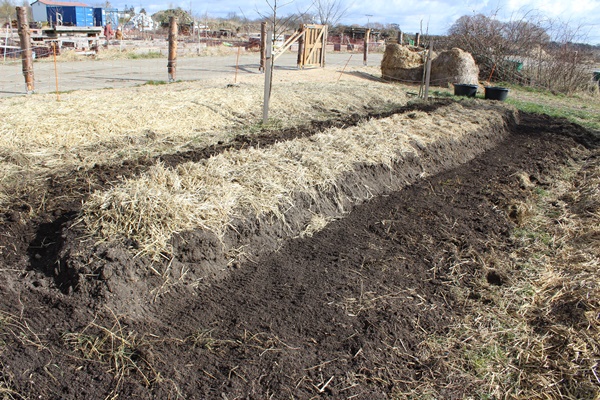
It took a while before we found the time, and some useful wetter, to start with the middle hügelbed. This was a real tuff one with a lot of couch grass grown into the hügelbed.

Garden soil full off couch grass roots

At the end I reduced the width of the bed to only half its original size, but I think I got right about every couch grass including the roots out.

Garden bed with mulch on top, but exposed at the sides and all around

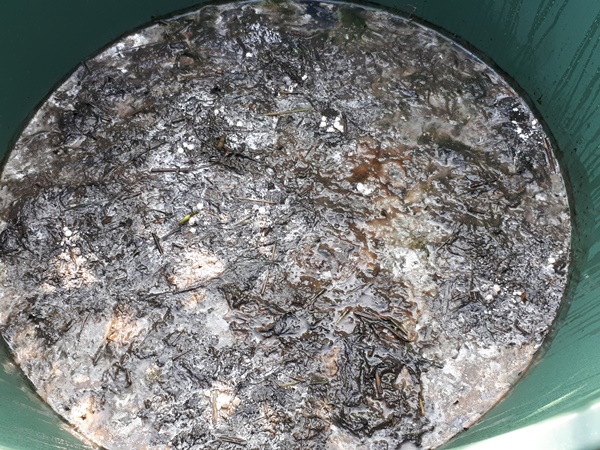
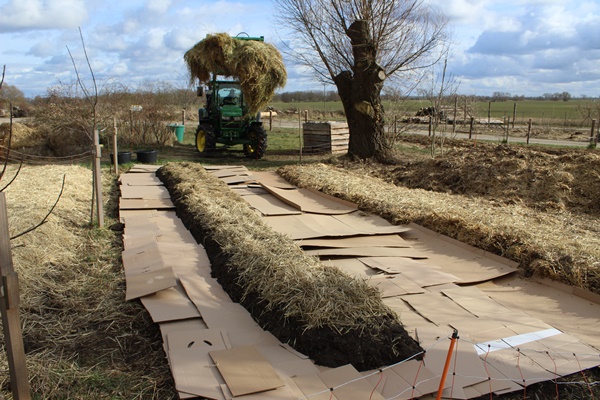
Unfortunately, unaware of the durability of couch grass, I did not dispose of the couch grass and its roots, but left them to decompose in between the 2 no-dig beds. I learned later that this was a bad idea. We put a lot of cardboard down, making sure to connect and overlap with the cardboard we had already used for the left no-dig bed.

Connecting sheet mulching in between 2 no-dig garden beds

My husband brought us a lot of hay with the tractor, so we could divide a very big layer over the cardboard.

Cardboard laid out around a no-dig bed for sheet mulching and a tractor bringing hay to cover the cardboard
Woman and boy dividing hay on cardboard around a no-dig garden bed

We put the hay down almost as high as the no-dig bed was, so I put some sticks in the ground along the no-dig bed, so I would find it back again.

Prepared no-dig garden bed marked out with sticks to find it back underneath all of the hay mulch on and around it

We love strawberries and we definitely need more of those, so I planted strawberries in this entire no-dig bed.

Woman planting strawberry plants in a no-dig garden bed covered with hay

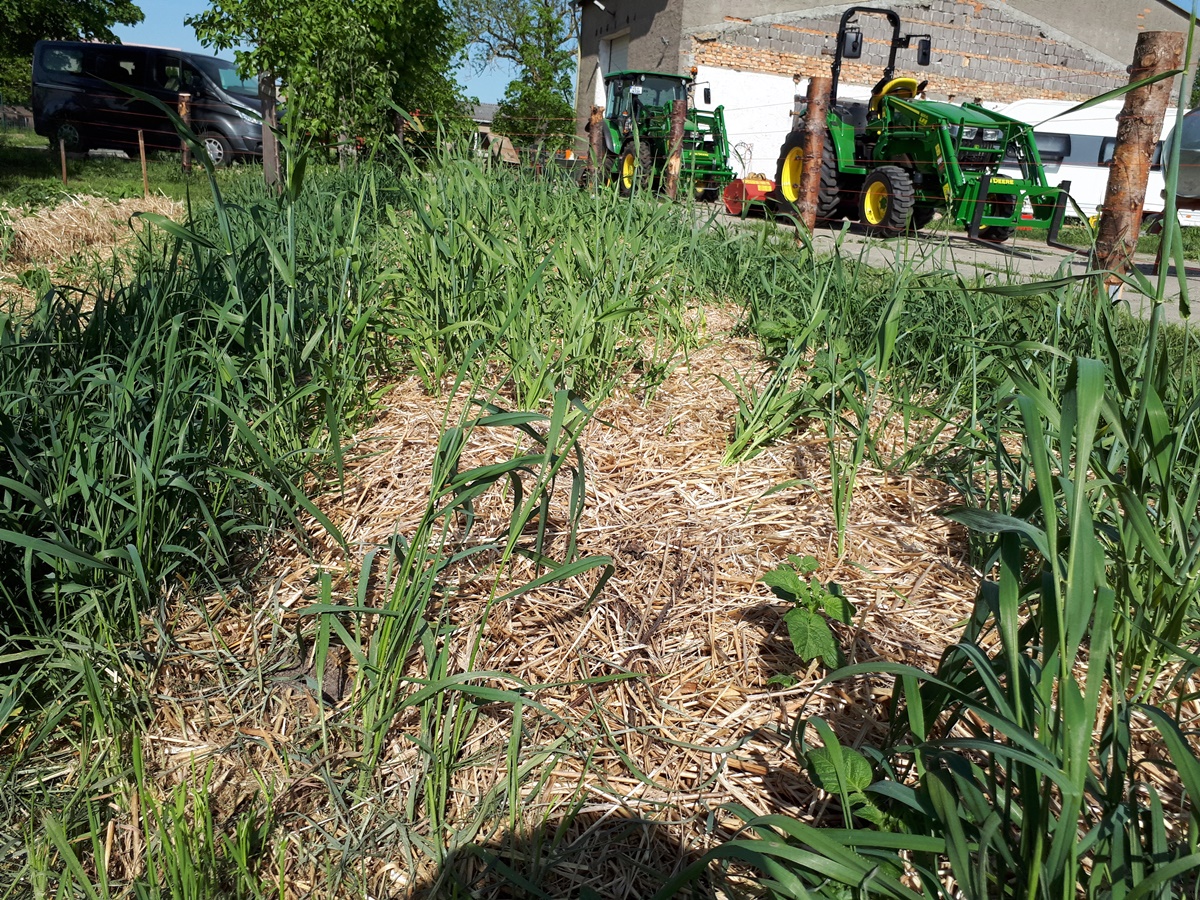
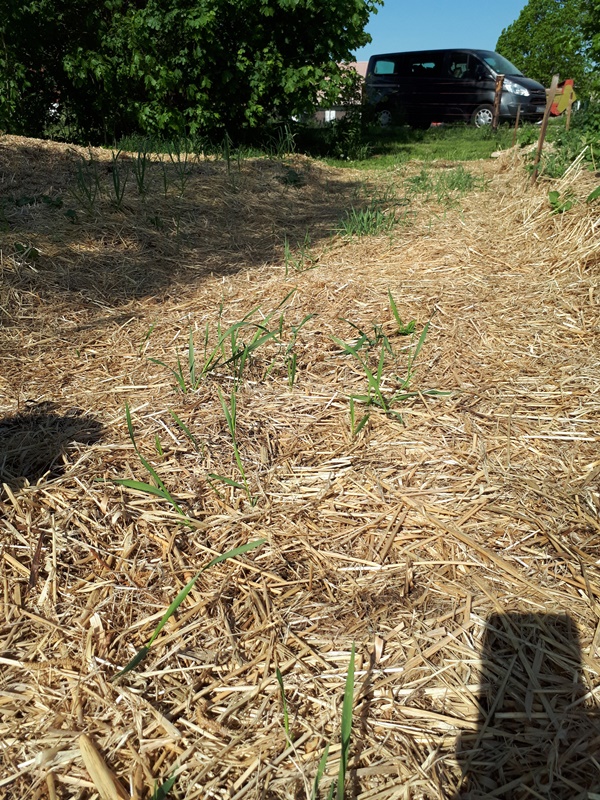
With the sheet mulching we thought we could fight the “weeds” including the couch grass. Well we thought wrong. In winter, when noting was growing, everything looked promising, but about 2 months later the couch grass grew through the sheet mulch. Well, I guess we will have to pull this couch grass out by hand until it does not come back.

Couch grass growing through the sheet mulch

About the couch grass

We never got around to prepare the last hügelbed which looked like this by the time spring came.

Garden bed with a lot of couch grass grown in

I found a very interesting video on Youtube (link) about couch grass which undermined my enthusiasm for gardening on our property a bit. Well sheet mulching does not block couch grass at all. Actually the only 2 ways to get rid of it is spraying poison or carefully dig out every little piece of the roots, leaving nothing of it back. Spraying poison is not an option for me, but digging out every single piece of root is not really an option for me either. Our clayy soil is so hard that I can hardly dig into it and it is so full of couch grass that I would have to dig out all of the soil (including the stones and rubble) to a curtain debt (with an excavator) and dump that some where it does not bother us. That would be a bit of an overkill in my eyes.

Tilling the hügelbed

Now back to the third hügelbed. Our new approach is to till the bed now and make it into a no-dig bed later. Tilling makes the soil loose and brings in some organic matter. The hügelbeds are made from compost soil, but I do not know from what organic matter it is made. The soil is so very dry and hardly takes on moisture, so I hope, with the mulch material tilled in, this will improve. Obviously tilling it does not make a no-dig bed, but I do not plan to dig this garden bed in future again.

This hügelbed has a lot of couch grass around it and some spread through out the hügelbed. We pulled out the couch grass as far as we could get it done.

Garden bed freed from couch grass, but with couch grass growing all around it

After that I mowed around it, spreading the grass clippings over the hügelbed.

Garden bed covered with a thin layer of grass clippings

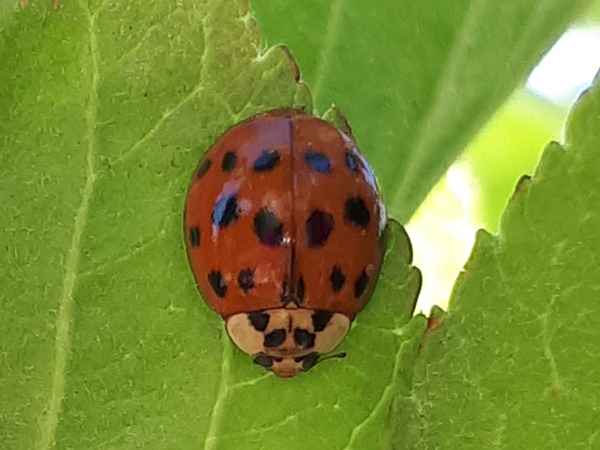
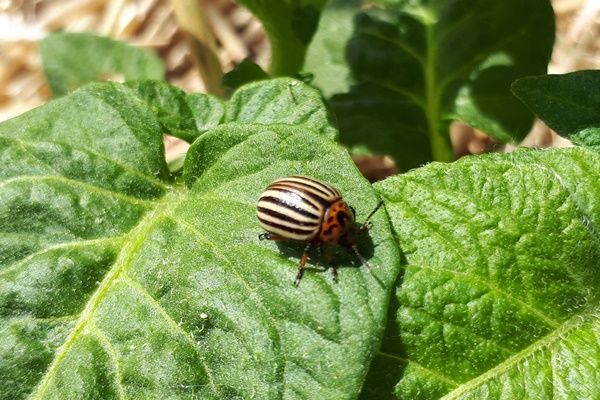
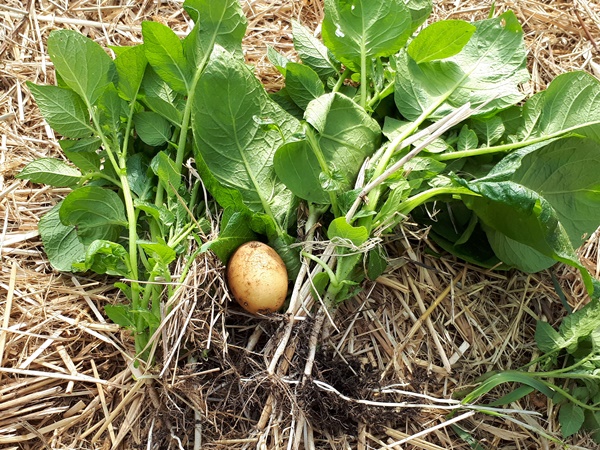
There where also some volunteer potatoes sticking there heads up. We even found the first Colorado beetle on one.

Colorado beetle on a potato leaf

The kids found liking on pulling the volunteer potatoes out, they even found some useful potatoes we later cooked.

Pulled out potato plants with a potato

We left the plants on the hügelbed. Organic matter is organic matter and the soil can use it. My husband tilled the hügelbed with our rotary tiller.

Rotary tiller behind a tractor tilling a garden bed

We left the garden bed like this for a few days hoping any “weeds” and left couch grass would pop there heads up, so we could pull them out.

An untidy garden bed after tilling

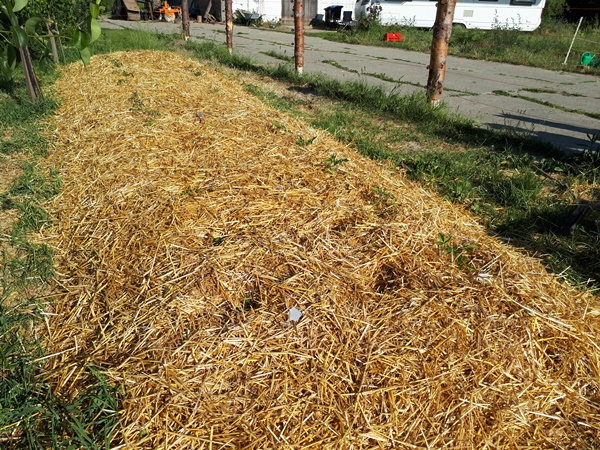
Probably because of the drought we are having, nothing sprouted or popped up there head, but roots close to the surface will dry out this way. We tilled the garden bed again and hat to even it out by hand. After that we watered the garden bed thoroughly and immediately covered it with a very thick layer of straw to keep the moisture in and suppress potential “weeds”.

Watering a garden bed with a pile of straw to mulch in the back
Garden bed covered with a big layer of straw

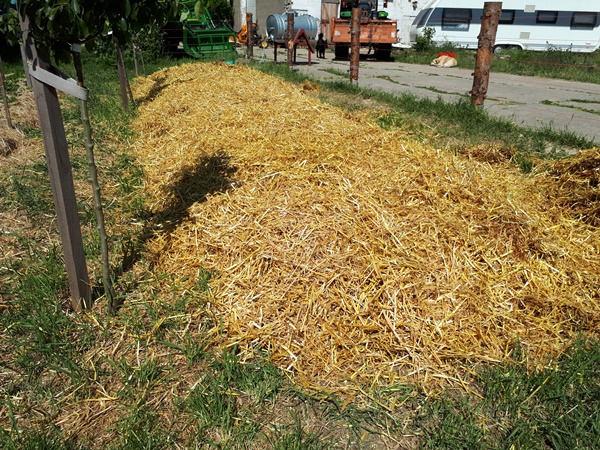
We planted this garden bed with tomatoes, some leftover cabbages and some leftover root celery. Time will show if this approach was a good idea.

Garden bed covered with a big layer of straw, planted with tomatoes, root celery and cabbages which are still very small

With or against couch grass?

But what about my title “Fighting the couch grass”? Well, I am fighting the couch grass, but is it the right approach? How does nature deal with couch grass, so it won’t take over everything? What is couch grass actually good for? If I would just leave it, would my vegetables be able to thrive? Couch grass spreads something which prohibit other plants to thrive, so that is not really an option. It would be nice to know how nature restrains the couch grass.

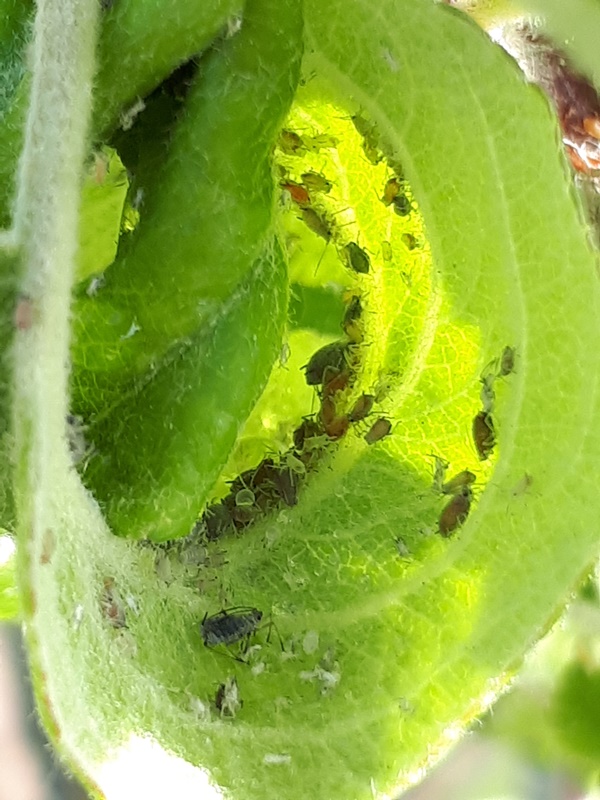
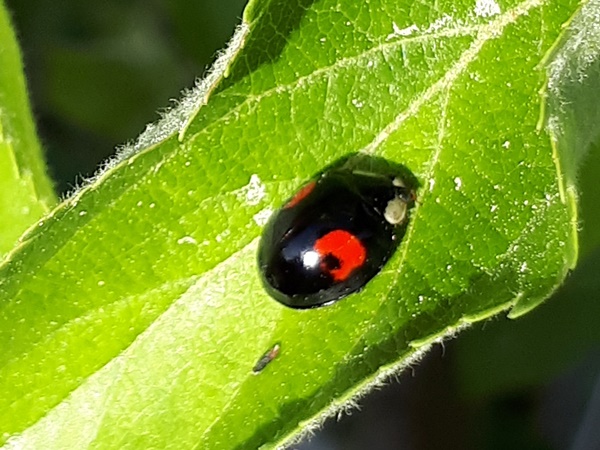
Colorado beetle, where did they go?

Another observation I would like to point out, which has nothing to do with the couch grass, is about the Colorado beetle. We actually found 3 of them on this hügelbed on the volunteer potatoes. Other than that we have found none. This is a surprising thing, since we have had so many Colorado beetles in the years past and we have more than enough potatoes growing on our property. Volunteers and planted once. Could it be the drought, or have we attracted enough predators by now? Whatever the case is, we are very happy about it.

Sowing beans in a weedy garden bed

When weeding is too much, why not leave them…

I am having a really hard time keeping my garden beds free of weeds. My main problem is the couch grass (I have different types of rhizomes grass, I don’t know if they are all called couch grass). It is everywhere and really needs to be removed, so the garden beds I have cleared, I go trough on a regular base to keep them that way. The couch grass is constantly popping up again. The roots are in the original soil underneath the raised garden beds and to deep to actually dig up and I already have plants growing in a lot of the garden beds. The only thing I can do is constantly pull out the couch grass as good as it goes hoping to hunger out the roots until they die off.

Because off this I was not able to give time to all of the garden beds and as you can see on the picture this bed is pretty full of weeds, which also spread ground covering. Obviously a good ground cover is not bad, but does it interfere with the vegetables I want to grow here?

A “weedy” garden bed with yarrow and creeping cinquefoil

On the left side there is yarrow, which I know to be a medicinal herb. What I did not know is that it takes over entire areas of the garden. Making this post I learned that it attracts beneficial insects and repels some pests, which is a good thing of course.

The right corner is full of a low growing leafy “weed” with yellow flowers, which is an absolute winner as it comes to ground covering. It is called creeping cinquefoil (Potentilla reptans). Once this is growing somewhere you will not get rid of it anymore. Even the tiniest root will grow on again and it makes runners, like strawberries do, to spread. However this also is a medicinal herb and is supposed to help against inflammation.

Well to make a long story short. I am planting and sowing and I do not want to go trough the effort of weeding everything out (only the couch grass has to go).

I sowed 2 rows of green beans in this garden bed. I simply sowed in the weeds and we will see what happens. A plant attracting predatory insects and a plant covering the ground aren’t bad things after all.

Making stinging nettle manure

How to? It is as easy as this…

For years I have wanted to make this, but some how I never came to it. Now we finally did and it is so easy.

We have a lot of stinging nettle growing on our property. After winter, I just had to wait until they grew to a usable size for cutting off and collecting.

A patch with stinging nettles

I used a hedge trimmer to cut the stinging nettle off and putt on some very thick gloves to collect them.

A women collecting cut off stinging nettles with thick yellow gloves

I used a new rain barrel to prevent mold from growing and collected stinging nettle until it was ¼ full. I used the hedge trimmer to cut the stinging nettle into smaller pieces right in the rain barrel. I put the rain barrel underneath an elderberry tree, where it has shade at least a part of the day.

Cut off stinging nettles collected in a rain barrel
Stinging nettles collected in a rain barrel, cut up

The stinging nettle was topped off with water (the rain barrel is half full) and I gave it a good stir. My husband made a funny video of this.

I put on the lid, which does not close air tight, and waited for about 3 weeks.

In the mean time our fruit trees in the raised beds are struggling. We are already having a drought and the soil in the raised beds is of the heavy clayy type, which hardly holds any moisture. It will take some more years of adding compost and mulch before it will be a good soil for the plants and the trees. Against the caterpillars the stinging nettle manure will not help, but I do hope (with enough watering to go along) that it will strengthen the health of the fruit trees and will help against all of the aphids inhabiting them at the moment.

Aphids in a rolled up pear tree leaf

After about 3 weeks of waiting this was what I found after opening the lid.

Stinging nettle manure with wild yeast growing on top, in a rain barrel

It might not show on the picture very well, but the stinging nettle manure is covered with a lot of white spots. I was very disappointed thinking this was mold and I would have to throw the stinging nettle manure away. But, after doing some research on the internet, I have learned that it is no big deal. We have to filter the stinging nettle manure anyway and the plant roots only take what they want and do nothing with the mold spores. I just should not water over any leaves. Since I mostly made the stinging nettle manure for the fruit trees, that is no big deal and I was relieved. The stinging nettle manure is finished when it is not bubbling any more and besides from the mold it can also be possible to have wild yeast growing on the top, which is no problem at all.

The stinging nettle somehow fell apart completely, so we could only poor everything trough some kind of filter. We decided to try this with a burlap sack we held tight over another rain barrel. At first this worked very well, but with all of the plant material the fluid did not run trough very quickly, so this took some time and was a very stinky matter.

Stinging nettle manure being filtered trough a burlap sack to collect in a rain barrel
Filtered stinging nettle manure run trough a burlap sack and collecting in a rain barrel

The stinging nettle manure should not go bad, so I will see if the amount I made (about 50 litres) will last the season, or if I will have to make a bigger amount next spring.

I will use it to strengthen all of my fruit trees and I will use it for the vegetable plants in my raised beds (without pouring over the leaves). Since the soil in there is very poor of nutrients I think it will help the plants. I will watch the plants in other gardens very carefully, but if I see anything like aphids or other problems they will get some as well.

O je, as I have read the stinging nettle manure should be diluted 1:10, so I am just going to but a nice bottom in my watering can and fill the rest up with water. I am not sure how often I should use the stinging nettle manure, but for now I will repeat it every 2 weeks with my fruit trees in the raised beds, until I see improvement.

And we have some alleys against the aphids. We found a lot of ladybirds on our fruit trees, so we are very happy about that.

Black Ladybird on a leaf
Orange Ladybird on a leaf
Mating Ladybirds on a leaf
Ladybird eggs underneath a leaf
Ladybird eggs