Have you started your preparations for the new garden year already?

We have with seeds, seed potatoes, onion & garlic sets and a big pile of soil

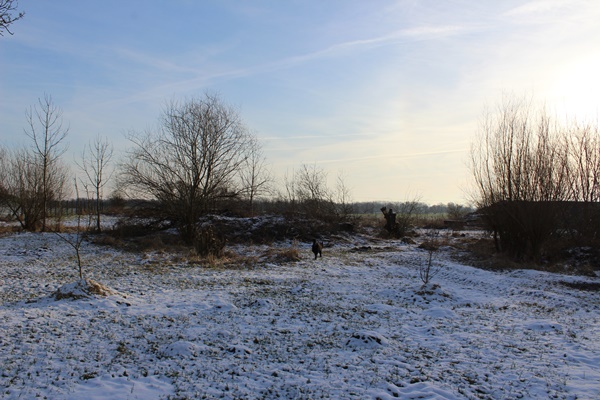
So let’s get started with preparing the site where we want to put new raised beds in. We took out a rest of an old sand heap and divided the sand in some holes around it. Also a hill bed from last year we took out and brought the compost soil to our large straw bed to expand this. We found a lot of good potatoes in this compost soil. We had not planted these; these potatoes grew out of volunteer plants and were enough for 3 meals for us.

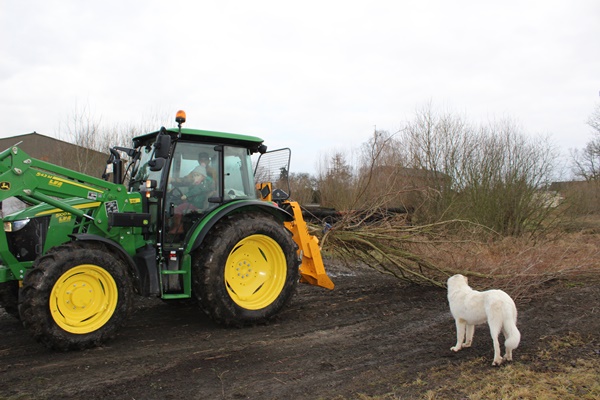
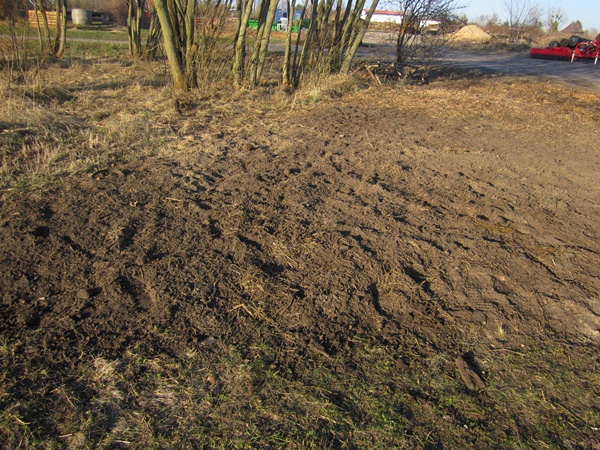
After that my husband went over the site with the tractor and meadow train to even the ground.

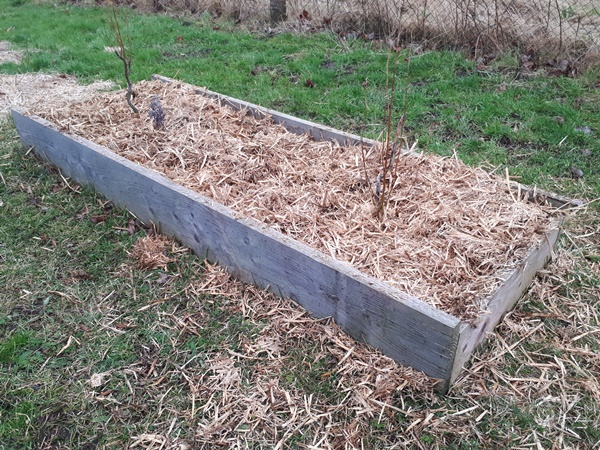
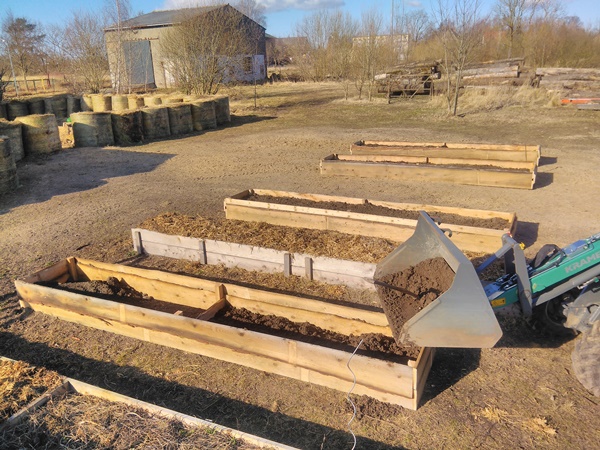
Now we can start building the raised beds. The raised beds are made out of Larchwood life edge boards.

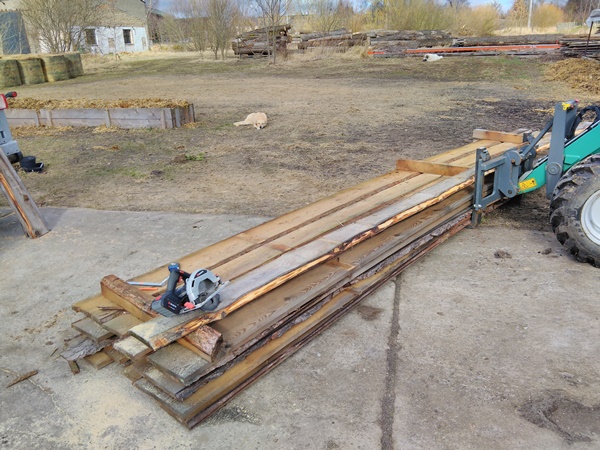
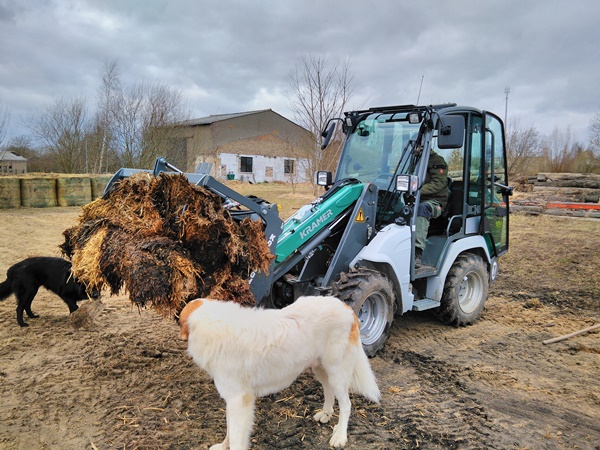
We have one bed to put between two existing beds what made filling it a bit more hand work, but the other raised beds are filled with the wheel loader directly after being put into place. This makes it a lot easier, because all we need to do is divide the soil.

On top of the soil comes a thick layer of straw. We have straw bales as a wind barrier at the short side of the Tiny House; one of which the dogs destroyed the netting keeping it together. We took out this bale with the wheel loader and put it closer to the beds, to divide it over the beds more easy.

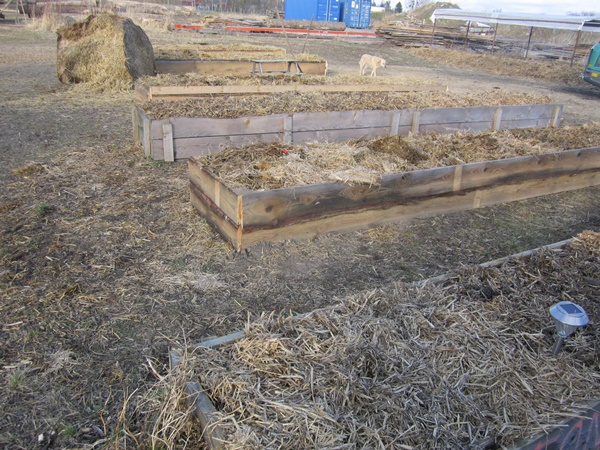
Also I put a thermometer in one of the beds to check the temperature. I have read that potatoes can go into the ground as soon as the soil reaches a temperature of 10°C. At the moment we are at 3°C, so I think it will take a wile before we can get started with planting and sowing.

At the moment we are at 6 plant beds. The first 3 beds are one for each child, who also love gardening, especially harvesting. Wherewith we are not done jet. We will be putting up a lot more plant beds. We also want to plant berry bushes and some more fruit trees, but that is for a next time.

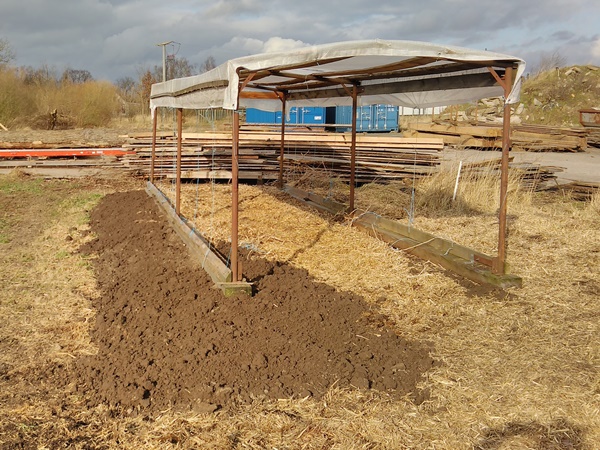
My greenhouse is not really a house, but only a roof. One corner sagged a bit, so we lifted it with the wheel loader and put a small beam under need. A long the entire side we put additional soil to stabilise the side and prevent it from sliding of. We covered the soil with straw.

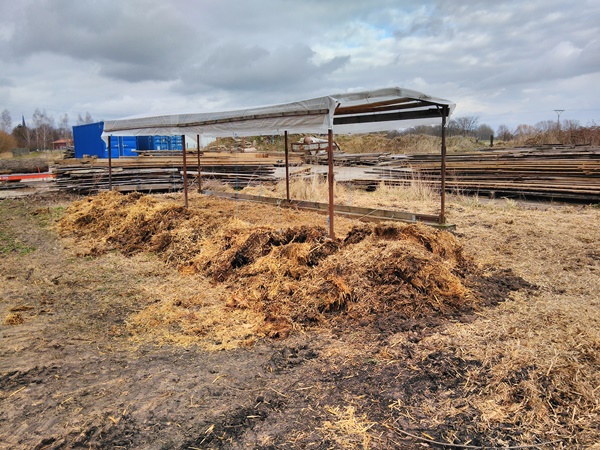
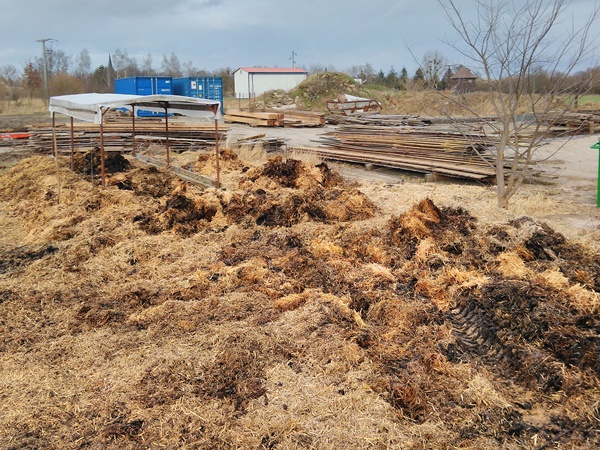
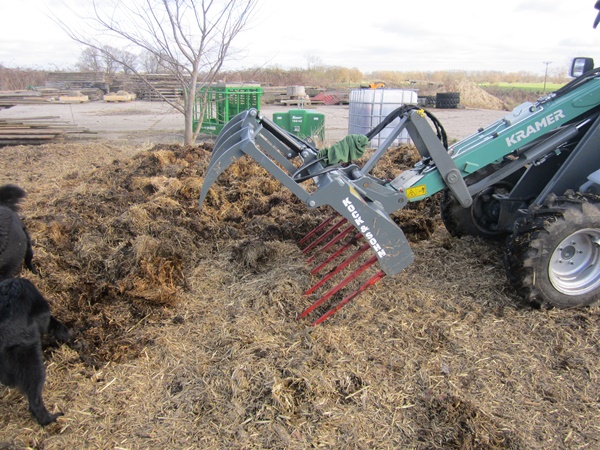
Beside the greenhouse roof was a big pile of straw, partially rotten and sagged in. We used this straw and also divide it in and around the greenhouse roof. The old mulch layer was very broken down and hardly covered the soil any more. The straw was ratter wet and fixed which made it hard and heavy to loosen. Luckily my husband could make piles of the straw in and around the greenhouse roof with the wheel loader, which made it a lot easier. We will see if it was a good idea or not to use this partially rotten straw, but if necessary we can put another layer of good straw over it later.

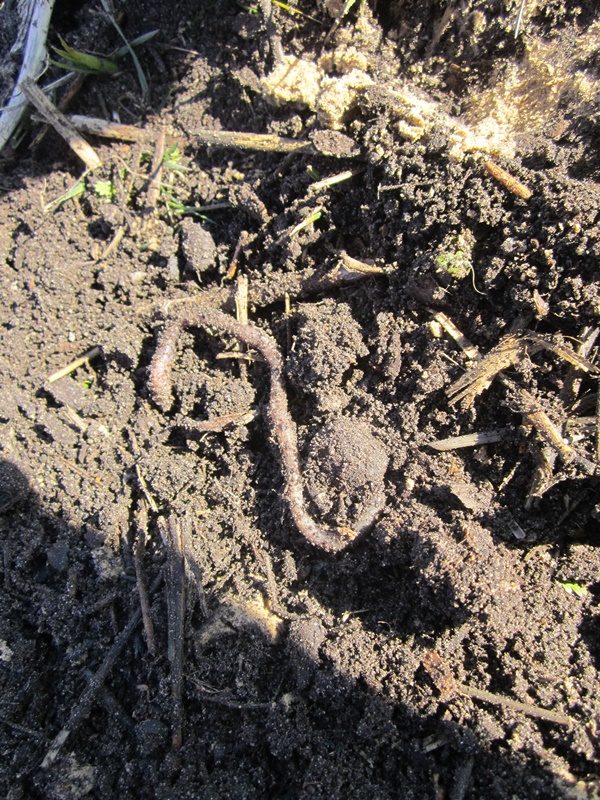
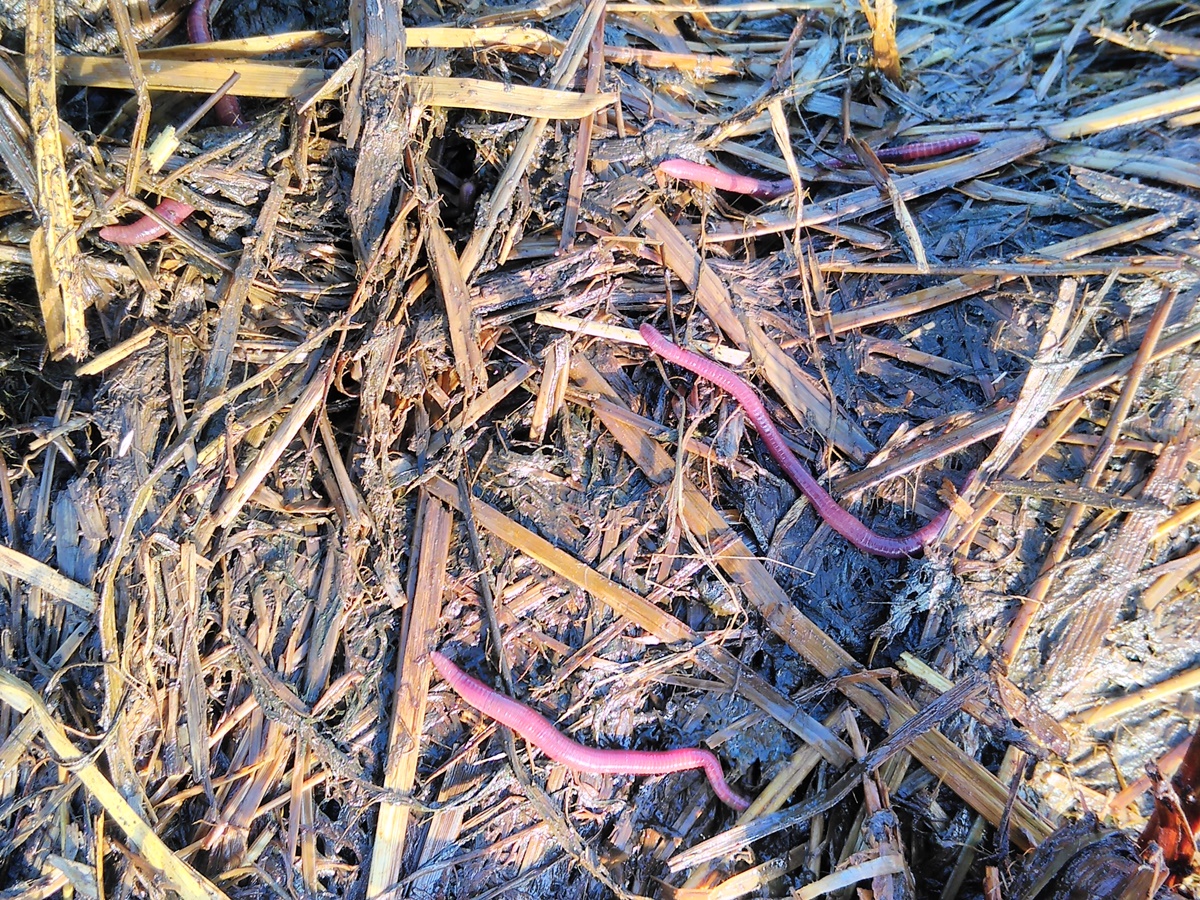
Very much to my liking we found a lot of earthworms.

Next thing to do is dividing the compost soil next to the straw bed. I had a small very busy helper. We found a lot of grassroots and other weeds to sort out. Also I forgot to put cardboard under need the soil again. We will leave the soil uncovered for now and rake trough every few days. Hopefully the exposed roots will dry out and we will not end up with a bed full of grass and weeds. After a few weeks we will cover the soil with a thick layer of hay. I hope this will be enough to suppress the weeds from below.

The preparations for our garden year are not finished jet, but we made a good start and hopefully have everything in place before the season really starts.

Finally covering the last plant beds with straw

Will the garlic grow this year?

Finally we made it to cover our plant beds with straw. I had 3 byssi helpers and the job was quickly done. Hopefully the garlic I planted did not take damage of the frost without the protection of mulch. The other plants do not necessarily need the protection against the cold, but I like to cover the ground and keep the moisture in the soil this way. This is mainly in the summertime important, because the sun can really burn although we are not in a Mediterranean climate. We will see what the beds do this year.

Cutting back Willow Trees

We did some necessary cutting on our Willow Trees, which turned out to be ill

When we bought our property it has been neglected for 10 years. So the willow trees where very dens and big. Far too big for the type of willow tree and our windy location. So one of the first things we did was to shorten the willow trees. Not all of them but all the dangerous ones first. This was 3 years ago. 2 years later we did the remaining big trees.

Now it is time to start maintaining the willow trees. Normally you cut back every other willow tree and the next year you cut back the other trees. This keeps the habitat for the wildlife available and the willow trees that are not cut back still function as a wind breaker.

Unfortunately our willow trees are not very healthy. We have a lot of problems with the willow borer and even the small branches have holes from them. You normally would cut the trees down by the roots and hope that you can kill the larva of by drowning them with rain water. The branches need to be shredded so the larva in there get killed. The willow borer lays its eggs under need the bark and the larva eat there way up the tree about a meter.

To start a few pictures from before we started cutting down.

All of the smaller branches we cut with a hand tree saw. These branches are too small to cut with a chainsaw. But therefore this was a fun family job. The kids helped with stacking the branches to piles which the tractor could pick up and bring to where they get shredded.

We do not cut the willow trees down at ground level, but we leave a meter or so. This will be the main trunk and all new growth will be cut back every other year to this height. After a number of years this will look like the willow tree has a head with hair. This was very common in this region.

Sometimes you will find some nice things wile working in nature, like this mushroom growing on a willow tree.

We also had a bigger tree to cut down with the chainsaw. These branches we collected and brought away with the tractor and the winch.

Some more smaller willow bushes to cut back.

And piles of branches to bring to the wood chipper.

One of our friends has an organic farm where he produces eggs and he likes to use woodchips in his chicken houses. So the branches where shredded into one of his containers and put to good use. In return we get some manure from him for our garden.

Here we want to take out some willow trees which grew on the concrete. Some soil has been blow on here and the trees grew in that. Now we want to clear the concrete, so we have some more space to move around with the tractor. We have an entrance to our barn here. Also these willow trees are not rooted very well due to the concrete, so they could be blown over very easily.

We added the roots and soil we picked up to our deadwood hedge, which is not finished by far. So every time we have something like this we ad it.

Here are some pictures from after our cutting back.