Horse manure with a little saw dust, some pumpkin seedlings and some other seeds
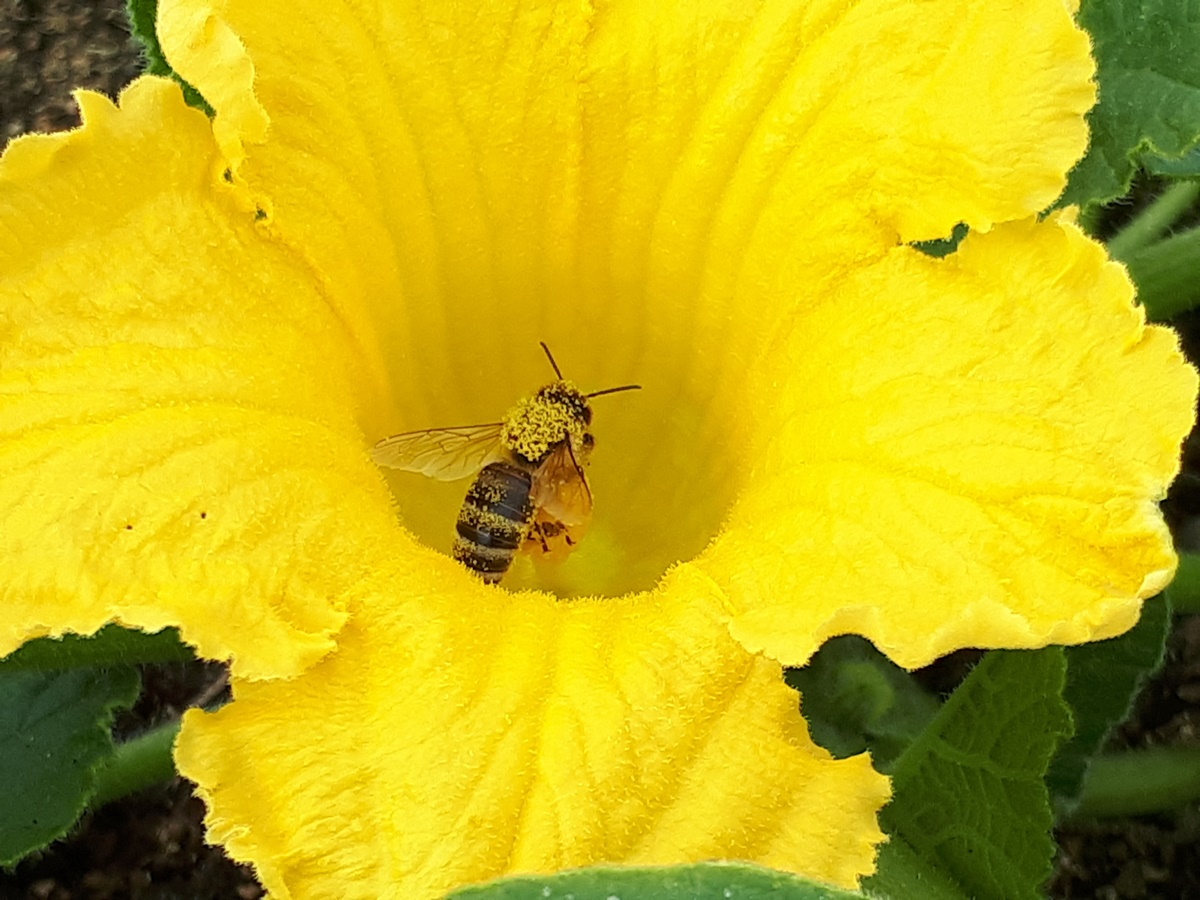
Another little flashback to last growing season, but this beautiful bee picture, I just had to share.
The next picture is not very sharp, but you can see that the bee is packed with pollen.
Bee packed with pollen
And where is this bee going? Well, the bee is visiting my flowering pumpkin; I rose from seed I saved the previous year from our own pumpkins. This growing season (2023) I had planted my seedling pumpkins in a new compost bed, which was not ready yet. As I had written before all but one pumpkin plants died. We love pumpkin soup and pumpkin pie, so one plant will not do for our needs. So first things first, we raised some new pumpkin seedlings from seed I had saved from our own pumpkins the year before. The only thing missing was an adequate planting spot, but my husband was able to fix that for me.
He scratched together what we had left of the horse manure we had purchased in the fall 2022. It was dry with very hard chunks, but after my husband mixed it with some saw dust and ran it through the manure spreader it was much more usable already. He dumped a big pile on some cardboard in our garden 4 just beside the failing composting bed.
Horse manure mixed with saw dust
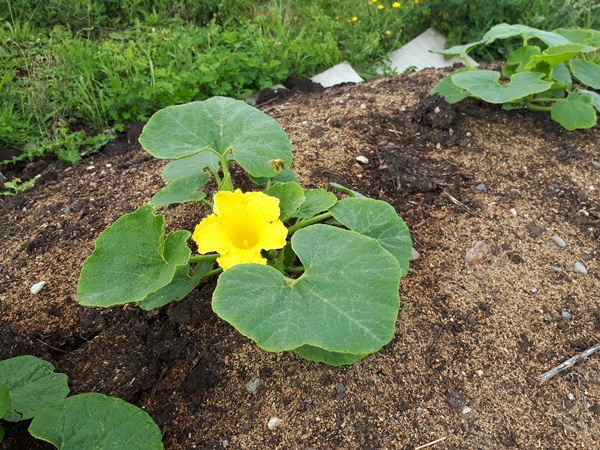
This was 25th of June, which is very late in the season to start with small pumpkin seedlings, but we planted them anyway. For the start we watered the seedlings a few times.
Beginning of August the seedlings had settled in nicely and started to bloom.
Blooming pumpkin plant
At this point I sowed some red beets and some peas in the sides of the pile.
Middle of September we had a whole rug of pumpkin plants.
A rug of pumpkin plants
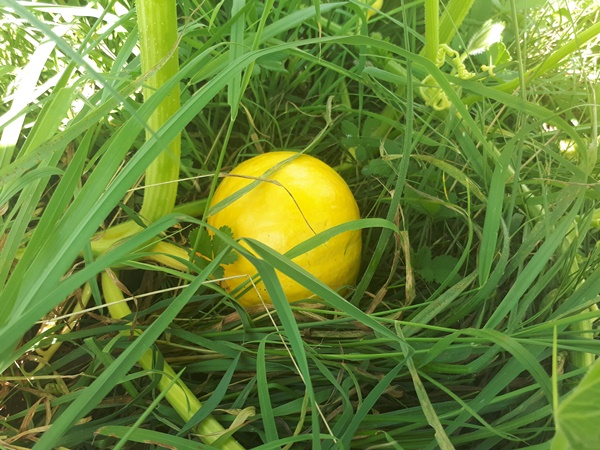
We where able to harvest, when I remember correctly, 6 ripe pumpkins of these plants and had a number of unripe pumpkins still on the plants.
An unripe pumpkin
You could argue if the amount of work was worth the effort for “only” 6 pumpkins, but I am glad we did it. Now I know for the future that if the first planting fails there is time for a second planting to crop and we would not have to go without delicious pumpkins.
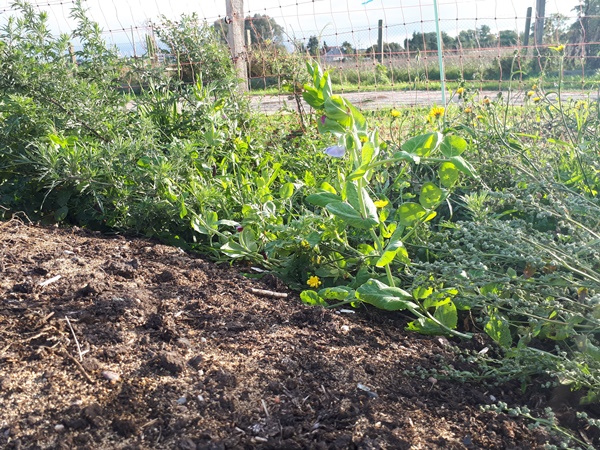
As for the peas and red beets, they looked beautiful by middle of September, but sowing beginning of August is definitely too late for them to crop. Only the peas and red beets at the bottom of the pile germinated, so higher up at the sides probably was not enough moisture.
A young pea plant right before floweringA red beet plant peeking trough the weeds
O well, everything looked nice and we had the ground covered with plants, which is important to.
For my last birthday I wished for some blueberry bushes to plant in our garden. We love the taste of blueberries and what we love so much we need to grow our selves. There is nothing compared to the taste of berries which are self grown and freshly picked and eaten right there in the garden.
So we went and purchased 10 blueberry bushes last fall. It took a little while before we actually planted them, but finally we did. Blueberries need acetic soil and we have this corner in our garden 3 where we filled up a big hole with sawdust, bark and smaller pieces of wood from our sawmill a few years ago. We finished this of with a layer of normal soil. The organic matter has been decomposing and we thought the time was right for planting by now.
The blueberry bushes should be planted 2 meters apart, but we just divided the 10 bushes on the designated patch. I always find it difficult to respect the recommended plant spacing. The blueberry patch still looks so empty with only the 10 blueberry bushes and a panicle hydrangea. After planting we divided a thick layer of woodchips over the entire blueberry patch. At first it looked really tidy and ratter empty. The naked blueberry bushes where hard to see against the background of the woodchips. Obviously the woodchips did not really hold down the weeds, but at least the blueberries have gotten there leaves now and the blueberry patch does not look so empty any more.
We got 5 different kinds of blueberries with different ripening times and so I updated my garden layout of our garden 3.
A bad idea in our climate, some small visitors, strawberry plants and red beets
In our garden 3 we do not only have the newly build composting bed where we grew potatoes in last growing season, but we also have 3 hügelbeds. We made these hügelbeds already a few years ago from compost soil we bought. We where not very happy with this soil from the beginning, because this soil does not take on any water. It is very dry and dusty. Mulching has helped a little and the breaking down of the mulch material is very slowly improving the quality of the soil.
In the middle hügelbed we had planted strawberry plants after I pulled out all of the couch grass roots I could find. The strawberry plants did not do great, but we where able to pick some strawberries. Partially the snails beaten us to the strawberries and well, I just did not water this bed. Mostly the strawberries made runners and at the end of the season there where so many more strawberry plants, which can be called a success. I recently dough out all of the strawberry plants and gave them a new location in our garden 2 with the raised bed. More to that in an upcoming post.
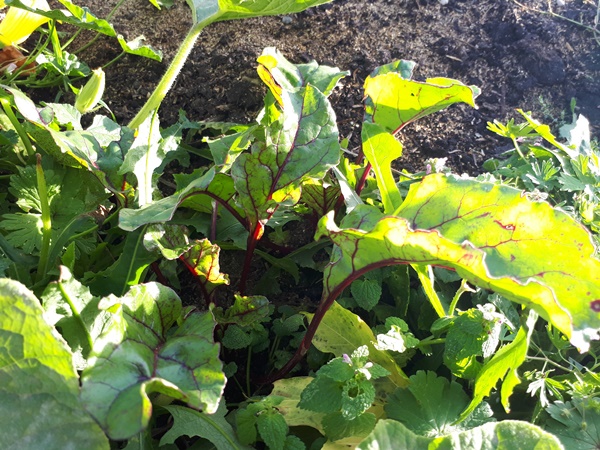
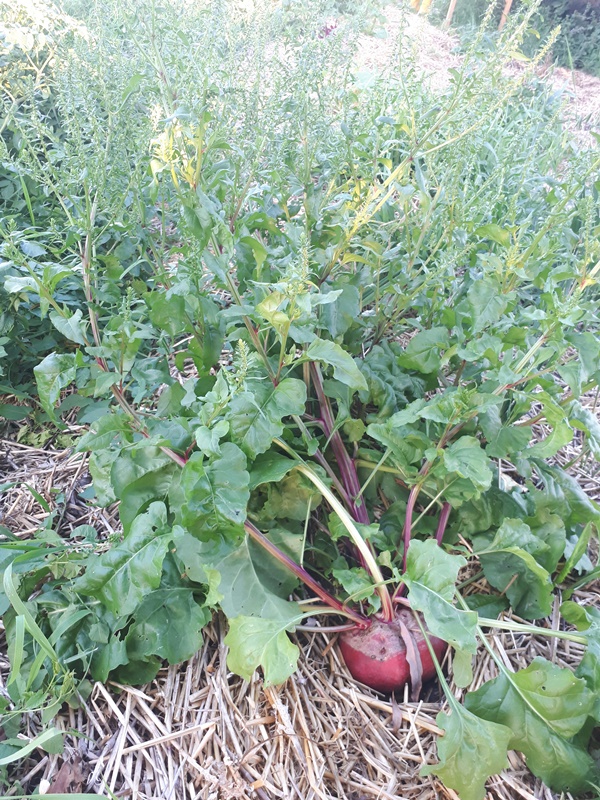
In the 3th hügelbed we had planted red beet seedlings, which did, despite not watering, wonderful. We harvested a lot of tasty red beets. There was one red beet that bolted and we let it flower and set seed.
I had seen a video where was explained how to get seed from red beets. They would flower in the second year and you would need several flowering red beets so the flowers would be pollinated. This one red beet flowered in the first year and actually made useful seed al on its own. I did not harvest the seed, simply because I did not know when the seed would be ready and I just forgot about it. When I was digging out the garlic for relocation a few weeks ago, I actually found a lot of red beet seedlings peeking up from underneath the mulch. The garlic was already growing again, thanks to this mild winter (I did not find these while harvesting garlic last fall). So another accidental success which got eaten by the chickens after the seedlings became big enough to be seen.
Now to the tomatoes, which I actually wanted to write about. The tomato plants where in the first hügelbed and did surprisingly well outside. I did water these on a regular base.
I interplant the tomatoes with some leftover cabbage seedlings, but the snails devoured these.
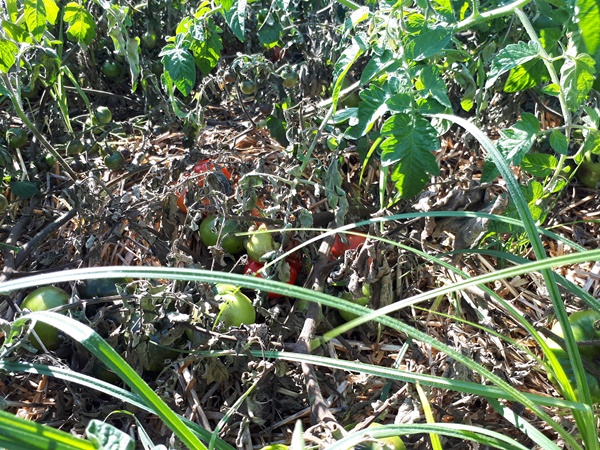
I planted 2 rows of tomatoes. One row with Gardeners delight a wonderful snack tomato and one row with Marmande, a flesh tomato. There where about 15 tomato plants per variety and, as you can see on the picture, we did not trellis them. Well, that was a bad idea, but we just never came to that. We would have had to build a structure over the hügelbed and trellis every single tomato plant and we just did not make the time to do so. The tomato plants thrived and grew big and fell over and grew even bigger, they flowered and set on lovely tomatoes.
As we finally started to harvest the first tomatoes, one tomato plant started to disease with blight. This was after the wetter changed from very dry to very wet in August. This first plant diminished ratter quickly.
I was positively surprise with how long it took for the blight to spread over to the other tomato plants. I noticed that the variety Gardeners delight kept up a lot longer than the other variety. I was able to harvest a bucket of tomatoes before we had to give up on these plants. It is a shame, but the bulk of the fruit still had to come when the blight spread completely all of a sudden.
Obviously I saved seed from healthy fruit from both varieties and I will definitely sow Gardeners delight again next year, since we all love these.
The tomatoes grown outside do taste a lot better than the tomatoes grown in the greenhouse, so I am planning to grow some tomatoes outside again, but only so much as I can handle to trellis on time.
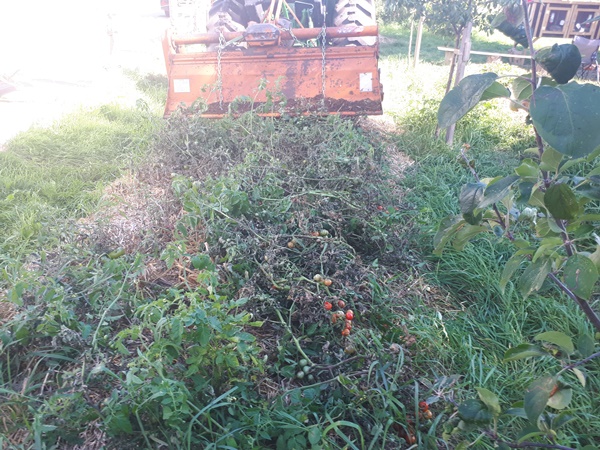
And what did I do with the diseased tomato plant? Now don’t be shocked, but we just rotary tilled the hügelbed with all that was there. It took 2 passes to get a nice result and get all of the organic material nicely incorporated and this organic material will help the soil to improve. The blight spores are every where in the soil anyhow, so why let the organic material go to waste?
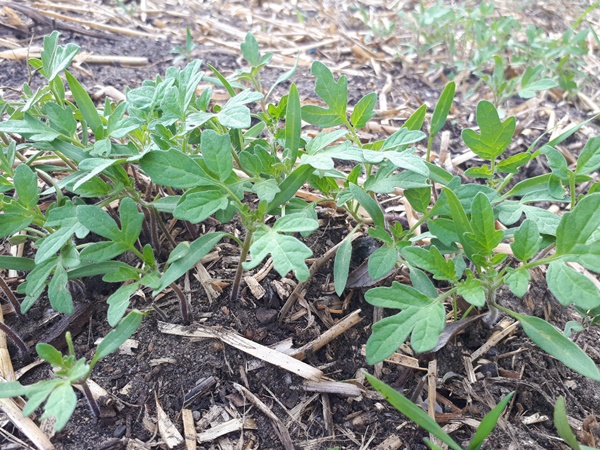
Another nice side effect was that the seeds of all of the tomatoes where incorporated as well and they started to sprout and there where a bunch of seedlings in the hügelbed end of September. Obviously they do not have any change of surviving, but it looks nice for the time being.
In between the first and second hügelbed we have 3 fruit trees, one of them being a Mirabel. We planted these trees only a year prior and I was surprised we could already harvest fruit. The Mirabel was packed with delicious fruit we shared as they ripened.
We also had a lot of small visitors in the garden. From a few I took a picture.
To start of with the Colorado beetle. Here a picture of its larva.
We had potatoes growing in these hügelbeds in the past and of course did not find all potatoes while harvesting. So among all I mentioned above, there where some potatoes growing here and there in these hügelbeds. They eat some of the plants, but we collected the larva we could find and we had surprisingly little problems with the Colorado beetle in comparison to two years ago and before that, where we had to collect a lot of beetles and larva from our potato plants every morning to save our potato plants. Maybe because we do not spray, but collect by hand and let nature do the rest?
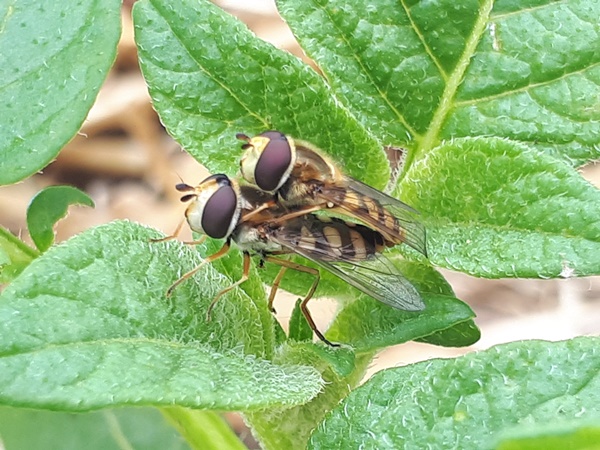
Next up is the hoverfly (Syrphidae) that is, when I am not mistaken. I couch these while mating. We seem to have a lot of these very useful insects, which contribute in diminishing lice.
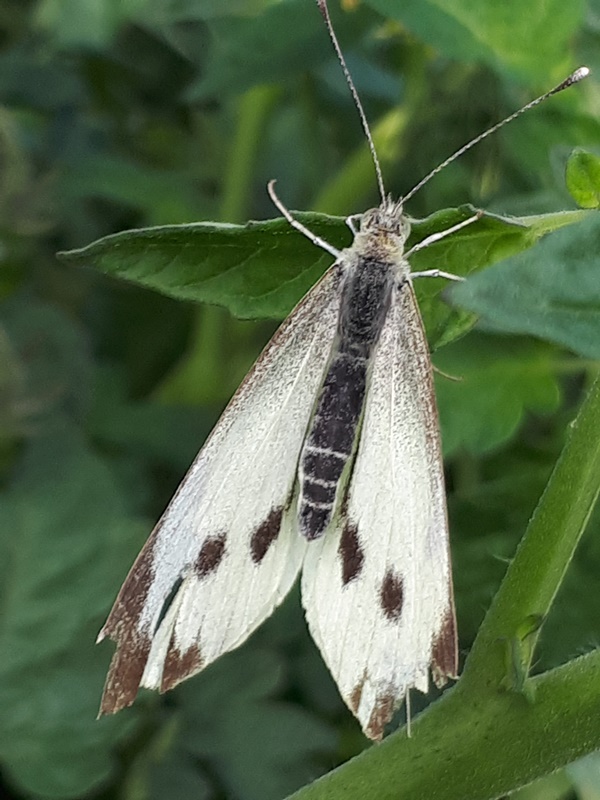
Then I found this moth (or is it a butterfly). I find it hard to pin point the specie, but if anyone has an idea, he is more than welcome to put an info in the comments.
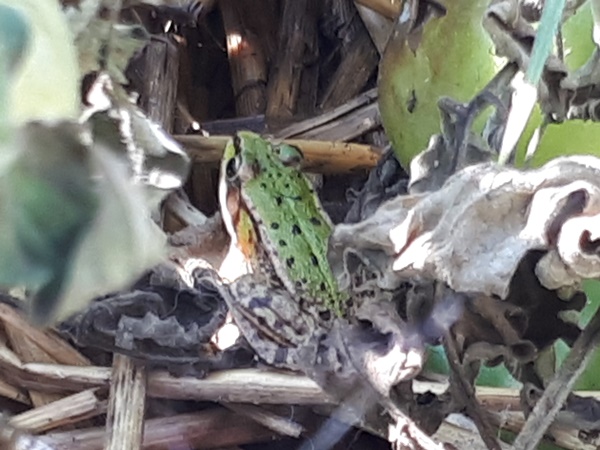
Last but not least we found this beautiful bright green pond frog decorated with its dark points. This was beginning of September when the wetter was damper. We where so pleased to find this small creature. That it is here must mean that, despite that our pond had fully dried out in 2017 and 2018, now that it has water again, it is still a healthy pond. The kid’s where so excited to watch this beautiful pond frog.