
On a previous Blogpost we finished with the outer hull of the Tiny House. Obviously we then put in the windows and the door, so that we can heat the Tiny House and work sheltered against the elements.

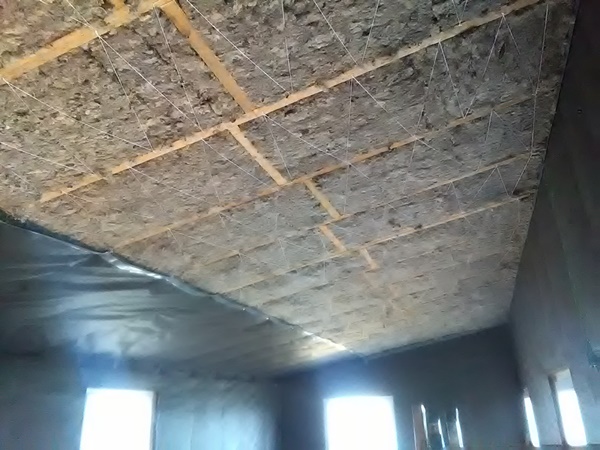
Next thing to do is putting in the isolation so we can keep the warmth inside. We like nature and want to build as natural as possible. Therefore we chose to isolate with sheep wool. We were a little disappointed when we received the sheep wool isolation, because the sheep wool isolation is very processed. The sheep wool isolation is treated against mold & mots. Also we need to ad on a protective layer to keep the wind out. This very much surprised us, because sheep do not care for wind. There wool protects them. Unfortunate they washed the sheep wool for the insolation, so the wool fat is not there to keep the wind out. We did not anticipate this, so we had to ad the barrier from the inside in every little segment of the wall. This took a lot of time. Them we put in the sheep wool and we had to put another protective layer over the wool.

Luckily the protective layer only needed to keep out the wind, so we could do with a barrier that still could breath. This means moisture can travel trough the wall to the outside. This makes for a much healthier and pleasant climate inside of the Tiny House. The sealing and the floor is also isolated with the sheep wool. For the sealing we put rob as a sick sack underneath, so the isolation would not fall out before we could put the protective layer on.
After this we started with bringing on planks on the floor, walls and on the sealing. These planks are meant for under construction for some nice looking wood to go over them and also for stability.

This stability is needed because we want to be able to lift up the Tiny House with a crane. When we started to build our Tiny House we were not sure where on our property it should go. We just started building on a somewhat level surface on an accessible position.
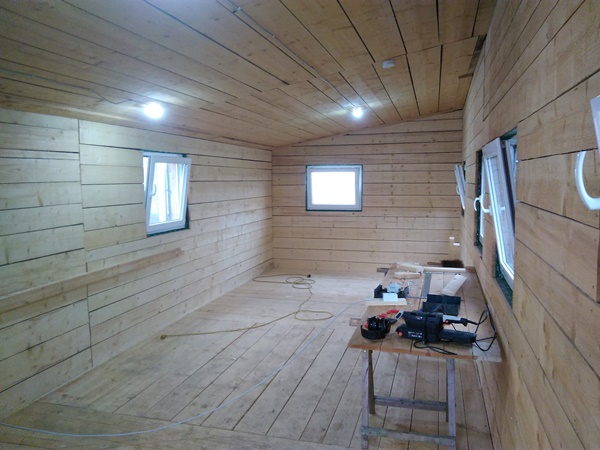
We also put in some inner walls for a small bathroom.

Next thing we put in the electrical power. We choose to put it in plain sight to give the Tiny House a kind of industrial look. We only need some lights and a few outlets. Doing the electrical power this way makes it easier to ad on later if needed.

Now for the secret of the wall build up of our Tiny House.
The build up of the outer wall allows for a small controlled airflow. The space between the horizontal beams and the wider siding acts as a aircushion. This aircushion can only ventilate trough the gabs in between the wider siding planks. In the summer time this gives the Tiny House a somewhat cooling effect and also pulls the moisture out of the Tiny House. In winter due to the low temperatures this aircushion doesn’t ventilate as much so that it functions as extra isolation. But the moisture can still be transported out of the Tiny House. You should also know that sheep wool isolation has the same R-value no matter if its dry or moist. We are able to keep a balanced air moisture level in the Tiny House due to this effect. Which obviously is very good for the climate inside.
Next thing is to move the Tiny House to its new position before we build out the interior.

