After reading and watching several videos, I am convinced that fermented vegetables are healthy and I wanted to make ferments my self, also as a way to preserve our own produce. My first attempts went wrong and I trough them away, but after watching more videos and reading tips over making ferments I realized that a lot is a matter of taste. We live in Germany at the moment and here sauerkraut gets fermented for at least 6 weeks or more. It is a way for long term storage. As of a lot of videos I watched are from America and many only ferment sauerkraut for only a week. For us it tasted very salty and not as anything we would want to eat.
The first time I made carrots, which I shredded and salted. I made these without extra liquid, just like you would make sauerkraut. This should ferment a number of days. At this moment I did not realize I could just leave it fermenting longer, so I tried it and it was just so salty and I gave it to the chickens. Even the chickens did not want to eat it. Wondering how this should be so healthy for you I searched for more information, also in German, and I realized I should just leave it much longer.
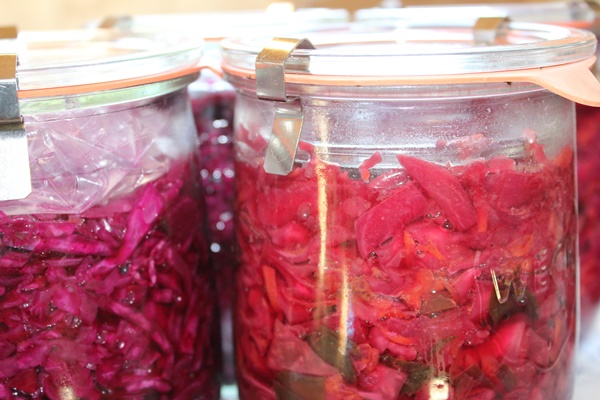
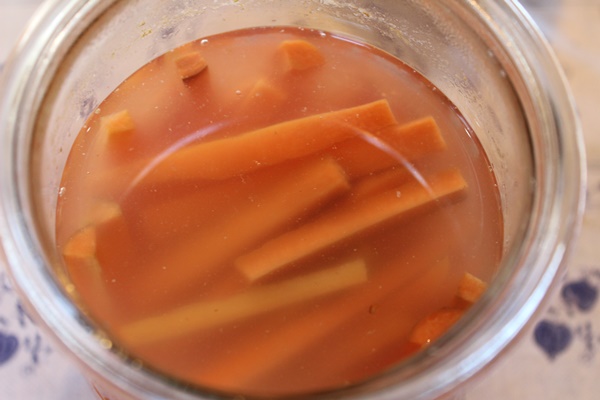
Than I tried Sauerkraut. I like to use red cabbage, but that is just a preference. I made a large glass and put it on the counter. After a few days I wondered about all of the fluid on the counter. I checked the glass and noticed a large crack, so I put the sauerkraut into other glasses. Apparently I did not work clean enough by doing this, or I had too little fluid covering the cabbage, but this started to mold and I had to throw it away. I was somewhat disillusioned and forgot about it for a wile. After our own produce started coming from our garden I thought about trying to ferment again. I started with carrot which I just cut into long stripes and topped up with salty water (1 tablespoon of salt to 400ml boiled and cooled water). Next thing I tried was a cabbage for Sauerkraut again. I made only a small amount. I put everything in our barn in storage. Since this would have to sit a wile and I do not have counter space to use for this. After several weeks I went to check. I forgot how long I let it, but I leave things fermenting for at least 6 weeks. We tried the carrots and the sauerkraut. My son, very much to my surprise, loved the sauerkraut and the glass was empty within 2 days. The carrots I made with onion and garlic and my husband and I loved these as well. My son liked the carrots as well, but our two girls did not want both. Positively inspired by this success I started a lot of different ferments from our own produce. I did more carrots, zucchini (which I had a lot), sauerkraut, green beans, broccoli, chili, paprika, cucumber normally for pickling and also kimchi with different compositions.
I all put it up in our barn to ferment and I more or less forgot about it. I had a glass of carrots and a glass of kimchi in the refrigerator and I usually forgot to take it out with a meal. After about 6 months I started trying to really think about it and take out these ferments with our lunch meals (We eat the main meal at lunch time). Our son still loves the carrots and ate almost all by him self, the kimchi he does not like. The girls still did not want to eat the carrots nor the kimchi. So I eat the kimchi, but after some time my daughter wanted a bite of kimchi from me and of course my other daughter then wanted a bite from me as well. As if the food tastes differently from my plate as from theirs, they all of a sudden seam to like it. Meanwhile the carrot glass is empty and the kimchi almost and I made myself on getting all of my ferments out of storage to check on them. I also had some zucchini pickled and the children wanted from these as well, so we took a glass of those inside as well.

After checking I found that most of the kimchi and the sauerkraut hat too little fluid, so I topped these with some boiled and cooled water. I think I made the glasses to full and because of that to much liquid could escape wile fermenting.


The smell of the kimchi and one glass of sauerkraut was as it should be. The sauerkraut of a later date was all bad. It smelled like it is rotting, so sadly I trough these glasses all into the compost. This was the last sauerkraut I made from our own cabbages. Unfortunately these cabbages sat to long in a not very ideal storage for to long before I found the time to process them. I assume that has been the problem with these glasses of sauerkraut, since I did not do any thing differently as I did before.
There is another glass of carrots, which is still good as well. It smells nice like carrots.
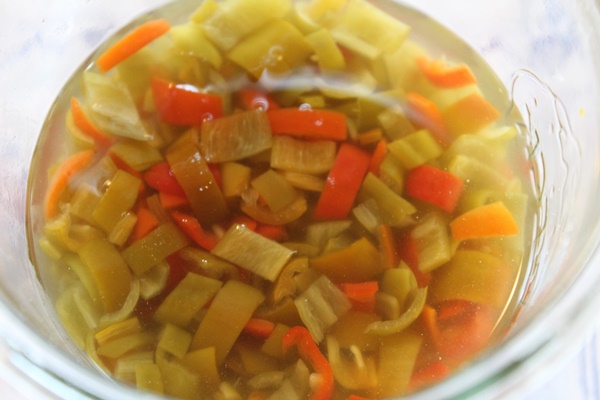
I also had some chilis out of the garden last year and cut them and took out the seeds. Poured up with salty water I let them ferment. We tried them on a pizza and my husband and I loved it. My husband complained that I did not put enough chilis on the pizza. It wasn’t as hot as I would have expected it to be. Maybe this year I should leave the seeds in. Just cut of the tops and ferment them like that. I will let you know if it makes a difference.
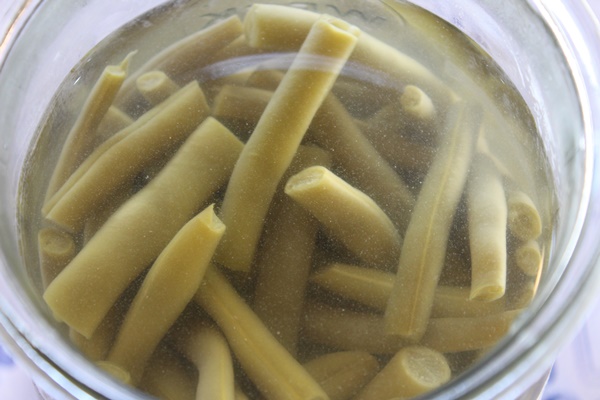
I had a lot of green beans last year, so I decided to try to ferment these as well. I had filled up one glass. I had put some green beans in a kimchi and had noticed that this was not a good idea, so I sorted the beans out as we used the kimchi. I figured with this glass of beans I could just rinse them and cook them as if they where fresh. When I opened the glass I noticed that it had a vacuum, which surprised me, and the smell was a bit sweet and a bit alcoholic. It did not smell like something I would want to eat. After cooking I tried a piece and it was disgusting. It was just so extremely salty. That landed on the compost.
After the beans experience I had been busy and forgot about the ferments for a few weeks. Meanwhile it has been very cold this winter, so in our barn the temperature dropped to almost freezing. Then finding time to try another ferment again we unfortunately found all ferments gone bad. We assume that the extreme cold have killed the good bacteria and then the vegetables have started rotting, because we found the white layer the good bacteria cause.

The smell was terrible when we emptied out the glasses. What a shame so much food gone to waste. We really need a house with a root cellar, or build something root cellar like to store our produce properly over winter.
So now I am going to buy a cabbage and carrots to make new ferments, so we will have new ferments in about 6 weeks. I look forward to make new ferments out of our own produce again, but I will not make so much at the time any more until I am sure I can store them properly.