What did my raised garden beds do last garden season?

The raised garden beds where not very successful, but they did have some fun things

The raised bed garden is our garden 2 on the garden plan.

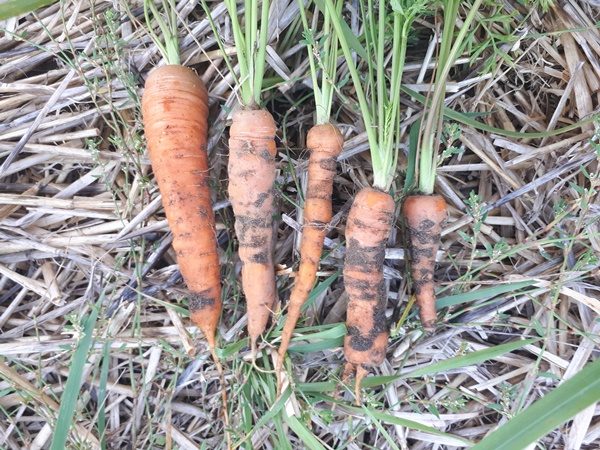
The garden season 2023 started dry and hot, which was not very useful for gardening. As mentioned in a previous post the carrots did not want to sprout. We found only 5 carrots in our raised beds and the onions we harvested where ratter small.

Freshly harvested carrots on straw mulch
Freshly harvested carrots
Freshly harvested onions on straw mulch
Freshly harvested onions

Where the carrots did not sprout, we planted tomatoes and peppers. I had pre-cultivated way too many to grow only in the greenhouse. We improved the soil a little with some manure and sawdust before planting. With the hot and dry wetter and us not watering much the tomatoes and peppers obvious did not do well. The tomatoes where only small brown sticks standing in the ground, but in August the wetter changed. We got rain on a regular base and the tomato plants started growing a little from the roots again. We even where able to harvest a few tomatoes before the blight came.

A small tomato plant with some green tomatoes starting to turn red, in a raised garden bed with straw mulch
Tomato plant in September
A small tomato plant with some red tomatoes, in a raised garden bed with straw mulch
Tomato plant in September

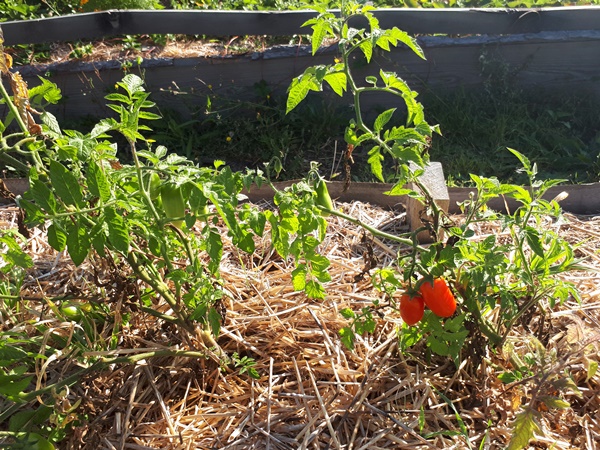
My daughter did a better job. She had this beautiful healthy looking tomato plant with some bright green tomatoes. When the tomatoes where ripe, she was quicker with harvesting then I was with taking a picture, but the taste was wonderful. The kid’s generally are very serious about there own gardens and love to water, so the tomato plants in there gardens obviously did better.

Healthy looking tomato plant with bright green tomatoes in a raised garden bed with straw mulch
Tomato plant

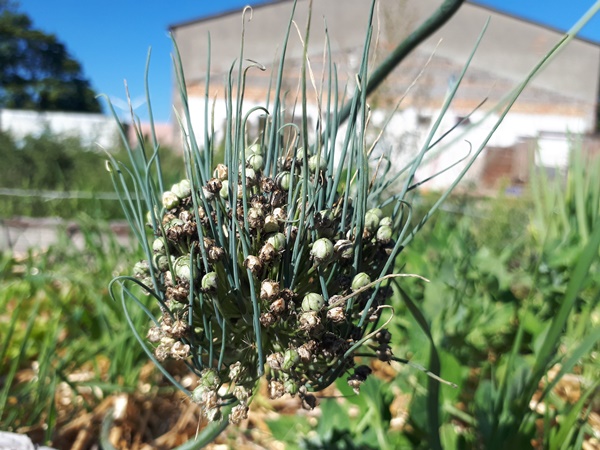
In the growing season 2022 I had left some leeks in the ground and they flowered beautifully. The only thing is that I missed out on the right point to harvest the seed. When the wetter changed and we had more rain some of the seed started to sprout right where it was. The seed head of the leeks looked very interesting, as if it has hair. I still was able to save some seed from the seed head, because not all seed had sprouted. We will use some of it in the coming growing season.

Leek seed head with leek seedlings growing directly out of the seed head
Hairy leek seed head

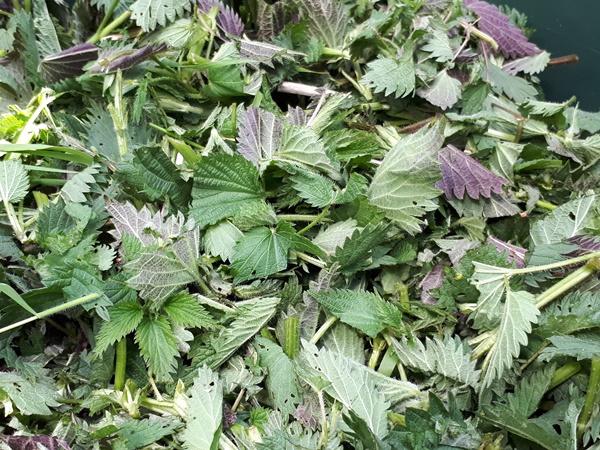
What I am definitely not liking is using straw as mulch in the garden. There are still so many seeds in there, which sprout, that I always have so much grain growing in the gardens. In this raised bed the leeks are partially hidden from all of the grain growing there.

Raised garden bed with 2 rows of leeks, partially hidden by grain plants
Weedy leek patch

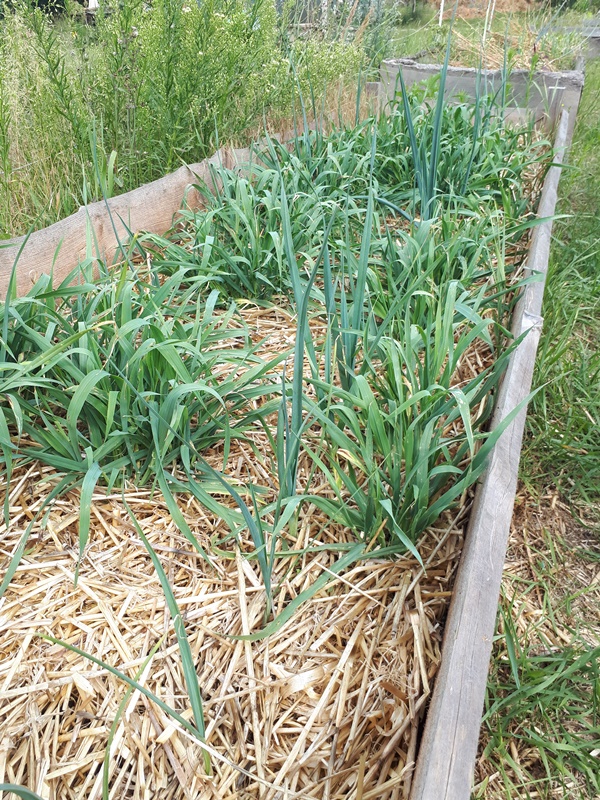
I took out all of the grain (and also a lot of couch grass) to give the leeks some space.

Raised garden bed with 2 rows of, still small, leeks, mulched with straw
Weeded leek patch

Last fall we made a lot of biomass on a hay field. With this stuff the seed had long fallen out before we mowed it, so that should be much more to my liking as the straw. This biomass will serve as mulch for the gardens in the coming growing season, so we will see if the seed really has all fallen out before we pressed it to bales. Or maybe we will have gardens filled with plants from the hay field.

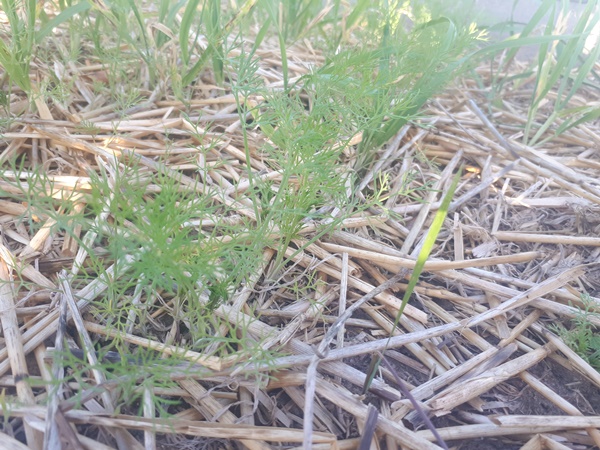
After the wetter turned in August we did some new sowing. We sowed dill, different varieties of lettuce and some sugar peas, which sprouted well and we even could harvest from, before the first frost came. I was positively surprised about that with the late sowing in August, but we had a long and mild fall, so sowing this late in the season will probably not work every year.

A row of small dill plants in a raised garden bed with straw mulch
Small dill
Raised garden bed with some lettuce and peas and straw mulch
Lettuce and peas

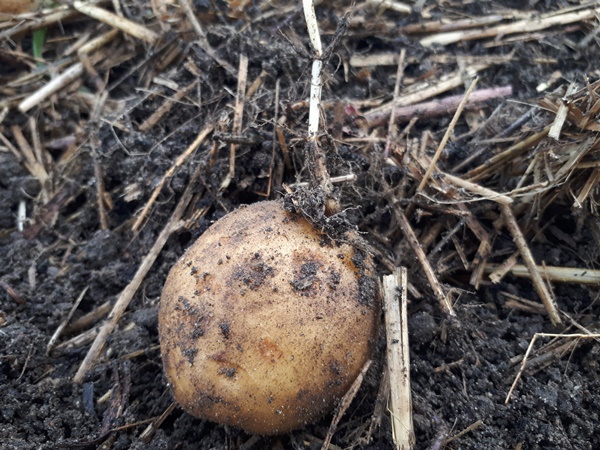
In one garden bed I planted a few potatoes, but we have a big problem with the couch grass coming trough every where. The roots of the grass actually just grow right trough the potatoes and I could put a big part of the harvest into the compost. Such a shame.

A Potato lying on the ground with a grown in couch grass root
Potato with couch grass root grown in

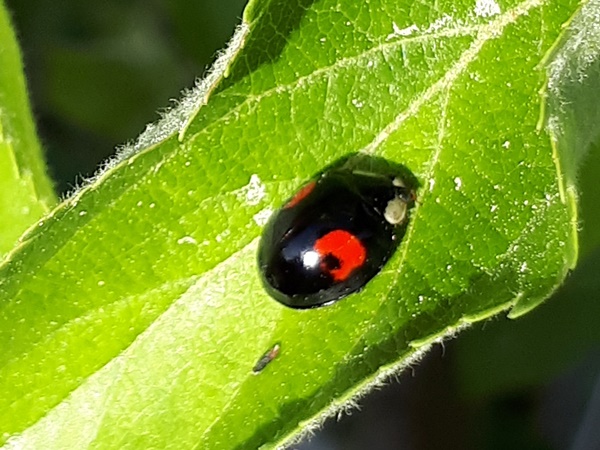
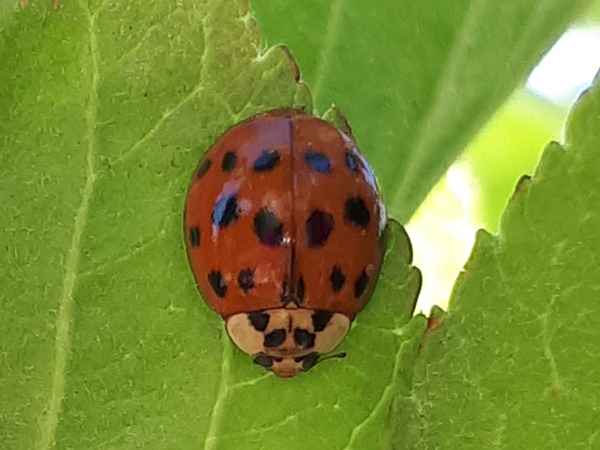
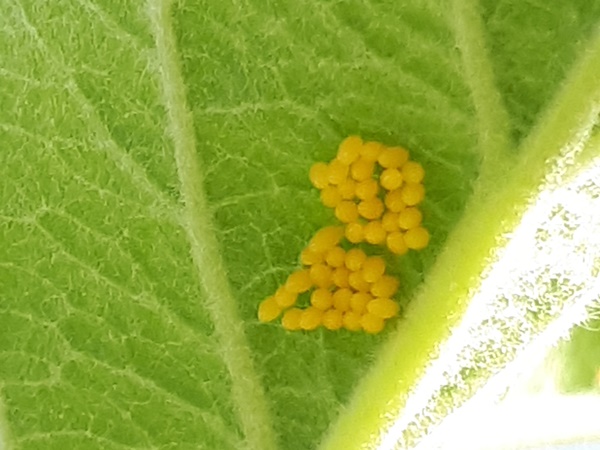
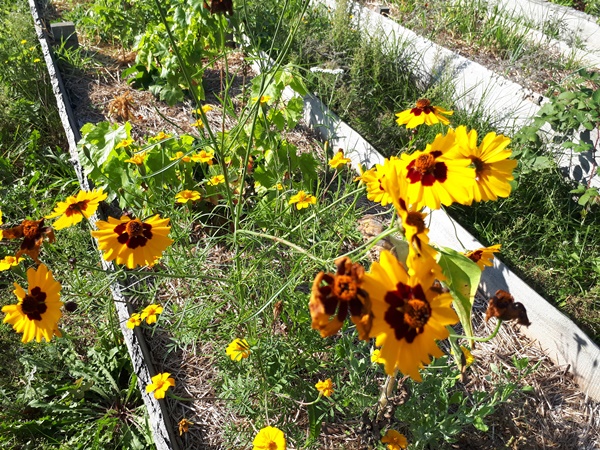
We also planted some flowers, but we should do a lot more to attract predator insects.

Yellow flowers with a red inner ring in a raised garden bed
Flowers

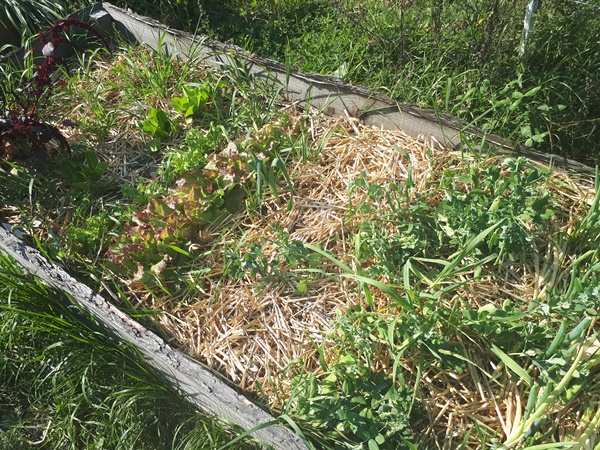
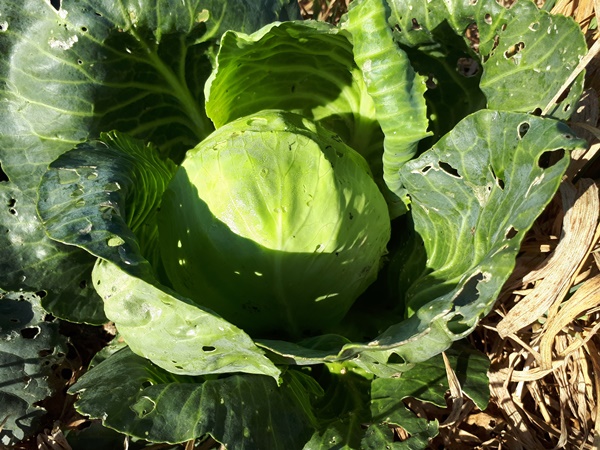
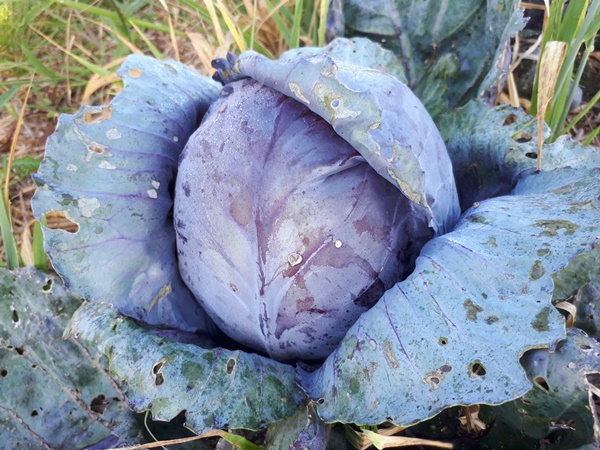
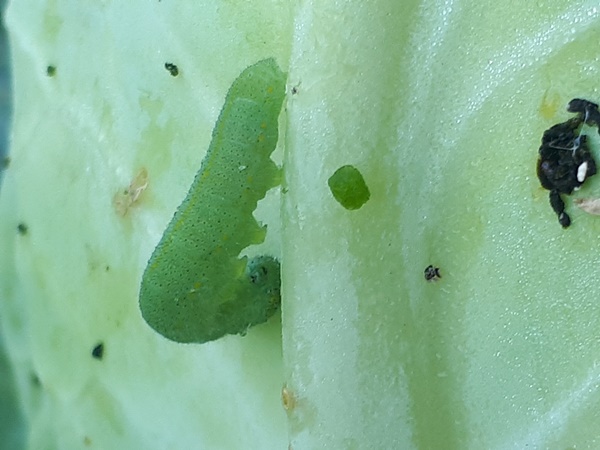
Last but not least our garden 2 also has a normal garden patch which was rotary tilled last spring (because of the couch grass). We planted red and white cabbages there, with celeriac in between. We planted a lot, counting in losses to pests, for instance, the caterpillar of the white cabbage butterfly. As you can see on the picture here we also used straw as mulch and the entire patch was full with grain already turning brown since I took the picture in the fall.

Garden patch filled with cabbages, celeriac and weeds
Cabbage patch

As expected some cabbage plants did better then others and there where more then enough pests. All in all this patch did alright. A part of the cabbages formed nice big heads.

A nice big white cabbage head above straw mulch
White cabbage
A nice big red cabbage head above straw mulch
Red cabbage

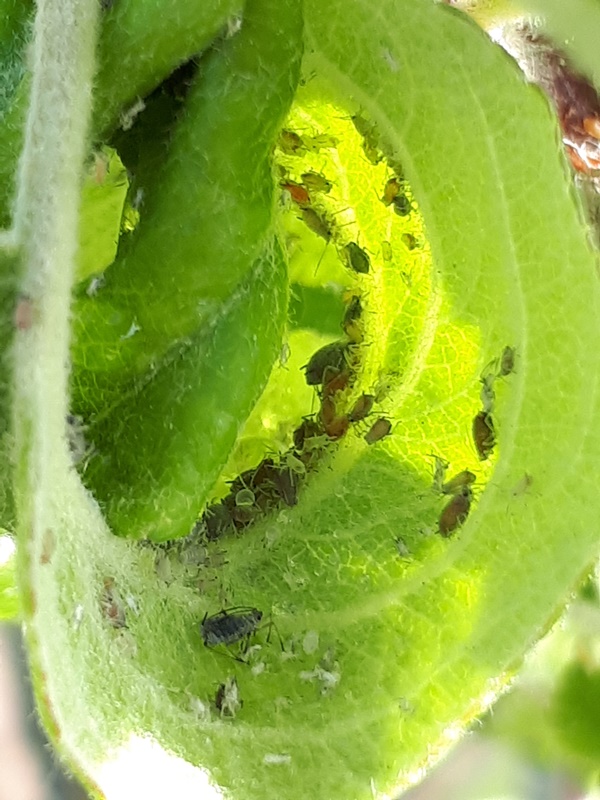
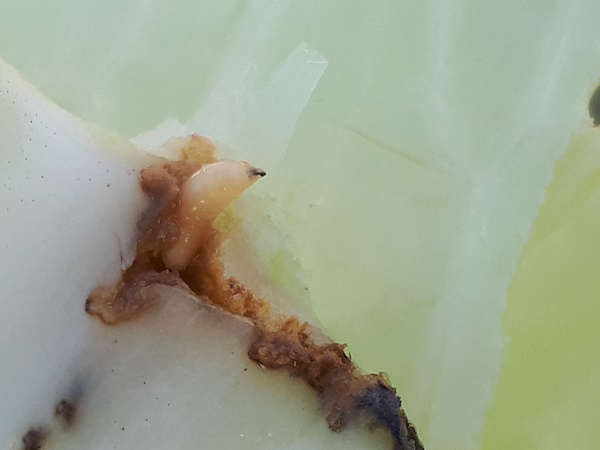
There where a lot of pests like this caterpillar (probably the cabbage moth, Plutella Xylostella) and this maggot (probably a small cabbage fly, Delia Radicum).

Green caterpillar on a white cabbage
cabbage moth caterpillar
White maggot looking out of a broken of white cabbage leaf
Maggot of a small cabbage fly

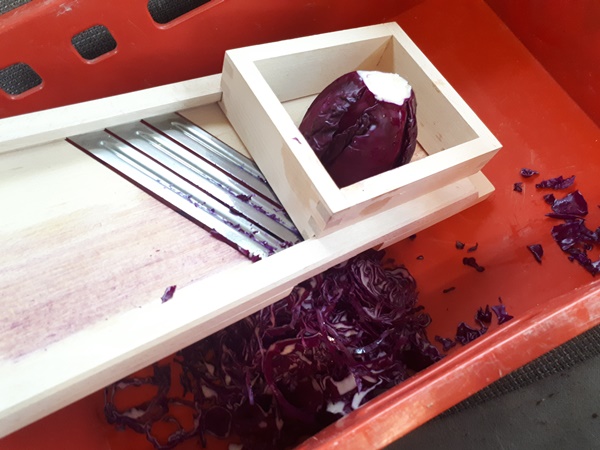
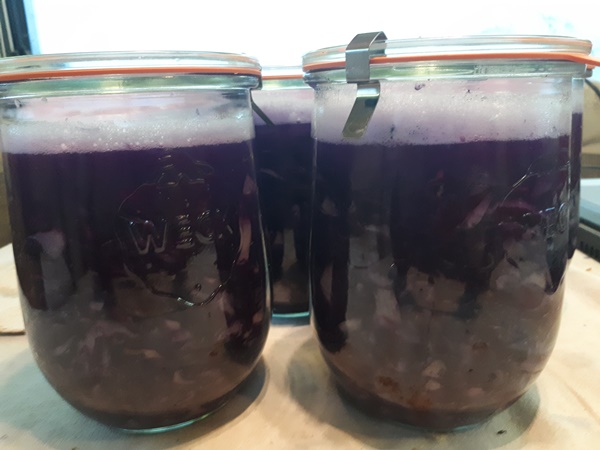
I could harvest more then enough cabbage heads to make enough sauerkraut to last us until the next harvest. I bought this slicer especially for making sauerkraut and I must say that the sauerkraut becomes much better as to when I cut it with a knife. Obviously with a knife I can not cut the cabbage as thinly as with the slicer and when I am making this kind of bigger batches I will always use the slicer from now on.

Slicing red cabbage with a sauerkraut slicer in a red create
Slicing cabbage
Weck jars filled with sliced red cabbages prepared to turn into sauerkraut
Sauerkraut in the making

Unlike the cabbages the celeriac did not do to well. Most of the plants did survive the dry and hot spring and summer start, but they stayed small and did not make any tuber. As I understand celeriac needs a lot of water to make a tuber, so I think this is not really the right crop for us to grow.

A little celeriac in front of a red cabbage in a garden patch mulched with straw
Celeriac
A little celeriac pulled out of the ground with no tuber formed lying on a garden patch mulched with straw
Celeriac

Luckily I had a celery variety for the stalks for the first time this year, which thrived very well in the greenhouse. We liked this celery for our soups very much, so we did not have to go without. We will grow this variety on a bigger scale this year.

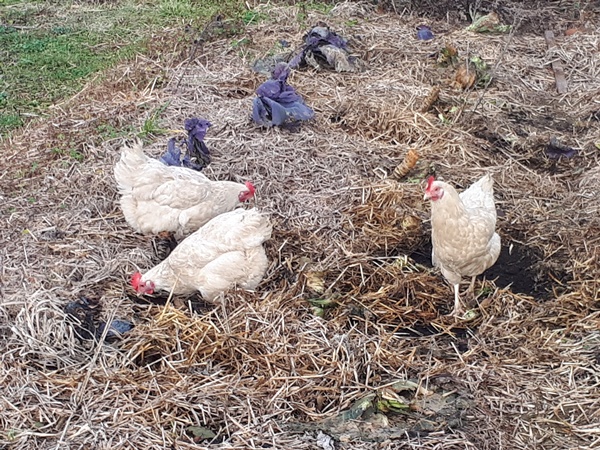
After harvesting was done we let the chickens into the garden to help on pest reduction.

3 white Sussex chickens free range in a cabbage garden patch which was harvested
3 white Sussex chickens free ranging

Concluding I have to say that the garden soil is slowly improving, but it still has a long way to go. Having a drought spell is terrible, because the soil dries out so quickly and becomes so hard (like concrete) that if we water, the water just flows of to the side and waters the walking paths in stead of the garden soil.

The couch grass also is a big problem. It is all over in the original ground and on the walking paths. We can not dig it all out, that is just too much and we would have to empty out all of the raised beds again and dig out all of the fruit trees in order to do so.

Well, we are going to have to think of a new approach for these raised beds for the new garden season. We are having some thoughts there, but that is for a different time.

Making stinging nettle manure

How to? It is as easy as this…

For years I have wanted to make this, but some how I never came to it. Now we finally did and it is so easy.

We have a lot of stinging nettle growing on our property. After winter, I just had to wait until they grew to a usable size for cutting off and collecting.

A patch with stinging nettles

I used a hedge trimmer to cut the stinging nettle off and putt on some very thick gloves to collect them.

A women collecting cut off stinging nettles with thick yellow gloves

I used a new rain barrel to prevent mold from growing and collected stinging nettle until it was ¼ full. I used the hedge trimmer to cut the stinging nettle into smaller pieces right in the rain barrel. I put the rain barrel underneath an elderberry tree, where it has shade at least a part of the day.

Cut off stinging nettles collected in a rain barrel
Stinging nettles collected in a rain barrel, cut up

The stinging nettle was topped off with water (the rain barrel is half full) and I gave it a good stir. My husband made a funny video of this.

I put on the lid, which does not close air tight, and waited for about 3 weeks.

In the mean time our fruit trees in the raised beds are struggling. We are already having a drought and the soil in the raised beds is of the heavy clayy type, which hardly holds any moisture. It will take some more years of adding compost and mulch before it will be a good soil for the plants and the trees. Against the caterpillars the stinging nettle manure will not help, but I do hope (with enough watering to go along) that it will strengthen the health of the fruit trees and will help against all of the aphids inhabiting them at the moment.

Aphids in a rolled up pear tree leaf

After about 3 weeks of waiting this was what I found after opening the lid.

Stinging nettle manure with wild yeast growing on top, in a rain barrel

It might not show on the picture very well, but the stinging nettle manure is covered with a lot of white spots. I was very disappointed thinking this was mold and I would have to throw the stinging nettle manure away. But, after doing some research on the internet, I have learned that it is no big deal. We have to filter the stinging nettle manure anyway and the plant roots only take what they want and do nothing with the mold spores. I just should not water over any leaves. Since I mostly made the stinging nettle manure for the fruit trees, that is no big deal and I was relieved. The stinging nettle manure is finished when it is not bubbling any more and besides from the mold it can also be possible to have wild yeast growing on the top, which is no problem at all.

The stinging nettle somehow fell apart completely, so we could only poor everything trough some kind of filter. We decided to try this with a burlap sack we held tight over another rain barrel. At first this worked very well, but with all of the plant material the fluid did not run trough very quickly, so this took some time and was a very stinky matter.

Stinging nettle manure being filtered trough a burlap sack to collect in a rain barrel
Filtered stinging nettle manure run trough a burlap sack and collecting in a rain barrel

The stinging nettle manure should not go bad, so I will see if the amount I made (about 50 litres) will last the season, or if I will have to make a bigger amount next spring.

I will use it to strengthen all of my fruit trees and I will use it for the vegetable plants in my raised beds (without pouring over the leaves). Since the soil in there is very poor of nutrients I think it will help the plants. I will watch the plants in other gardens very carefully, but if I see anything like aphids or other problems they will get some as well.

O je, as I have read the stinging nettle manure should be diluted 1:10, so I am just going to but a nice bottom in my watering can and fill the rest up with water. I am not sure how often I should use the stinging nettle manure, but for now I will repeat it every 2 weeks with my fruit trees in the raised beds, until I see improvement.

And we have some alleys against the aphids. We found a lot of ladybirds on our fruit trees, so we are very happy about that.

Black Ladybird on a leaf
Orange Ladybird on a leaf
Mating Ladybirds on a leaf
Ladybird eggs underneath a leaf
Ladybird eggs