
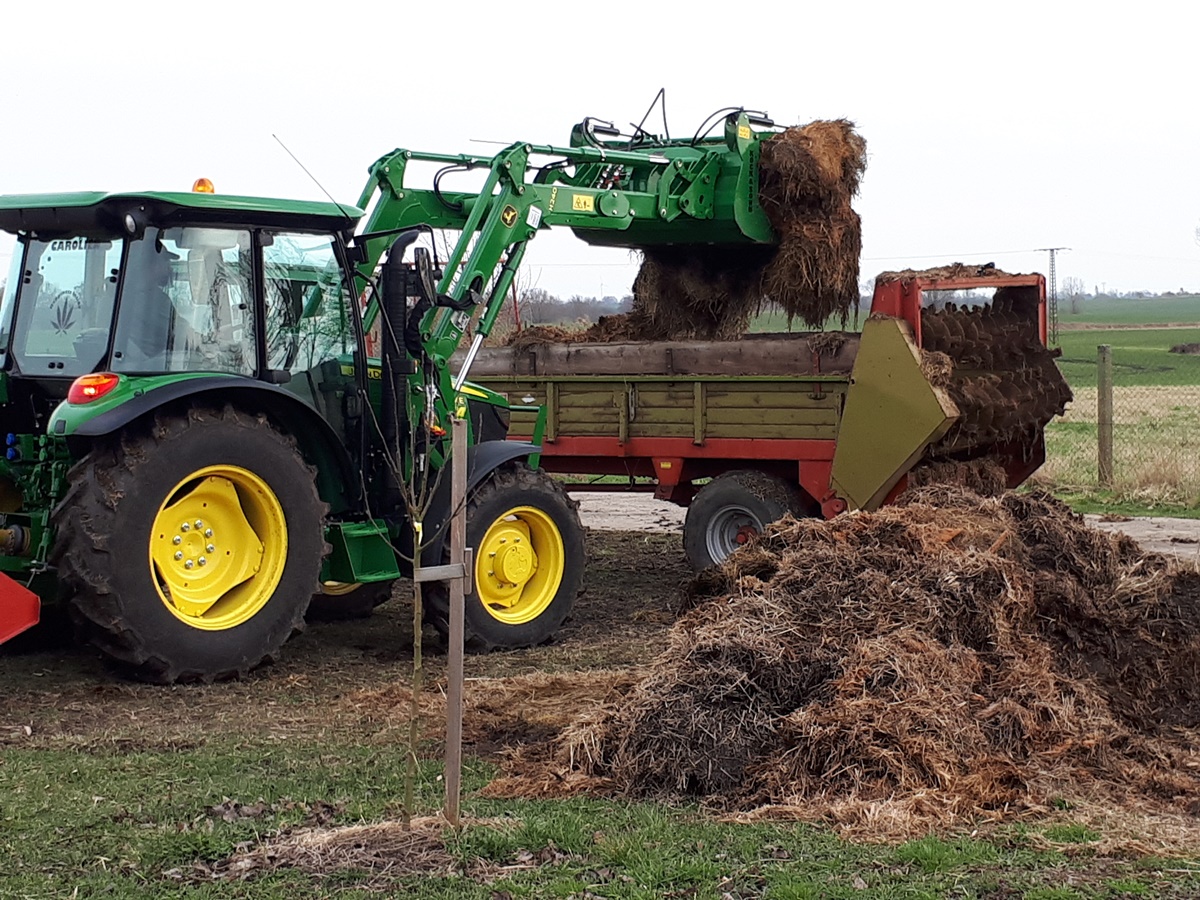
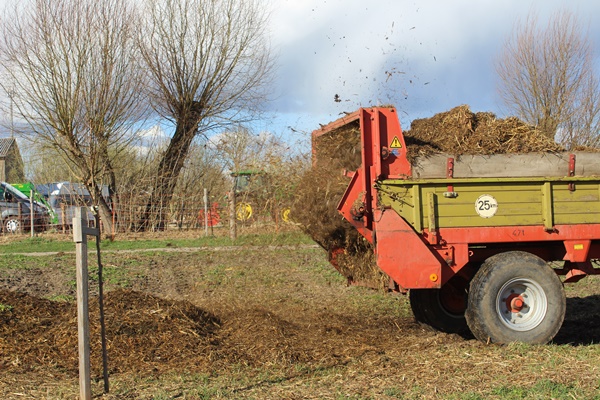
As announced in my previous post about making compost beds, our manure spreader has arrived and we made us up to work on the compost beds that where only air raided.
We want to lay the beds new with the manure spreader to get the long material of hay and straw shortened, to get everything well mixed and loosened and to get the whole compost bed well air raided trough and trough. This way the compost bed should decompose better.
We made a mistake while building up the first compost bed new
Well you would think easy said and done. What’s more to that than loading it up and spreading it out? Well we did make a mistake with the first bed (Garden 4 compost bed II). We loaded the manure spreader until it was full. Than we pushed aside the rest of the compost bed to make room to lay the compost bed new. So far so good. Then we started laying the compost bed new.

Since I find it very hard to estimate the amount of compost that should be laid down, it turned out to be too thin. And here comes the mistake. We had to drive over the freshly laid compost bed again, partially compacting it again, to build up more compost.
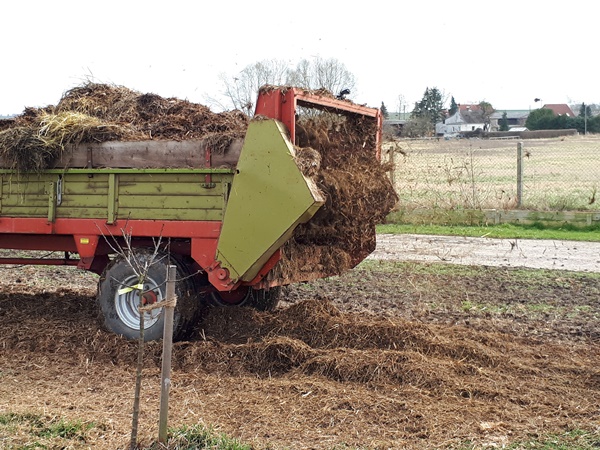
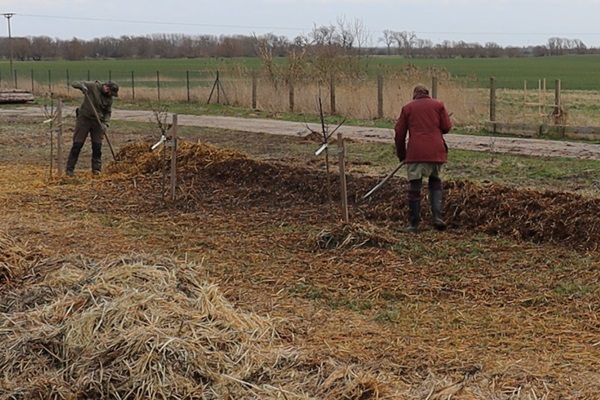
This, obviously, was a little disadvantageously. Since we already partially drove over the compost bed, we decided to add some more material (we found the volume of the bed a bit small). We loaded some more straw bales on the manure spreader. On top we added a shovel of horse poop to give the bacteria, that do the decomposing, some nitrogen to feed on.

We spread a layer of this over the entire compost bed. Afterwards I was not very happy with this last layer, because compared to what was already there, the new added straw was still too gut and was more like a mulch layer over the compost bed. The straw stayed very long, compared to the older material which was nicely shortened by the action of the manure spreader. Therefore we decided to flail mow over the compost beds after we finish setting up the second bed new.
Fixing the other compost bed
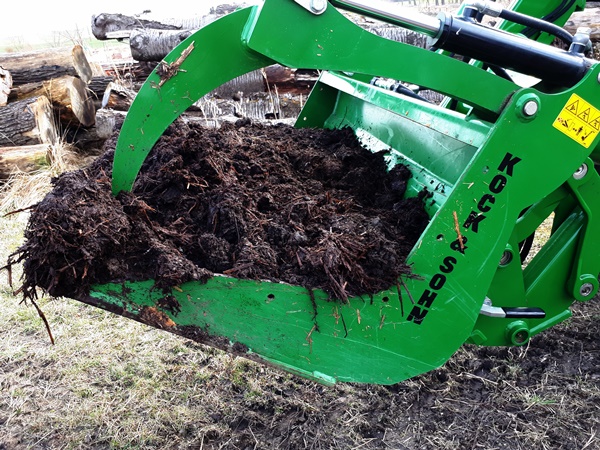
With the second bed (Garden 4 compost bed III) we did a much better job. We started with loading the manure spreader and removing all of the material from the compost bed.
Then we started to build up the compost bed again, building up more material at once so the compost bed would have a nice thickness and we would not have to come back with more.
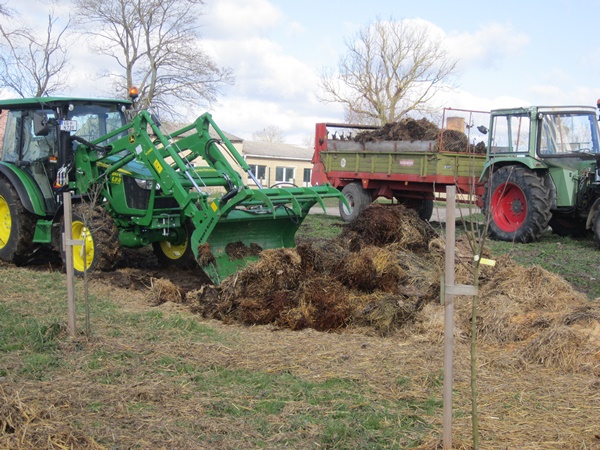
In between we left the manure spreader where it was and loaded it again where it stood. This way the compost bed was in a line and the material stayed nice and loose as we like to have it. The compost bed ended up shorter as it was, but that is no problem. We will add more length as material comes available next year. Generally we did not add extra material to this bed (no straw and no horse poop). We are curious to see if this makes a difference in the decomposing process.
The wind gave us some problems and we had to ad a bunch of material from the side back on the compost beds by hand.
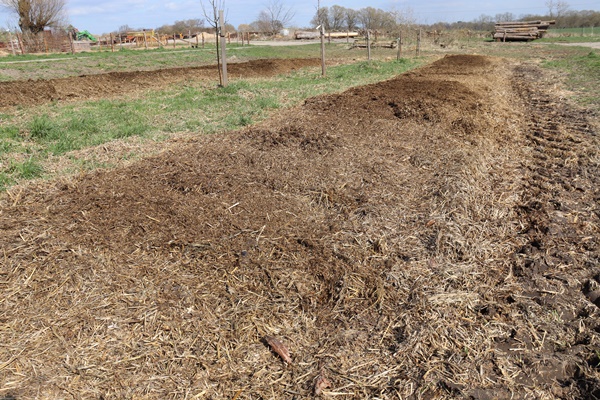
And this is how the compost beds look after laying them new with the manure spreader.

Flail mowing the compost beds
To make sure the top layer will not form into a roof, leading the rainwater away, we flail mowed both compost beds.
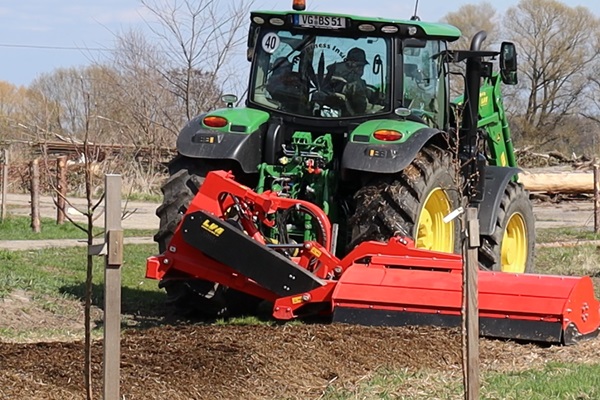
I am not sure if this would have been necessary, but this gave a nice evenly result.
Sowing some green manure
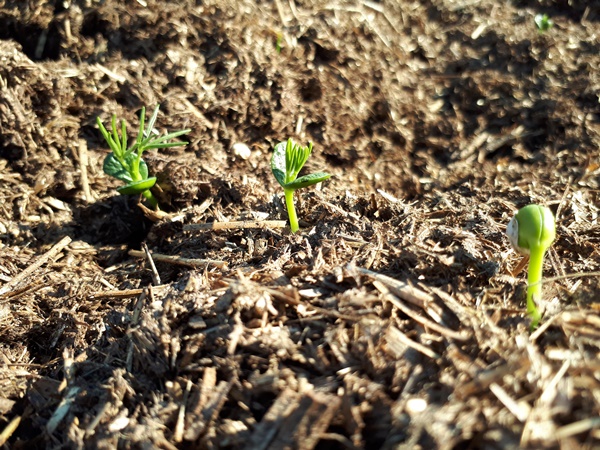
To get some extra nitrogen in the compost beds I decided to sow some green manure. I sowed some mustard and some lupines, since these already sprout at low temperatures and it is still very cold here. These compost beds are for corn, pumpkin and different other things, so there is still some time before I will plant in there. The green manure will be cut of before I start planting and the material will serve as mulch.

Stay tuned for up-dates as the season will progress.
We also made a video of building these compost beds.


2 thoughts on “Fixing the compost beds with a manure spreader”