Also very nice as an observation tower in your back yard
The hunter buck & ladder are completely made out of squared timber. The hunter buck is out of Douglas fir and the hunter ladder is out of Spruce. A hunter buck usually is placed in the woods for hunting, so we have made this out of more durable wood. The hunter ladder usually is used with a drive hunt, so put up where needed when needed and collected again when the drive hunt is done. Therefore spruce will do.
We had building instructions with a cutting plan, so it was a quick and easy build. We just cut all of the timber according to the cutting plan and then nailed & screwed it together. For this type of construction, standing out side, we like to use mostly nails. This is because the wood works wile getting wet when rained upon and very dry in the sun. The wood works up a lot of tension and screws tend to snap of with such tension. A nail is made out of a softer metal than screws and flexes with the wood, so nails are always the better option for outside constructions.
We have the building instruction out of an official forestry service building manual. They give this manual out so you know how to build a safe stand.
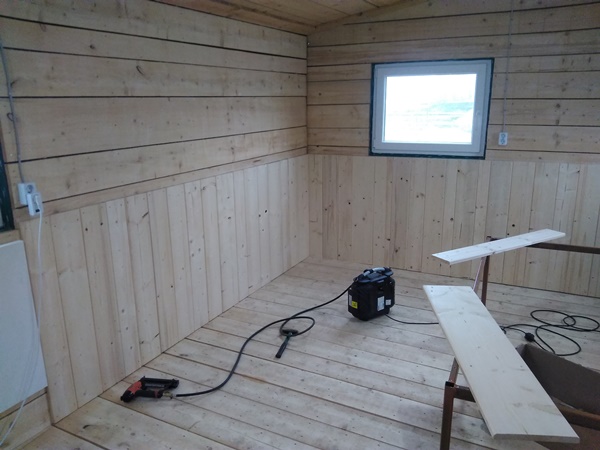
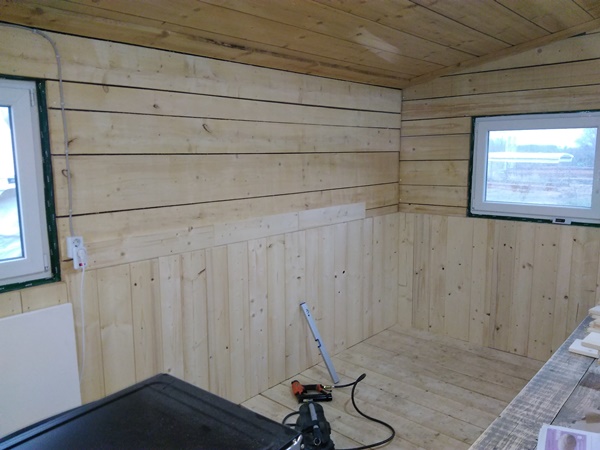
With our last post we had the hull and the electricity done. Now we move on to the interior.
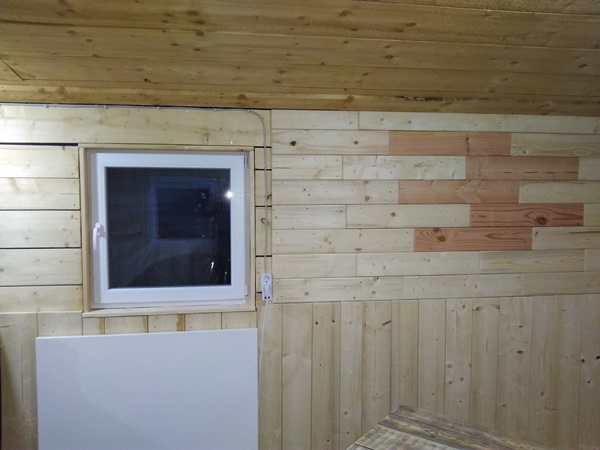
Since I liked the rustic barn-style look of the under construction planks, we decided to leave a part of the under construction planking visible. Since we did not plane these planks we could not leave it all like this because of the children. We do not want them to get grinder when they walk along the wall. Therefore we started adding planed planks up to a curtain height. We put the heater back right away, since it is getting colder.
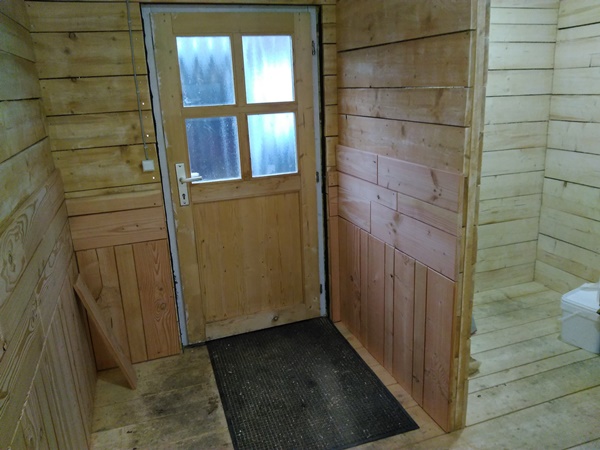
For the main part of the Tiny House we used Spruce. Only at the entrance we used Larchwood.
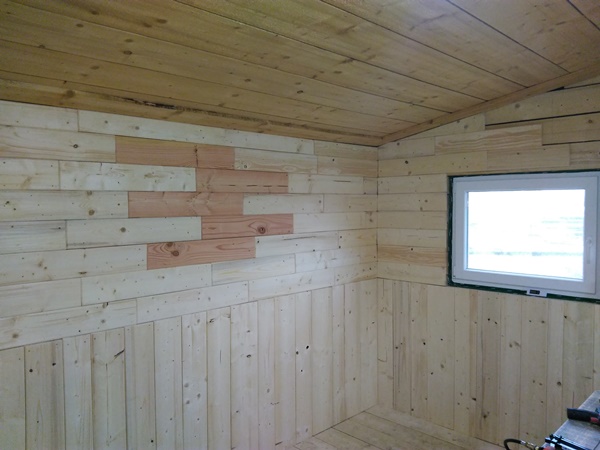
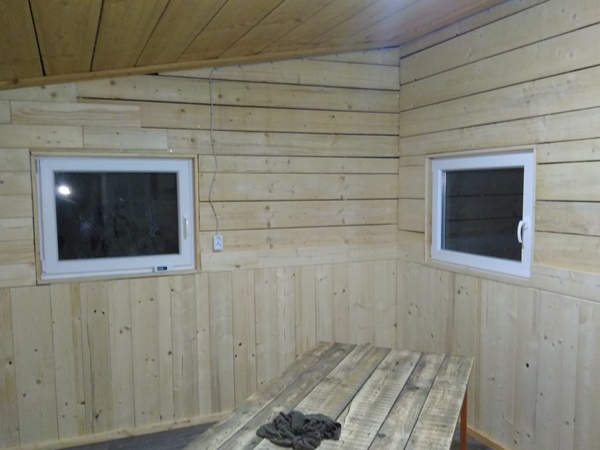
At the corner where the stacked bed for the 2 older kids will go, we added planed planks up to the sealing. We added in an ornament by using Spruce and Larchwood and we used a different orientation as the planks below. We love how it turned out.
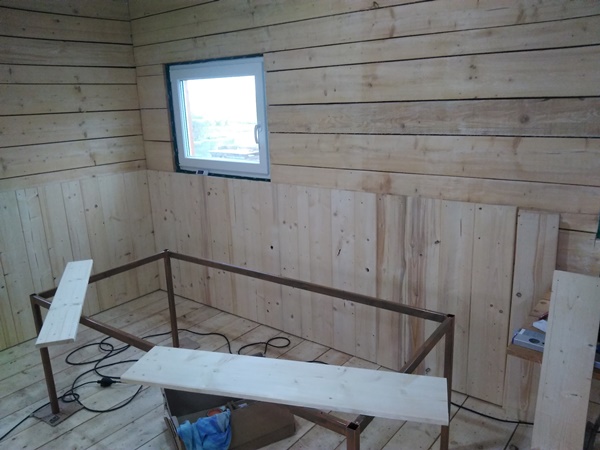
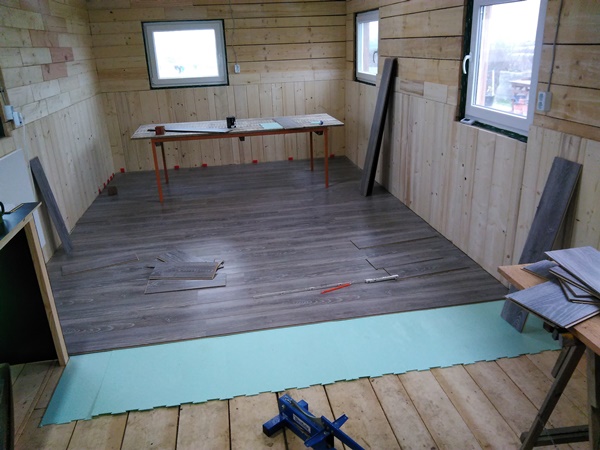
We put in the basic construction of the kitchen, so we could lay the floor. The kitchen is not finished yet, so the kitchen will be covered in a different post. We laid a laminate and used Larchwood for the trimming. We are not big fans of laminate, but at the moment it is the most practical for us.
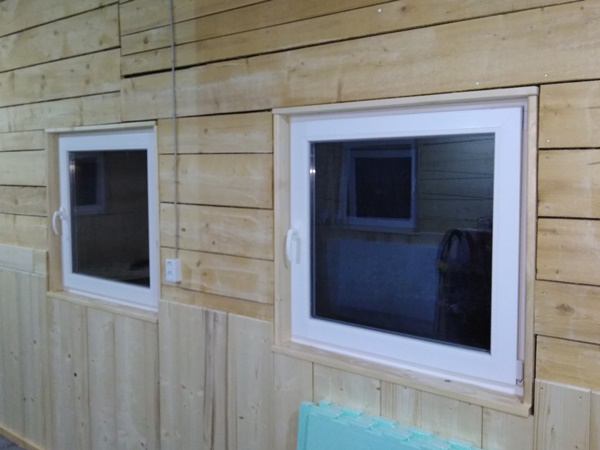
We used a minimalistic trim out of planed Spruce around the windows.
Next thing we put in our beds and dressers. Some of you might recognise them from Ikea. The 2 older kids wanted to paint there dressers them selves and give it there best shots. They had a lot of fun painting. Then we added an old cupboard which we decorated with some life edge Larchwood to make it pretty.
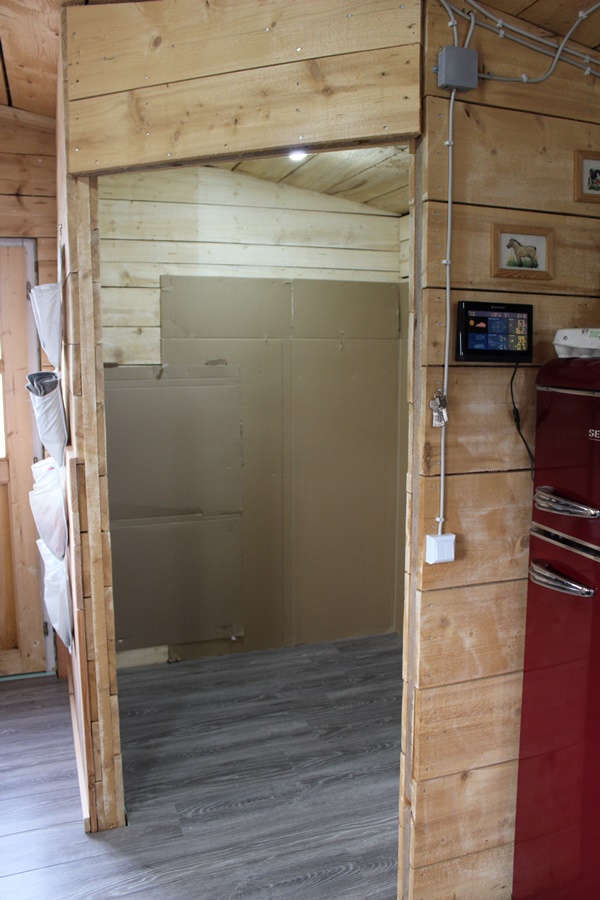
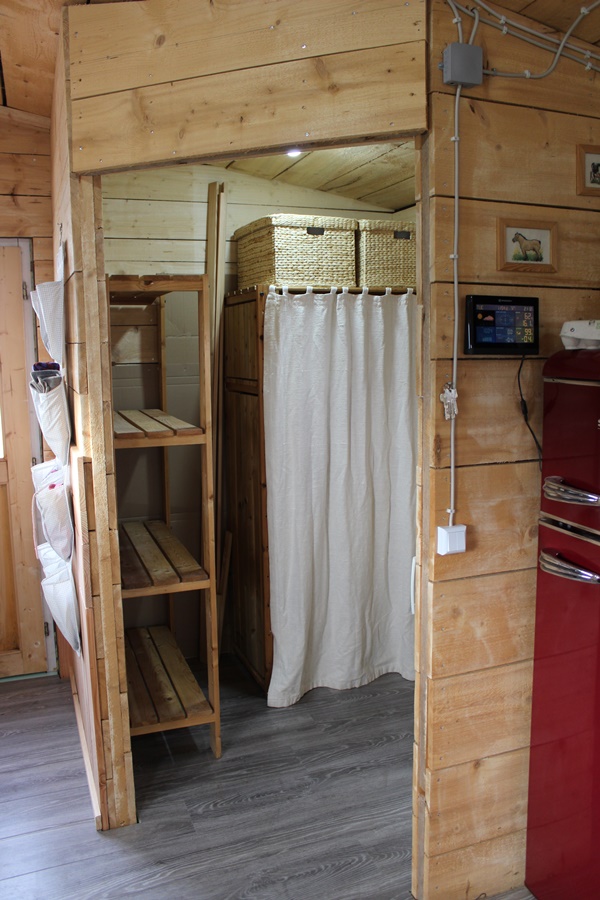
With the small room that should become the bathroom, we did not really know what to do. We need the room for storage and really wanted to move in. We did not have the wood to finish this room, so we put some cardboard on the walls to prevent grind from getting on our clothes and other things we wanted to store there. Some day we will change this room, but for now with a composting toilet in there and the storage it is just as we need it.
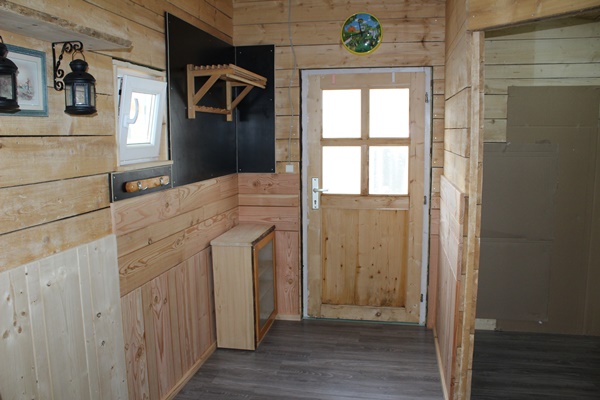
Than we have the wardrobe to do. We already have the Larchwood on the lower wall, but in order to hang our coats without getting grind in there we need to cover more of the wall. We decided on a bit of a contrast. We put up some screen printing plates which are black. We put up a lower wardrobe for the kids and one on a normal height for us adults. And for some storage we put in another old cupboard decorated with some life edge Spruce.
We also put a shelf on the wall with some decorative lantern and a small drawing. This drawing symbolizes our dream.
A small farm on which we can provide for all of our needs ourselves.
Now we have moved in with at least a sink in the kitchen. Once the kitchen is finished I will post about it.
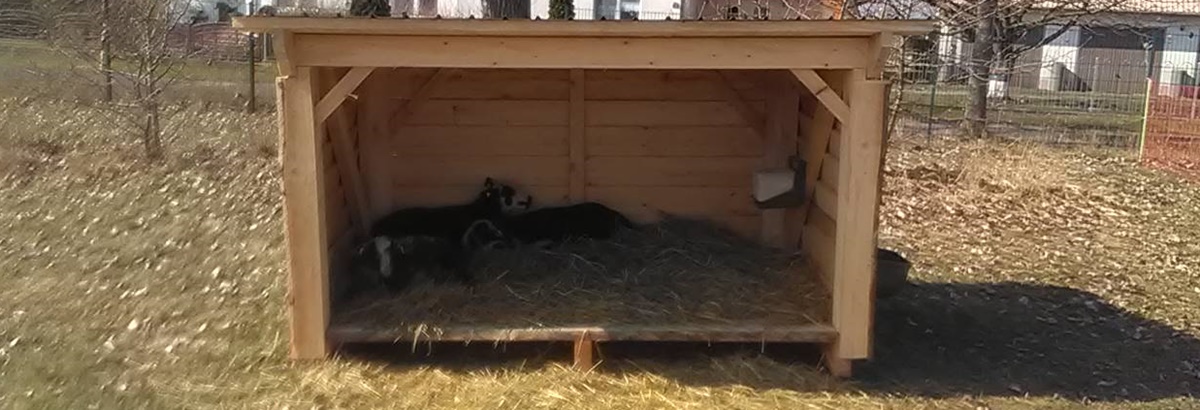
Last spring we bought 3 lambs and needed a simple shelter that could be made quickly. The shelter also needed to be movable so the sheep could be relocated to fresh grass.
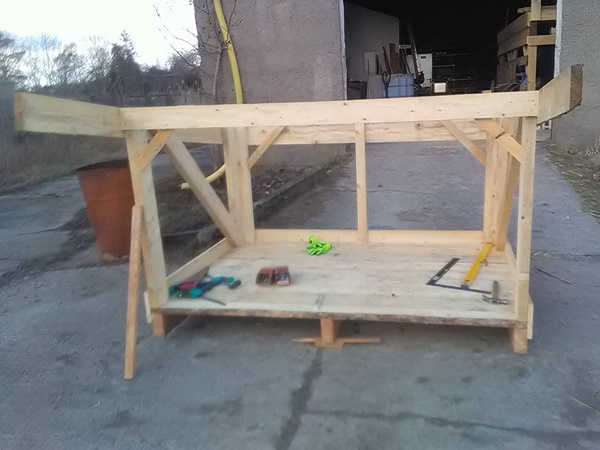
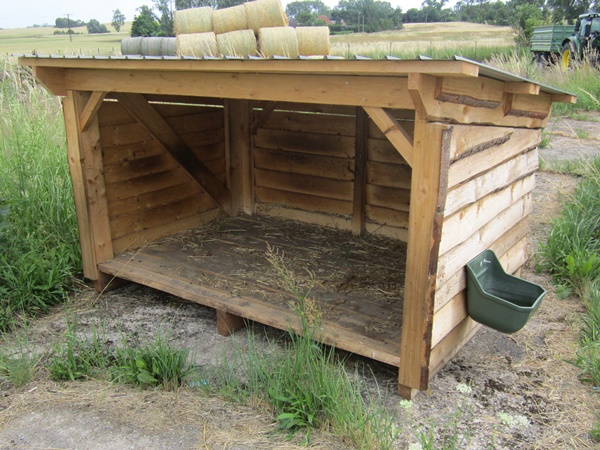
And this is what we came up with.
3 high beams with boards as a base. In each corner a post, which were connected on the top by boards. We added some cross braising and then closed the walls with spruce life edge planking. A tin roof on top and finished was the shelter.
And this is how it looks after 6 months of use by the sheep.