

We wanted to make a beautiful rustic oak bench and share the building process with you, but at the beginning we forgot to make pictures. Therefore we start this blog post with getting the raw material and then comes the test fitting and finishing of the bench. After that we started making a second bench so we could share the complete building process with you. So the order in which the building process is presented is a bit mixed up.
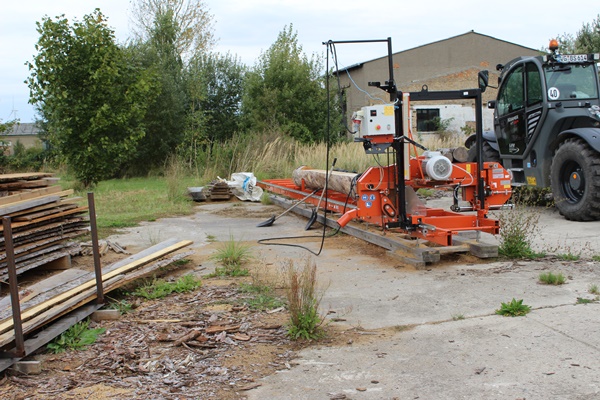
As already mentioned a few times on this blog, we saw our logs ourselves. We had some nice Oak logs we have sawn to slabs. After some drying time we started making our bench.


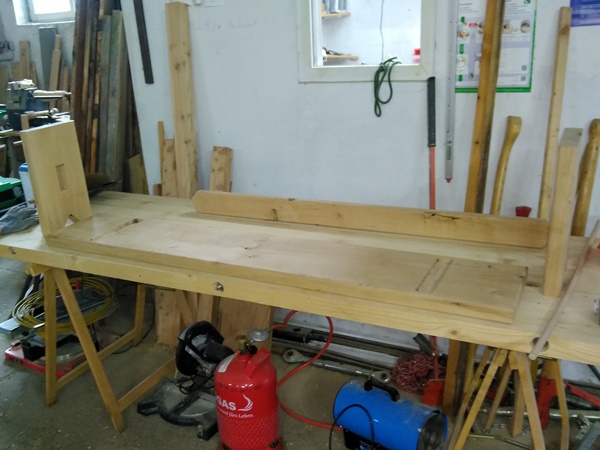
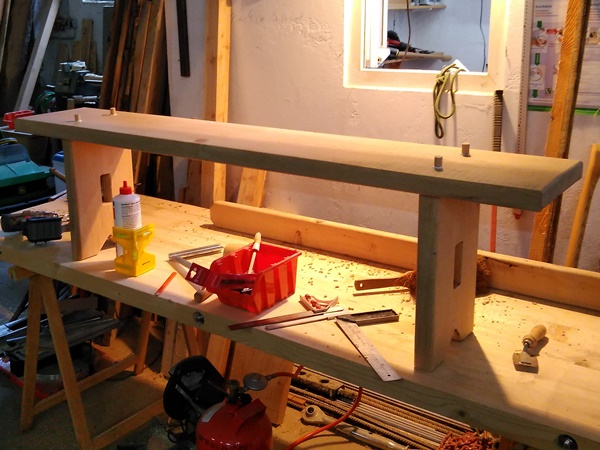
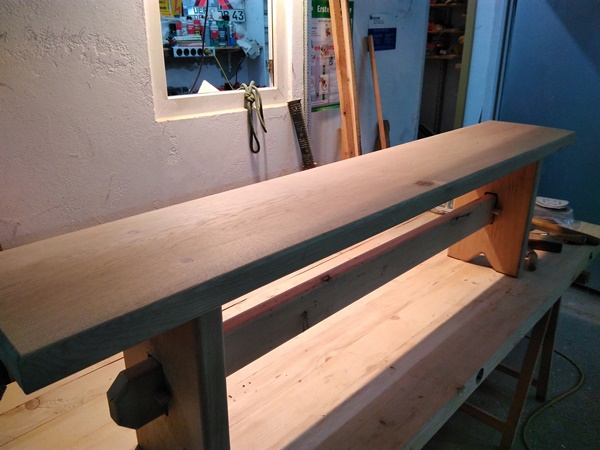
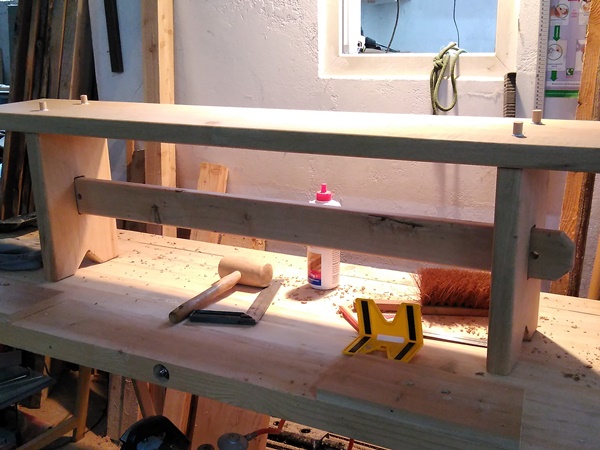
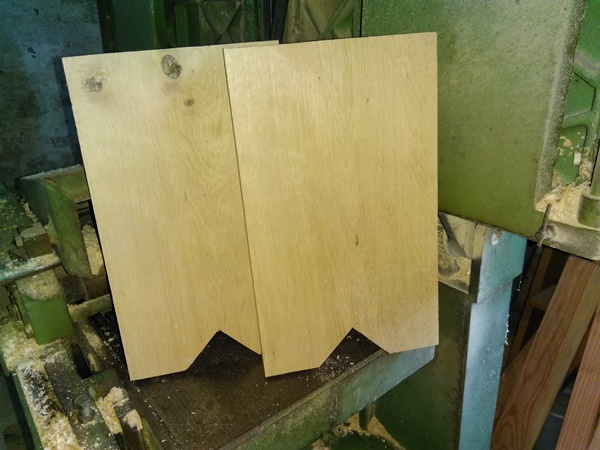
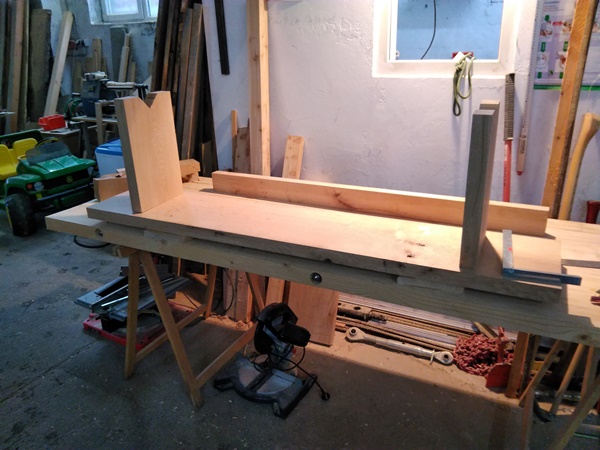
Now we step in at test fitting the seat, feet and cross bar of the bench.
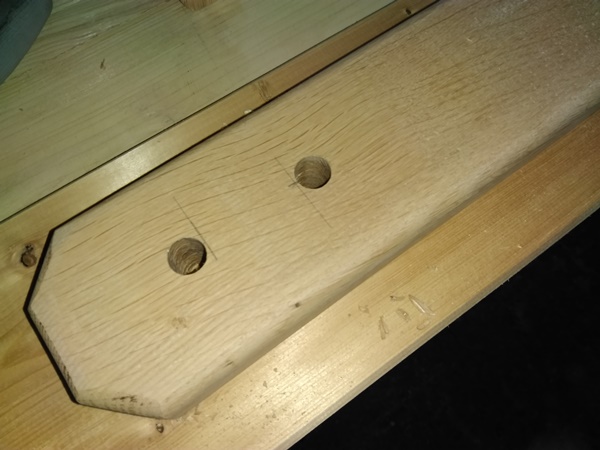
After test fitting the bench my husband started making the holes in the underside of the seat for the feet to fit in. Then the feet are glued in and made sure to be in a 90° angle.


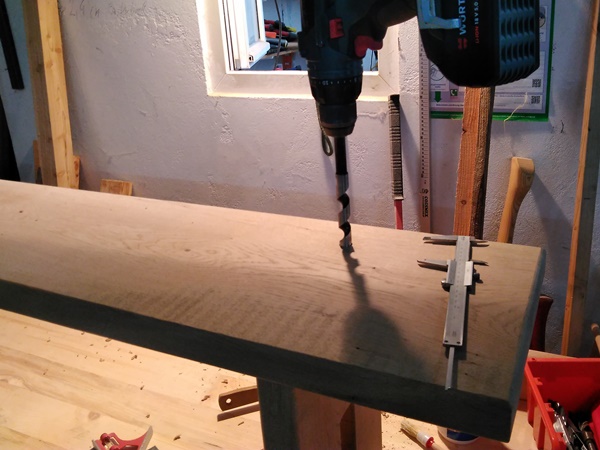
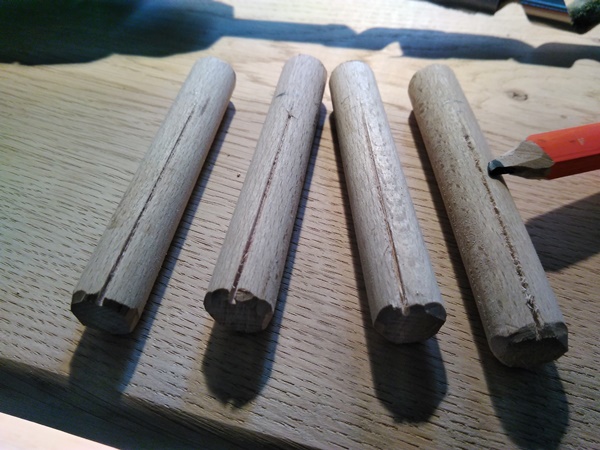
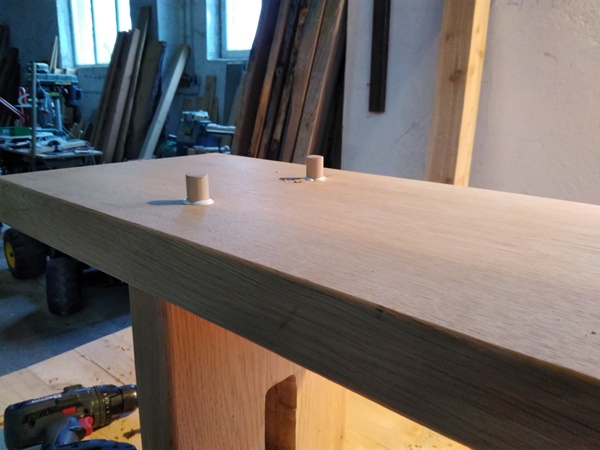
After turning the bench the holes for dowels are drilled in to extra secure the feet. The dowels have a small slot so the air underneath can escape wile hammering in the dowel. Of course the dowel is also glued in.
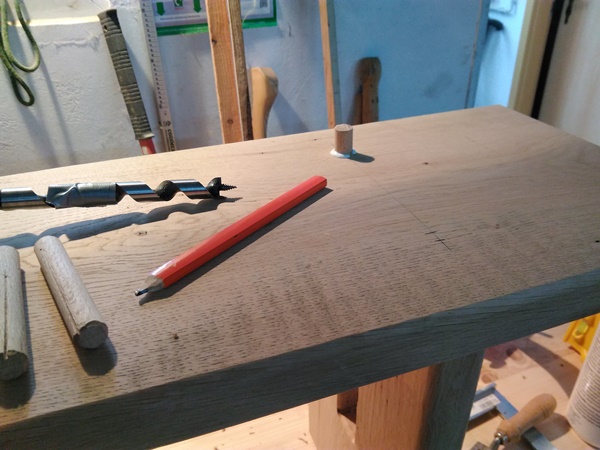
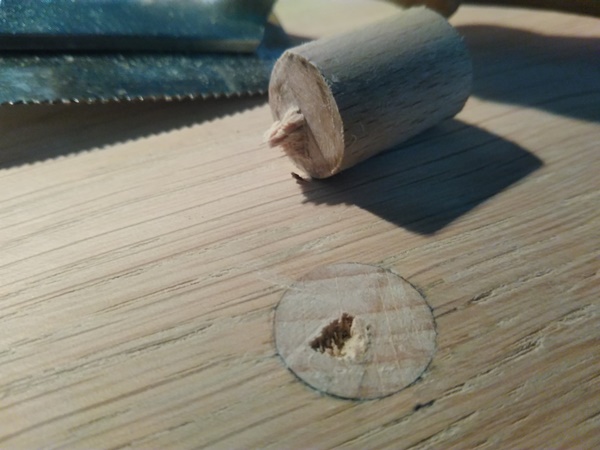
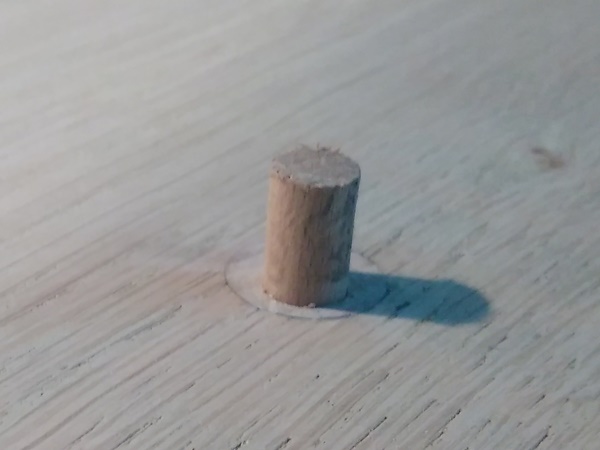
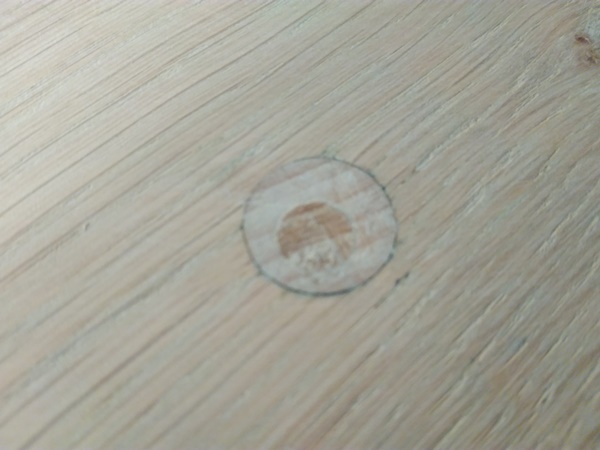
After a drying time of a day the dowels are sawed of and sanded nice and smooth.


With one of the dowels there was a small cut out in the dowel which needed to be fixed. So my husband drilled a small hole at the damaged spot and hammered a small dowel in there. This also was sawed of and sanded smooth. This gives a nice detail to the bench.

Next ting is to work on the cross bar between the feet. This cross bar is to keep the feet in position and it gives the bench a beautiful rustic look. First my husband put the cross bar in position and marked the position of the feet. At the outside of the marks, holes are drilled in. The cross bar is put back in position and dowels are put trough the holes to lock in the feet.
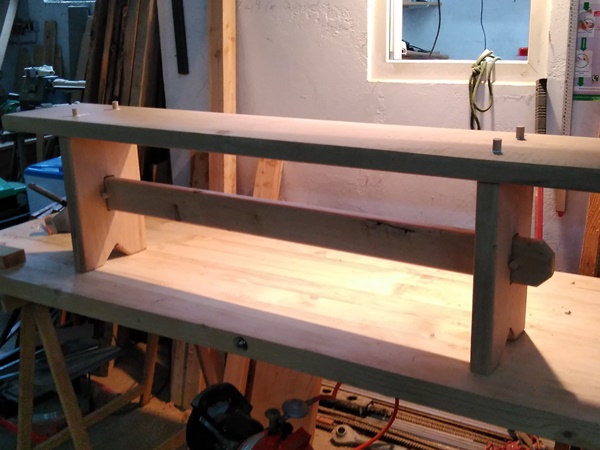

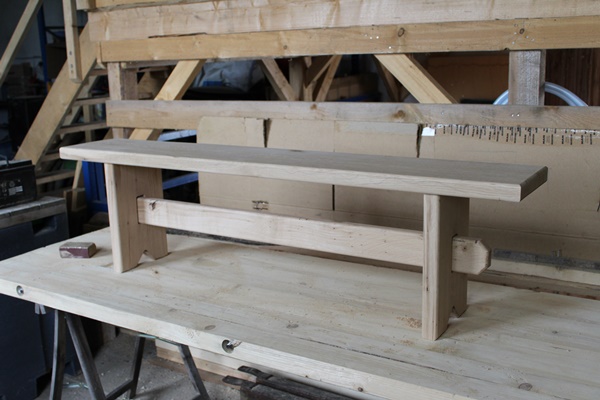
Now this beautiful bench is finished and up for sale.
Now for the first part of building such a bench with our second bench build.
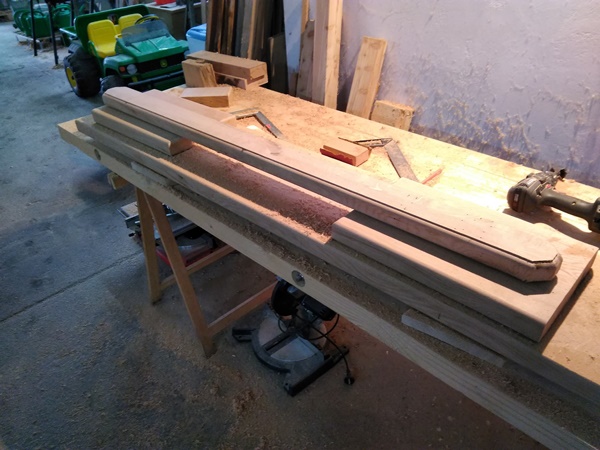
We start with cutting some boards to length for the different parts of the bench. All of the parts are planed nice and square. The feet are given a small V-shape at the bottom. This ads in a nice detail.


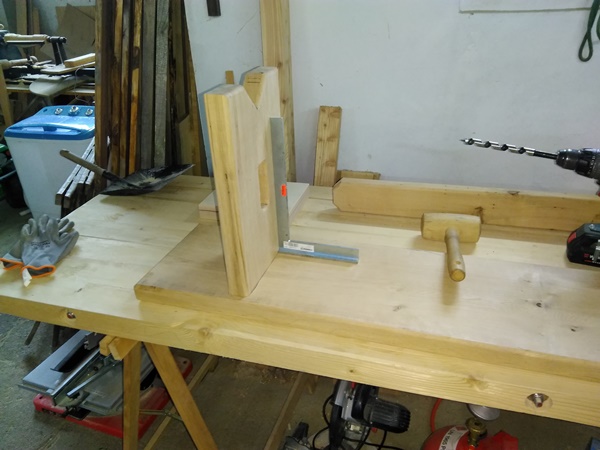
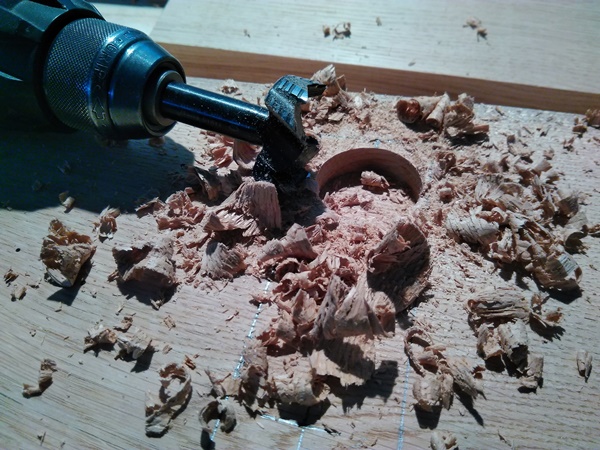
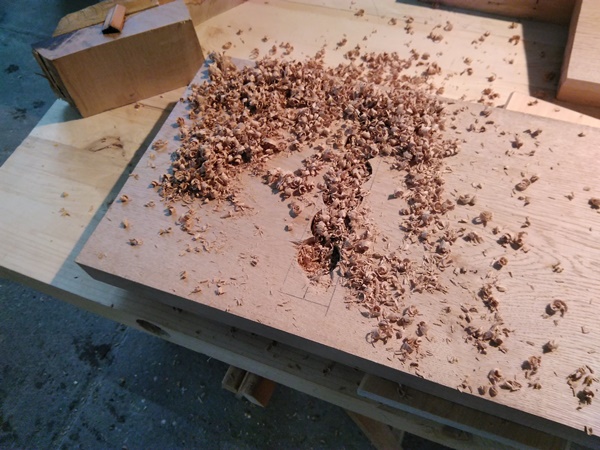
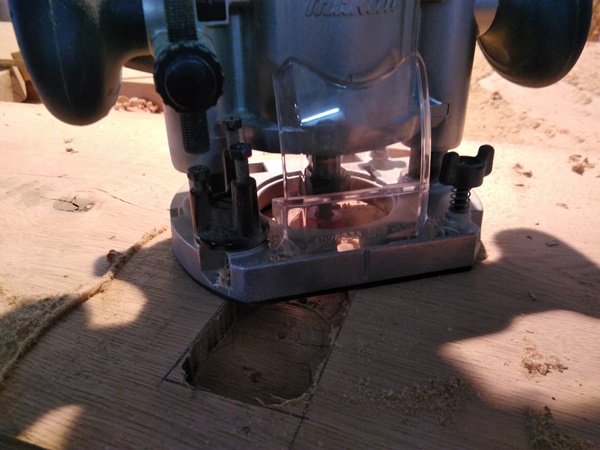
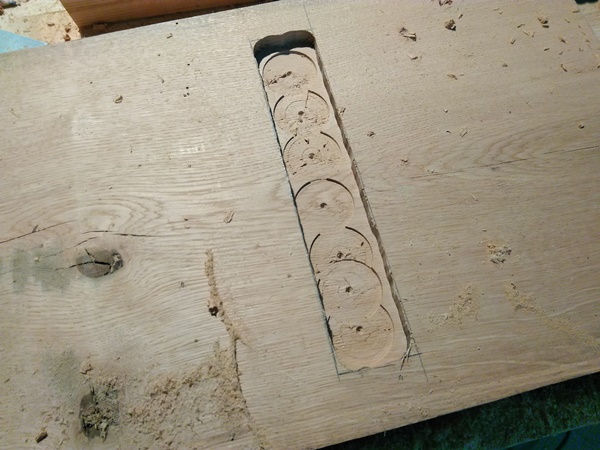
Then the slots for the feet at the under side of the seat are drawn in and made, this time before rounding of the edges of the different parts of the bench. This made measuring in the right spot a lot easier. For making these slots we started with drilling large holes over the entire length of the needed slot. Then we cleaned out the slot with a router and gave the slot a round over, so it is easier to slide the feet into the slot. After that we gave all of the edges of the seat a nice round over. This gives a nice finished look.


Next thing my husband started on the slot in the feet for sticking trough the cross bar, by drilling two holes. Before changing the router bit he rounded of the edges of the feet and the cross bar as well. Wile rounding of the edges at the cross bar the bit came lose and came out a bit more. This caused the round of to have a step in stead of a nice round edge. That is no big deal, but the cross bar needed to be done this way all around. Actually I find this gives the bench a more luxurious appearance.
Going on with the slot in the feet, the slot is cleaned out on both sides as deep as the router bit goes. The left over middle part is chiselled out and also rounded over.


Now we are at the point where we started with. I will post a picture as soon as this second bench is finished as well.

