Horse manure with a little saw dust, some pumpkin seedlings and some other seeds
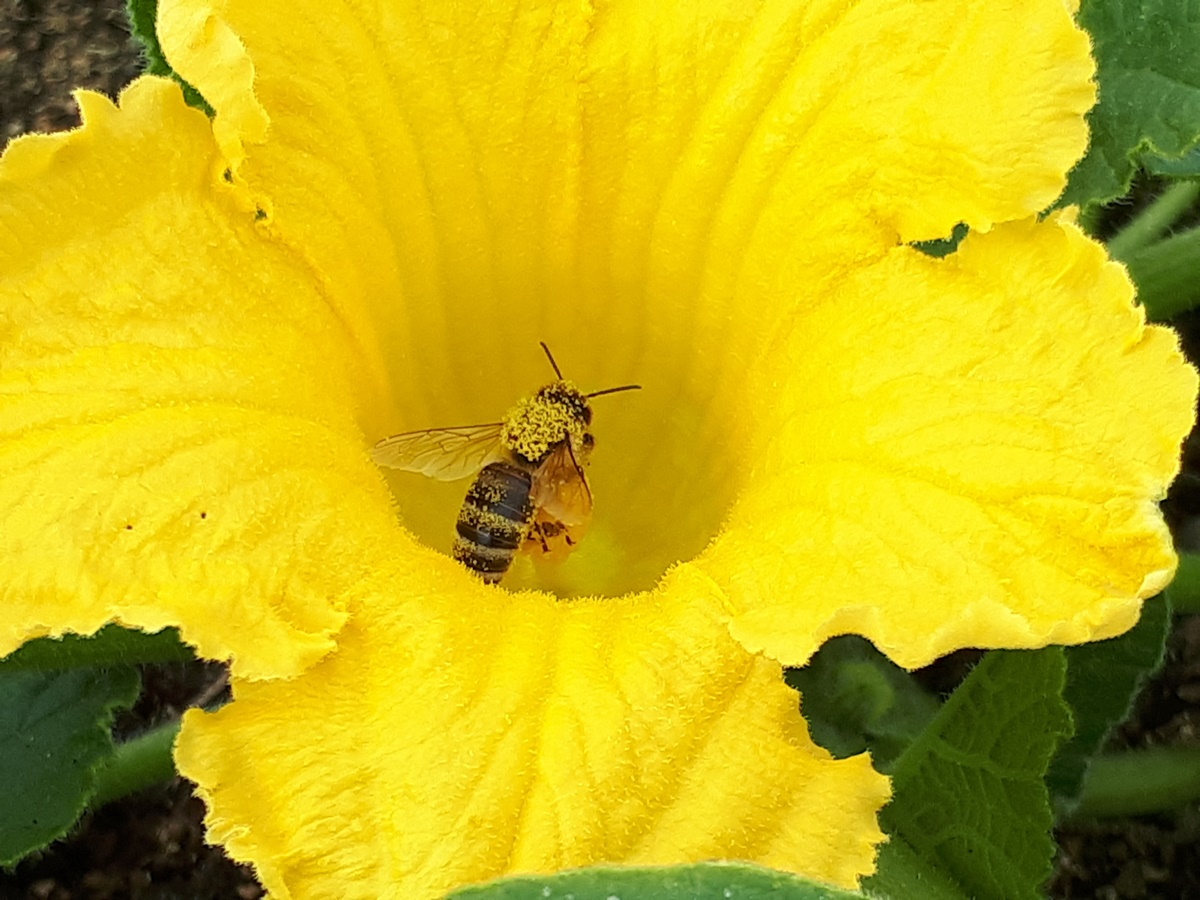
Another little flashback to last growing season, but this beautiful bee picture, I just had to share.
The next picture is not very sharp, but you can see that the bee is packed with pollen.
Bee packed with pollen
And where is this bee going? Well, the bee is visiting my flowering pumpkin; I rose from seed I saved the previous year from our own pumpkins. This growing season (2023) I had planted my seedling pumpkins in a new compost bed, which was not ready yet. As I had written before all but one pumpkin plants died. We love pumpkin soup and pumpkin pie, so one plant will not do for our needs. So first things first, we raised some new pumpkin seedlings from seed I had saved from our own pumpkins the year before. The only thing missing was an adequate planting spot, but my husband was able to fix that for me.
He scratched together what we had left of the horse manure we had purchased in the fall 2022. It was dry with very hard chunks, but after my husband mixed it with some saw dust and ran it through the manure spreader it was much more usable already. He dumped a big pile on some cardboard in our garden 4 just beside the failing composting bed.
Horse manure mixed with saw dust
This was 25th of June, which is very late in the season to start with small pumpkin seedlings, but we planted them anyway. For the start we watered the seedlings a few times.
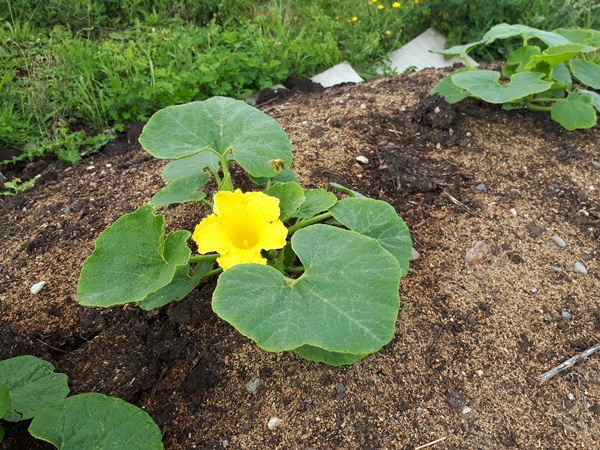
Beginning of August the seedlings had settled in nicely and started to bloom.
Blooming pumpkin plant
At this point I sowed some red beets and some peas in the sides of the pile.
Middle of September we had a whole rug of pumpkin plants.
A rug of pumpkin plants
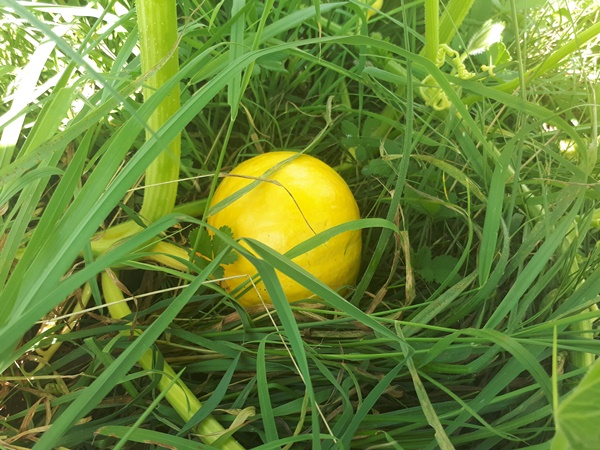
We where able to harvest, when I remember correctly, 6 ripe pumpkins of these plants and had a number of unripe pumpkins still on the plants.
An unripe pumpkin
You could argue if the amount of work was worth the effort for “only” 6 pumpkins, but I am glad we did it. Now I know for the future that if the first planting fails there is time for a second planting to crop and we would not have to go without delicious pumpkins.
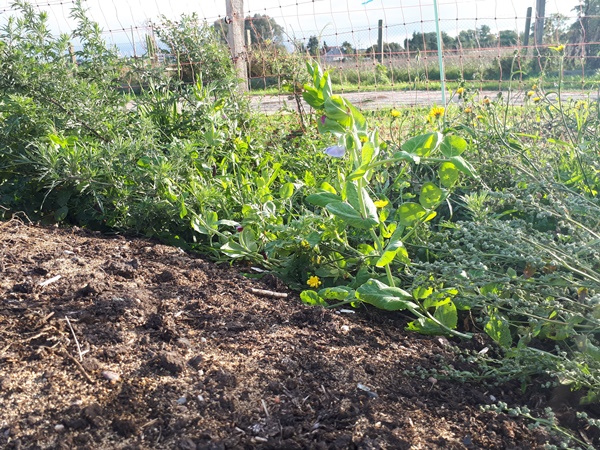
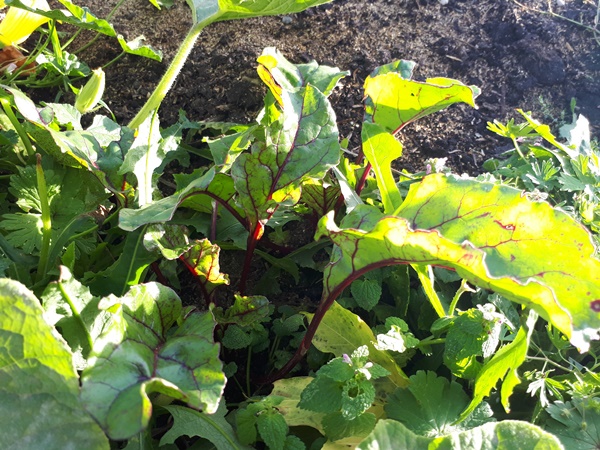
As for the peas and red beets, they looked beautiful by middle of September, but sowing beginning of August is definitely too late for them to crop. Only the peas and red beets at the bottom of the pile germinated, so higher up at the sides probably was not enough moisture.
A young pea plant right before floweringA red beet plant peeking trough the weeds
O well, everything looked nice and we had the ground covered with plants, which is important to.
What did we sow/ plant and what did we harvest?
The new composting beds in garden 4
I ended my last post about building these compost beds (link) with sowing some green manure (mustard and lupines, since they sprout at low temperatures).
A mustard plant & a lupine plant
Well, the mustard did very well. It grew very big, bloomed beautifully and gave us a lot of new mustard seed. We actually managed to harvest a lot of the seed and sowed it on empty beds later in the season. The fall-out seed sprouted again and grew and bloomed again before winter came.
Mustard seed
The lupine did not do so well. All of them stayed very small and partially turned brown. Some of them actually managed to bloom a little and gave us some new seed we also harvested.
Lupine seed
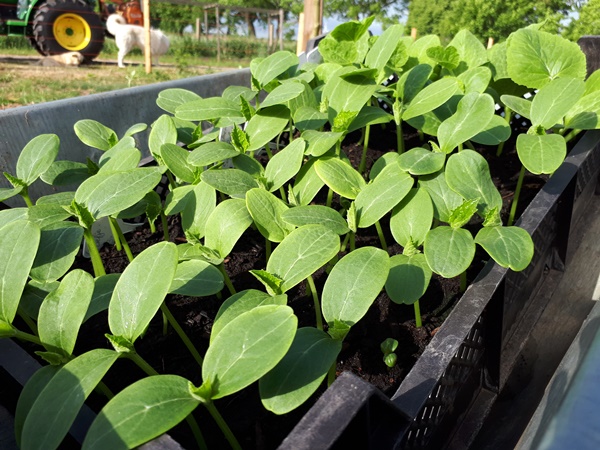
Since last spring was so cold for so very long we only started planting beginning of June. We raised a lot of seedlings in our new greenhouse, corn, pumpkin, sunflowers and other flowers.
Pumpkin seedlings
We planted them and where already doubtful if anything would really grow, since the material we had brought out did not seem broken down enough. We planted the seedlings anyhow, since we did not really have other garden space available and wanted to give the beds a change. The mustard seemed to do well, so why not something else.
A few days after we planted there was damage to a part of the seedlings which had nothing to do with the soil. On about 2 meter of the compost bed almost all seedlings where bent over close to the ground as if an animal rolled over them. This was such a sad sight.
A bent over corn seedling
To keep things short a summary of the different plants we had planted here and how they did.
Sunflowers
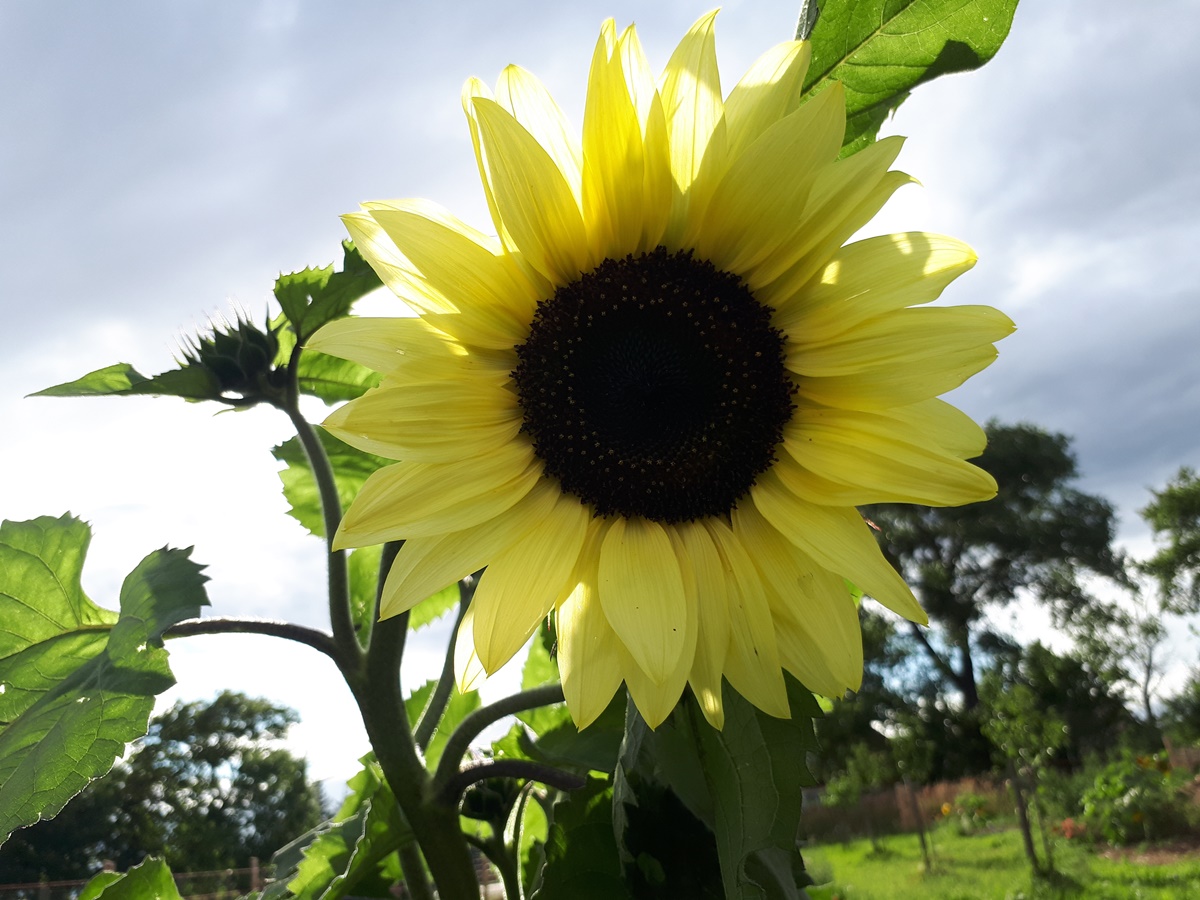
The sunflowers did not thrive, but they did not die either. They stayed very small and made a very small flower head. On the other hand there was a very beautiful pastel colour sunflower we did not plant our selves (a thank you to the birds) which did wonderful.
Beautiful pastel coloured sunflower
The sunflowers did make new seed, which where a feast for the chickens and the wild birds.
Pumpkin
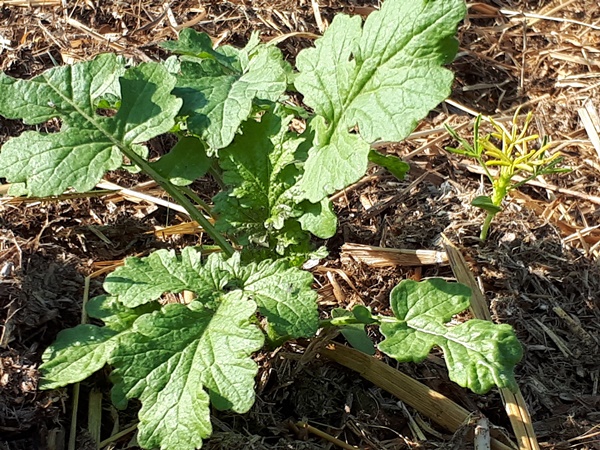
Only one of the more then 30 pumpkin plants we planted survived. The compost bed is on a slight slope and this pumpkin plant is right on the bottom, so maybe over the years more soil has been washed down here by the rain on top of which we put our compost material and this pumpkin plant had better conditions as the others. Soon we realized that the compost beds lack nutrients and we started dividing the chicken manure from the coop around the pumpkin hoping that this pumpkin plant would survive and fruit.
Pumpkin plant with pumpkins in different stages
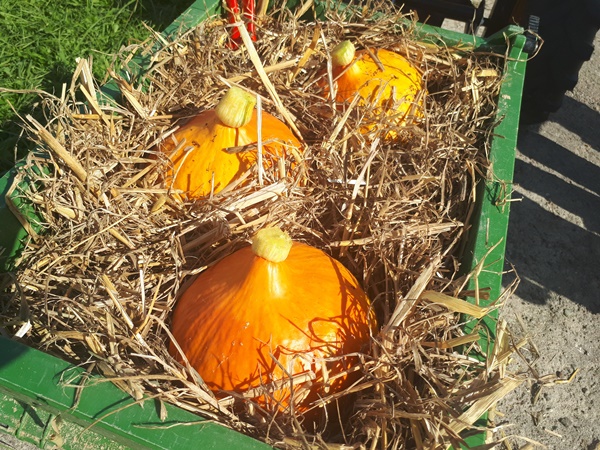
I am glad to say that it worked and this one pumpkin plant gave us a lot of delicious pumpkins for soup and puree.
beautiful orange shiny ripe Hokkaido pumpkins
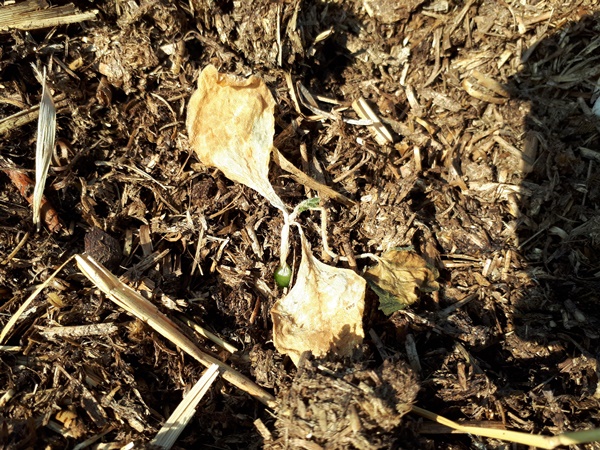
All of the other pumpkin plants we planted looked like this. If this is sunburn or they just dried out, I am not sure.
Dried out pumpkin seedling
Corn
With the corn it was the same story. Most of them looked like this after a few days.
Dried out corn seedling
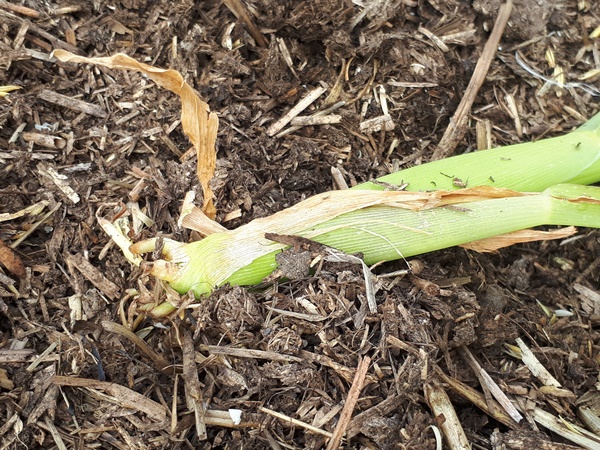
There where several plants that lived and grew. We also gave these some chicken manure to ad nutrients to the plants. After a few weeks some of the corn plants fell over. I did not get a decent picture, but there where just no roots left any more.
Fallen over corn plant with no roots
All in all we managed to harvest a few corn cobs and they where delicious.
Flowers
We had a flower mix we started from seed in the greenhouse and planted them spread out over the compost beds. Strangely enough they seemed to thrive and gave the very sad looking compost beds some splashes of colour.
Flowers
Tomato
This we did not plant our selves (another thank you to the birds). This tomato plant grew in the protection of the mustard plants and did well for a long time, but right before we could start harvesting unfortunately the blight came.
Tomatoes
Caterpillars
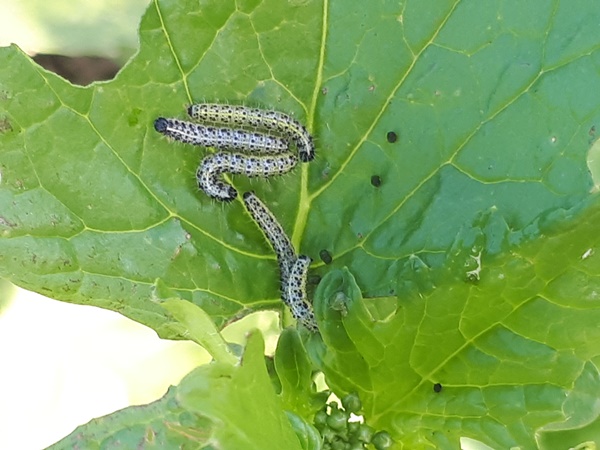
At the end of the season we found caterpillars on the volunteer mustard plants. When I am not mistaken these are the caterpillars of the “large cabbage white butterfly” (Pieris brassicae).
Caterpillars of the “large cabbage white butterfly” (Pieris brassicae)
Obviously this was no problem for us, since the mustard is only a cover crop and will die off in winter anyhow. (Unfortunately they also where on the cabbages in a different garden, but that is for another time)
Resuming
All in all, we where not very happy with the results for this garden, but we have learned a lot.
Some plants can thrive with little, others can not.
Food we want to grow usually need nutrients and nitrogen and the “soil” we created lacked nitrogen. Only straw, hay and some sawdust do not give a useful soil. In straw and hay is no energy left, since the plants had redirected it to the seeds they produced. Straw and hay needs to have been in a stable or coop and have been pooped on in order to be of value for a starting the garden (except if you just use it as mulch). Good thing we have some animals now and we have a friend with cows. We have been getting manure spreaders full of cow manure and spreading them directly onto the compost beds and expanding the compost beds to the maximum width which the garden area gives. This will be rotary tilled to mix the manure with the existing soil and will be repeated after a certain time to bring some air in the material to help it break down. I do hope these composting beds will be finished composting once the season begins, but I am not sure. We will check the temperature before we plant anything and will concentrate on the very “hungry” plants to start with. With time we will learn…
How did we grow potatoes under mulch and how did the potatoes do?
Since I had way too little dedicated growing space to grow potatoes, I had this vision of mulching a larger, still unused, patch beside one of the compost beds to grow potatoes. On this spot there used to be a very large bush of brambles, which my husband took down with a flail mower about 2 years ago. Left is a ratter bare patch with brambles growing back, little grass and mostly other weeds with a slight slope going down towards the compost bed. We have been simply mowing this patch every few weeks.
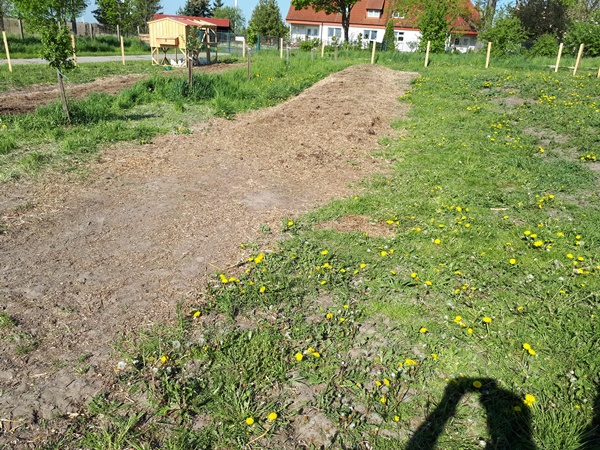
Compost bed beside the empty patch where the potatoes are meant to be planted under a thick layer of mulch
Now that we have the manure spreader we have the possibility to “easily” cover the entire area with mulch. We got 2 trailers full of the content of a horse stable, so mainly hay, straw and some horse pop. As good as it went; my husband divided it over the entire patch with some handwork to make it more evenly.
Mulched garden patch beside the compost bed
By the time we got this done the seed potatoes in our storage looked like this.
Sprouted potatoes long overdue for planting
A tangled mess I would not know how to get undone without breaking all of the sprouts, after which the seed potatoes would not grow anymore. What amazes me is that the seed potatoes where already growing new potatoes.
New potatoes on potato sprouts in storage
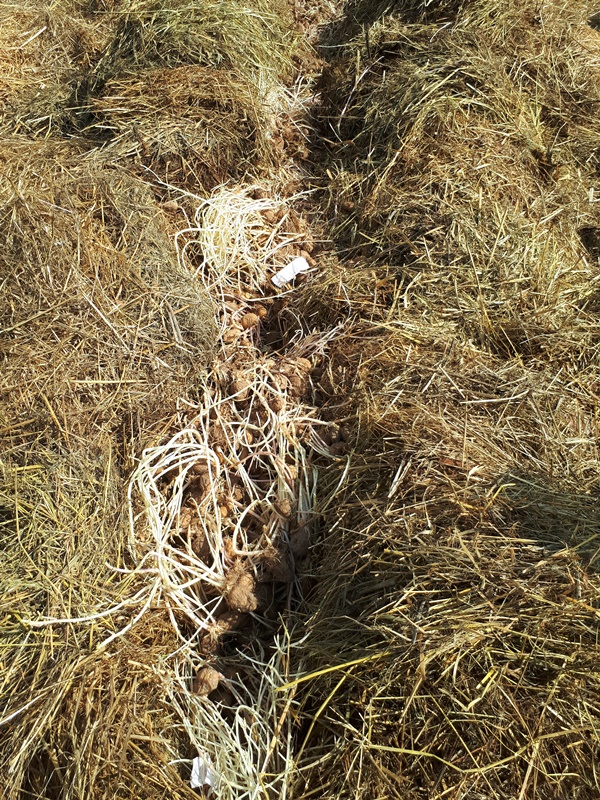
Since we needed to dump these seed potatoes some where, we just moved some mulch aside, put the seed potatoes in there and put the mulch back.
Ditch with lots of sprouted seed potatoes
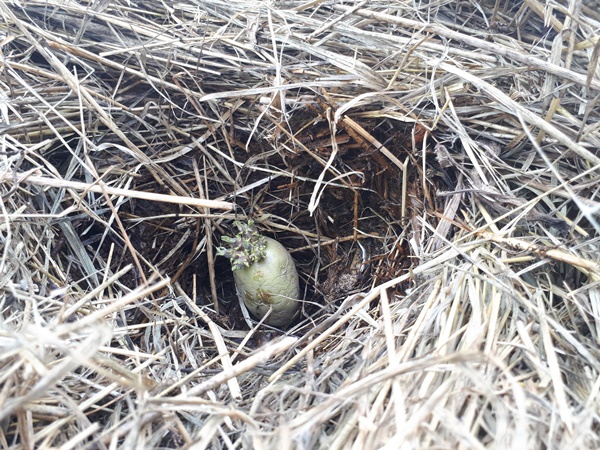
As expected this did not do anything, but last spring I had bought some potatoes in the supermarket and did not use all on time. Some of them looked like useful seed potatoes. I also planted these seed potatoes underneath the mulch, but correctly with some space in between, setting the potato on the soil underneath the mulch. This was the beginning of July, which I normally would think as pretty late to plant potatoes, but I wanted to try it anyway.
Sprouted seed potato set in mulch for planting
Most of these seed potatoes grew well over summer. This picture and the picture at the beginning of the post are from the beginning of September. Good and healthy looking potato plants.
Healthy looking potato plants beginning of September
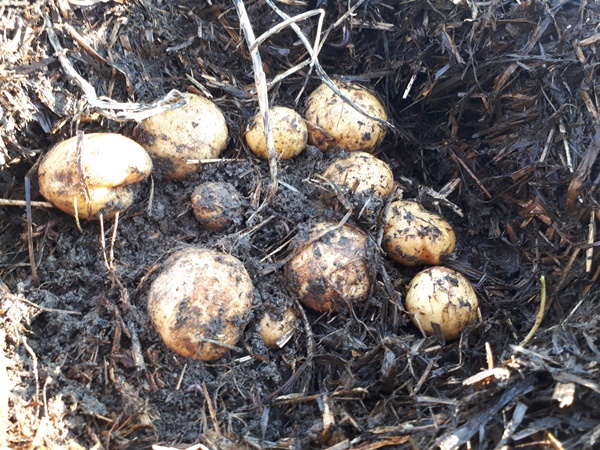
Unfortunately it took me until the second half of November to find the time to harvest these potatoes. It was hard to find where I should dig, since the potatoes had already died back completely. The potatoes on the top of the slope did very well and I actually found a few very large potatoes among more normal size once.
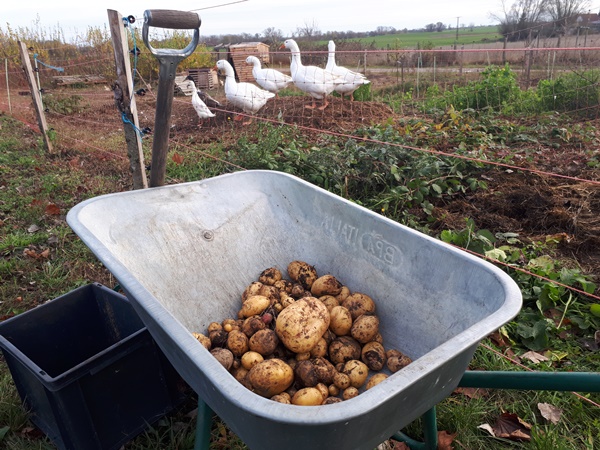
Cleared potatoes while harvesting
The potatoes at the bottom of the slope where all rotten and mush, since the rainwater has collected there and kept everything to wet. Other than that I found some seed potatoes with a bunch of fingertip size potatoes attached to them. I have no clue why they grew this way.
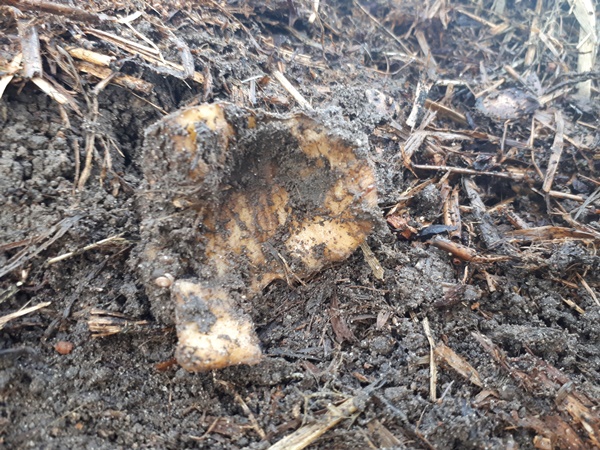
Mushy seed potato with lots of baby potatoes
The worst part of being so late with digging these potatoes up is that the mice beat me to most of them. I found a whole labyrinth of mouse tunnels and some bits and pieces of left over potatoes.
Potato rest after mice banquet
I did not plant many decent seed potatoes, so I am very happy with the potatoes I was able to harvest of these few potato plants. While harvesting our geese kept me company.
All done, so nothing to watch anymore
These potatoes are about 4 meals worth for my family and the other potatoes we grew are already used up, so I won’t come around to buying potatoes this winter. Next year we really have to prioritize planting potatoes. We love eating them and would need a whole lot to get trough the winter without buying any.
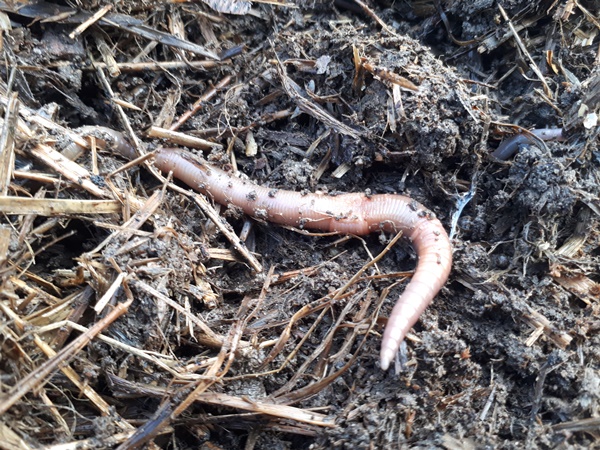
O and I also found lots and lots of earthworms, even very large once.
A large earthworm
To conclude I would say growing potatoes under mulch is a success and makes it a lot easier to harvest, but the excess water needs to be able to flow away. The mulch layer should be fairly thick, so the potatoes will not be exposed to the sunlight, and the seed potatoes should be put down on the soil underneath the mulch. The roots need soil to grow into. They do not do well in only mulch. Also planting potatoes in July was a great success, so I do not need to worry about planting the potatoes early in the season. I can divide planting the potatoes over a longer time frame, which is very nice. This way I can divide the work and have fresh potatoes from the garden over a very long time. Mainly I will have to prioritize harvesting the potatoes after they are done. It is easier to find the plants and know where to dig and the mice will not have eaten all of the potatoes yet.