This is about the compost bed in garden 3. If you would like to know how we made the compost bed, you can check following links.
Turning hey and straw into compost garden beds for our self sufficient living
Why are my compost beds not breaking down?
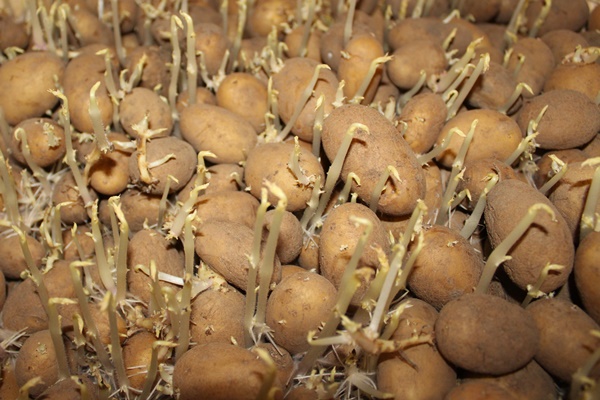
Tilling my experimental compost bed with a rotary tiller to plant potatoes
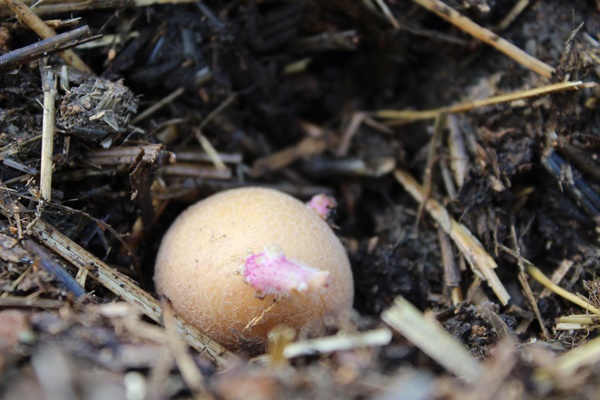
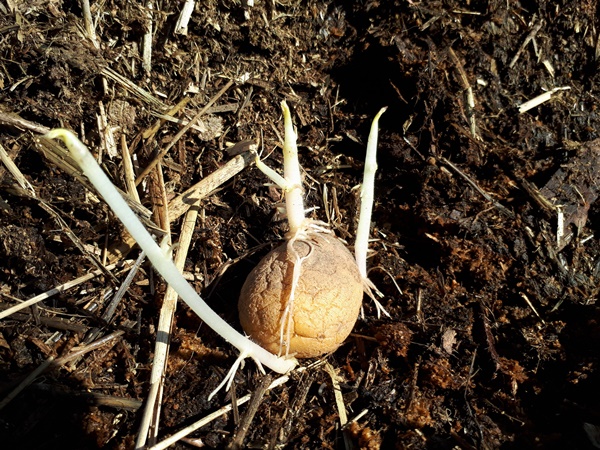
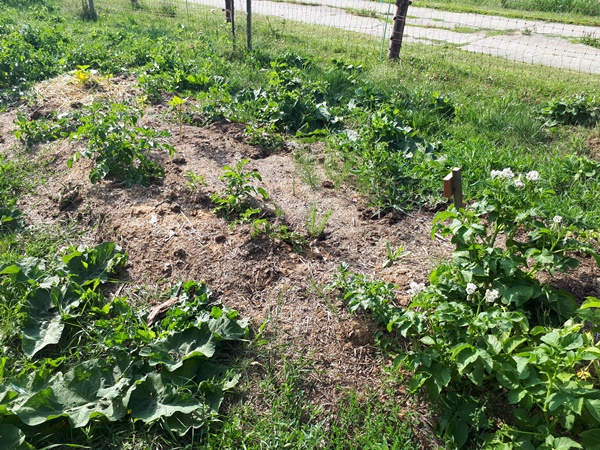
Well, after a while the first potato plants stuck up there heads (potatoes usually always grow). On some parts of the compost bed the potatoes grew better on some parts they did not thrive very well, but this was on both the rotary tilled and not rotary tilled part of the compost bed the same.

As spring progressed I planted some corn (a popcorn variety), 2 pumpkins and some amaranth in between the 2 rows of potatoes. In the spring, when all the plants are still so small, I always think “o, there is enough space. I can plant some more”. Well the potatoes hat been more then enough, but it was interested to see how the other crops did.
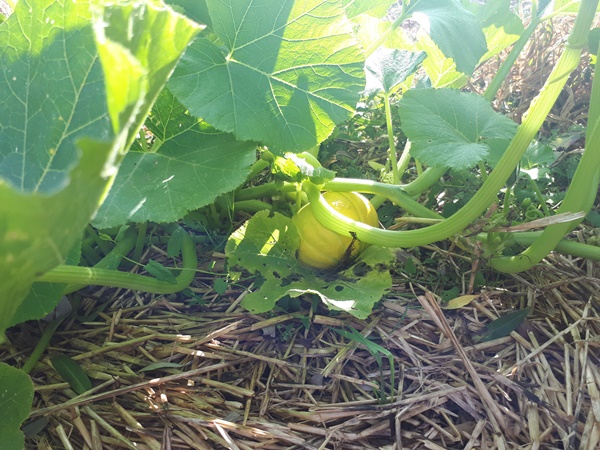
The pumpkins for instance, I planted one in the tilled part and one in the not tilled part. At least these plants gave me a good noticeable difference. The pumpkin in the not tilled bed did not thrive and eventually died. The pumpkin in the tilled bed did not thrive very well, but somehow lived and grew a little.


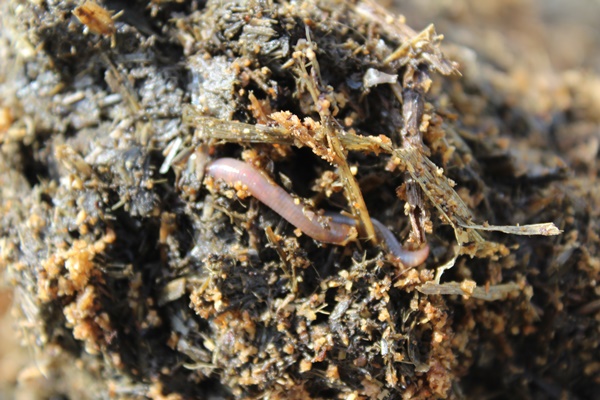
It was at this point we started to realize that we made a big mistake while building this compost bed. The compost bed is made out of straw, hay and sawdust. Straw and hay are “empty”. There is not much energy in this material, since the plant directed all of the energy into the seeds. So the soil developing from these components can never have much nitrogen. We need to at manure. The component we simply did not have until this spring when we got ourselves some chickens. After cleaning the chicken coop I simply divide the manure around the pumpkin plant, the one in the tilled part that still lived. Well, it helped, but the pumpkin still did not really thrive. I imagine, the soil just wasn’t really ready to use quite yet.

As the season progressed the potato plants mostly did well and grew nice and big as did the weeds. I found an occasional cornflower.
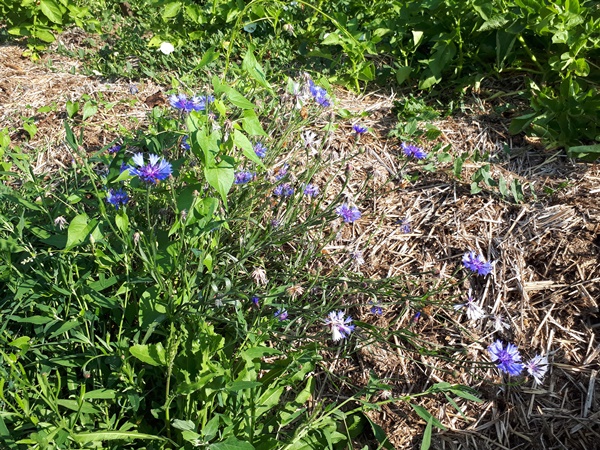
The thistles are well spread out, luckily mostly around the edges of the compost bed and the bindweed is just taking over the complete compost bed. It literally is everywhere. The flowers are beautiful and the insects love them. I simply let go of the thought of weeding. I would not know where to start and I just do not have the time.

Then we got some runner ducks and put them on the pasture which includes this compost bed. The runner ducks are small enough, eat slugs and find hiding underneath the potato plants and the thistles (we have the type of thistle with big broad leaves). They where no problem at all, but then came the geese and destroyed the potato plants. I am glad the potatoes where already blooming at this point, so there would not be much growth anymore anyway. We started to harvest some potatoes here and there, because I wanted to compare both sides of the compost bed. At the tilled side we got a lot of smaller potatoes from one plant and on the not tilled side we got a few big potatoes from one plant.

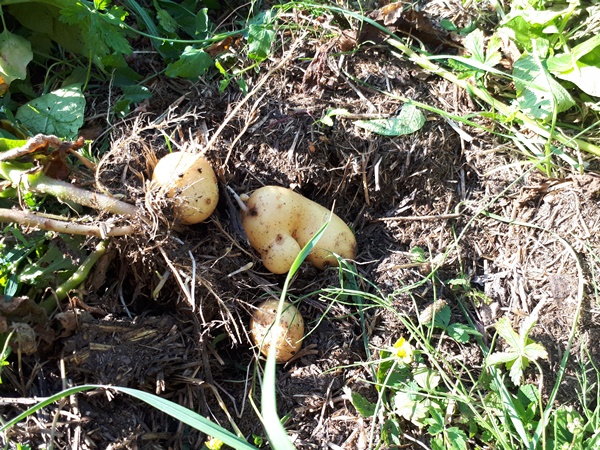

Obviously the potatoes are different varieties, so I do not think we can really conclude anything out of this experiment. What I noticed is that the soil in the tilled part was much more broken down, darker, nicer and looser than the soil in the not tilled part, which was to be expected. The potatoes in the tilled part grew in and underneath the compost layer we had build up. The potatoes in the not tilled part grew underneath the compost layer we had build up. So this was like growing potatoes under mulch, but that I had a hard time digging the potatoes up from underneath the compacted compost layer.
All in all I had a nice potato harvest with nice big potatoes and a lot of small potatoes that will be saved as seed potatoes for next year.
As far as the corn went, just a little higher as the potato plants, bearably surviving. The geese then overran them.

After I harvested all of the potatoes I dough out the one surviving pumpkin and planted it in another garden bed. The pumpkin liked it much better here. After a short time of setting it was thriving and it even set on some fruit. We will see if it ripens on time before the frost comes.
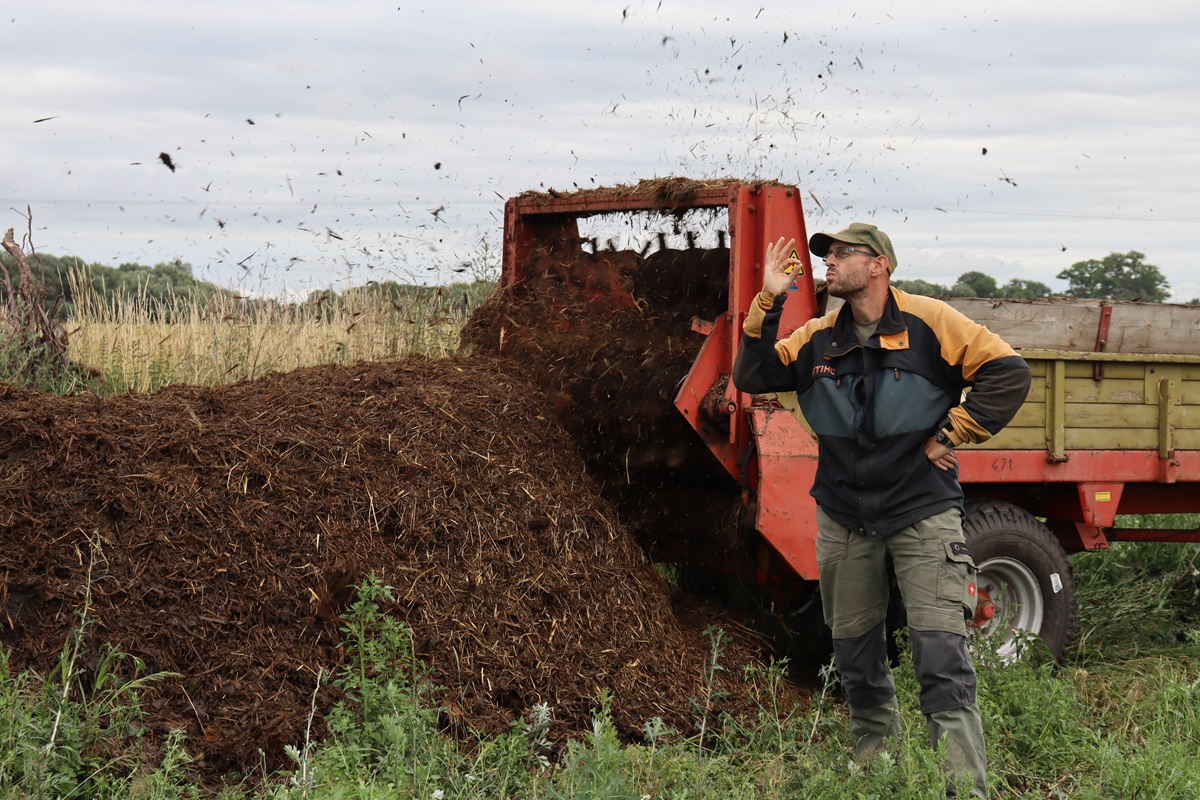
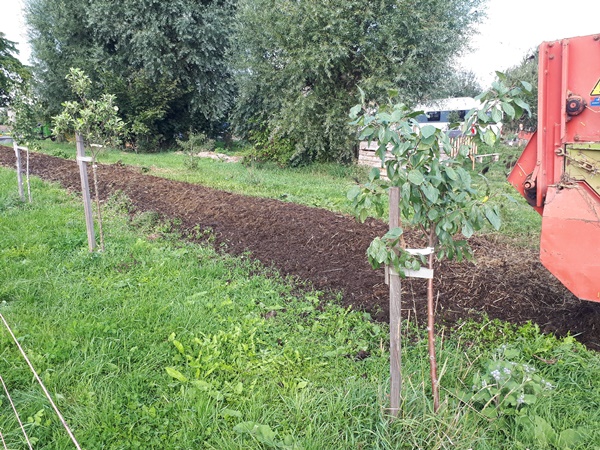
After the compost bed was cleared of all edibles and plants I wanted to keep my husband brought out a manure spreader full of fresh cow manure from our farming friend. This gave a thick layer of manure over the entire compost bed, which we then tilled in with our rotary tiller. I am not sure yet what I will plant in here next year, but there will be more then enough nitrogen in this compost bed next season.
As a finishing touch I sowed a mix of green manure and covered the entire compost bed with straw. Only I waited to long after tilling the compost bed with doing so. The compost bed was full of weeds again already. O well, we will rotary till this bed in spring before we want to use it again. I will probably never get rid of the weeds here, but that’s fine. Weeds aren’t necessarily bad.

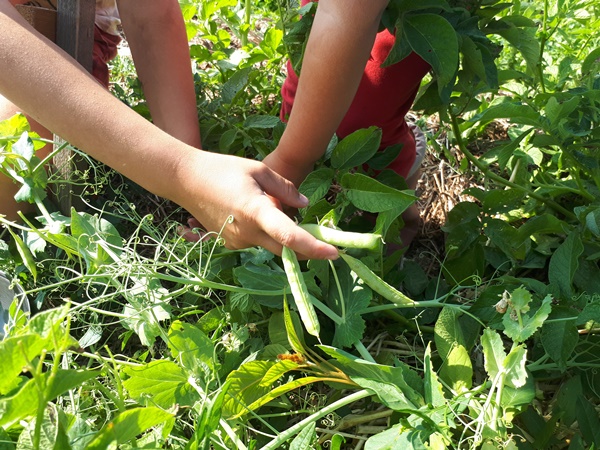
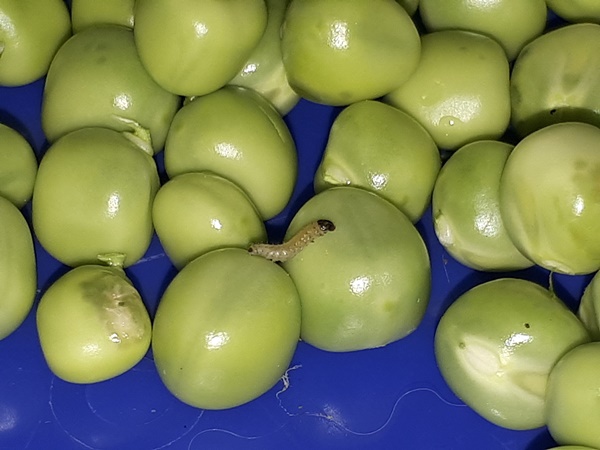
And we accidently grew a meal of peas in the tilled part. Peas from the chickenfeed we threw out. The pea plants partially did well and partially turned yellow. Some of the peas had worms in them, but the good once tasted well and the kid’s had a lot of fun peeling the peas.